There are a lot of Lightroom effects that people asked me about so I put them all into this one tutorial where you’ll learn how to create 5 popular Lightroom effects in less than 5 minutes.
Clean Whites
Some photos have this really nice clean look where the neutral colors are completely desaturated. To do this, simply reduce the vibrance to around, let’s say -75. The neutral colors are now neutral but your photo looks a bit desaturated. So to bump the saturation back up until it looks normal.


Faded Film
The first look is the faded film look. It’s a popular way to give your photo the nostalgic look and it can be done with the tone curves. To do this, go to the Tone Curve section and make sure that you’re in the Point Curve mode which you can switch to by clicking on this button here.

Drag the bottom-left point upwards which will lift the blacks. Drag the top-right point downwards to drop the whites. This gives your photo the faded look but it also makes it look flat.

To restore some contrast, add two points to the curves and create a slight s-curve like this.


Green Shadows
A lot of film looks have green shadows to emulate the look of high-ISO films like the Fujifilm Superia 1600. In the same Curves adjustment, click on the dropdown menu and select the green channel.

Lift the bottom-left point and you’ll start to see the green tint.

Add another point and this point will be used to cut off the effect so that it only affects the blacks and shadows. And if the line isn’t straight, you can add another point in the middle like this.


Orange and Teal
Orange and teal is a super popular effect and it also happens to be super easy to replicate. Go to the Camera Calibration section and set the red hue to 50 and blue hue to -100.

We need to shift the blue hue even more so to do this, go to the HSL section and set the blue hue to -50.

You can also go back to the Camera Calibration area to adjust the saturation sliders if you like.

And if you want to control the balance between the orange and teal colors, you can do so by changing the white balance.


Smooth Skin
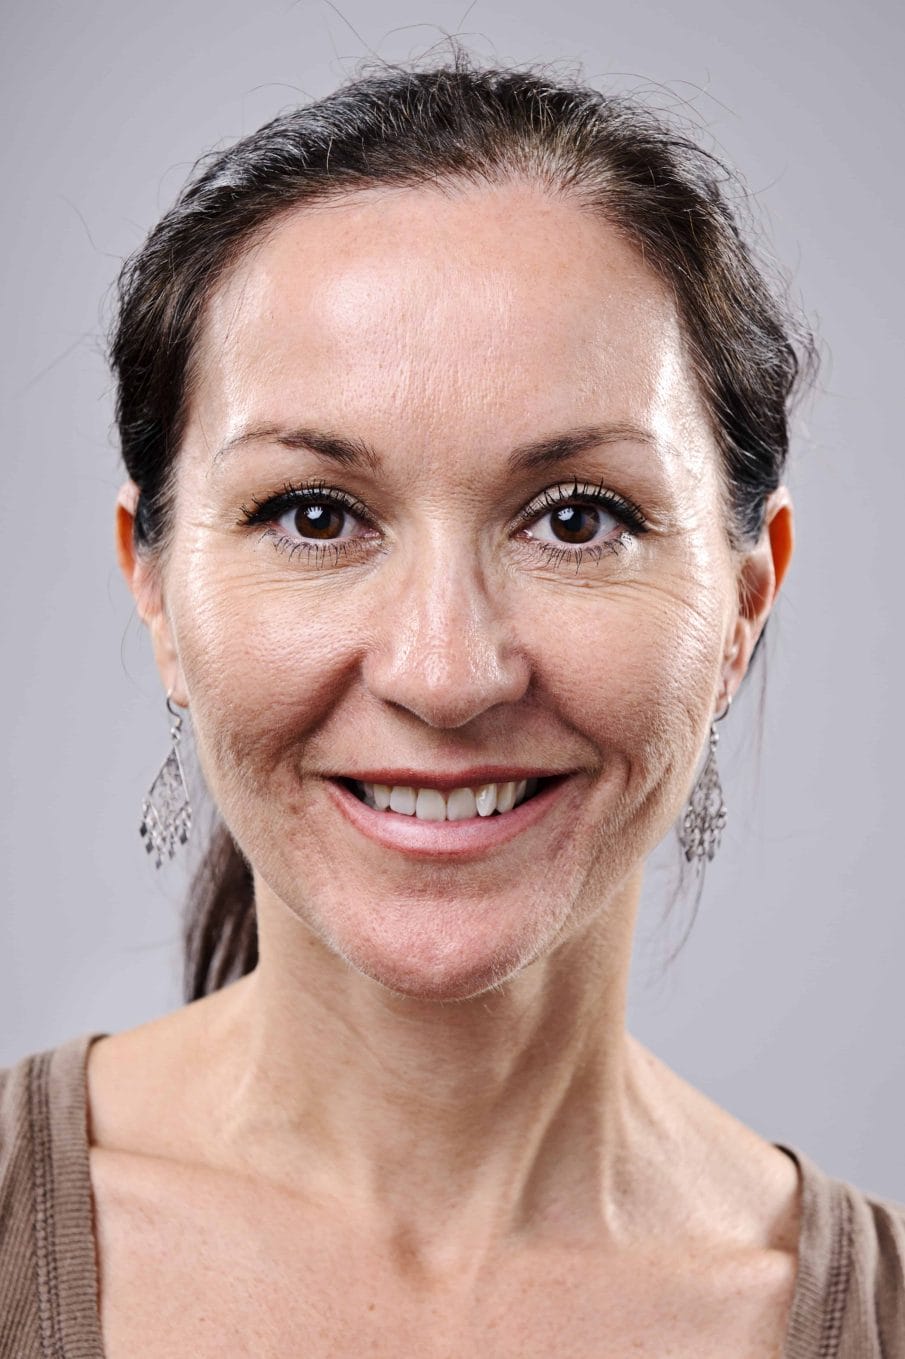
Finally, a lot of people retouch skin in Lightroom. To do this, select the adjustment brush tool. Set the clarity to -100 and make sure everything else is set to 0. Paint over the skin and then increase the clarity back up so that it looks realistic. You can also lower the dehaze setting for a flatter look, lower the saturation to reduce redness, and lower the sharpness to blur the skin. By the way, retouching skin works much better in Photoshop than it does in Lightroom. If you want to learn how to do it, check out my video on how to do frequency separation in Photoshop.


