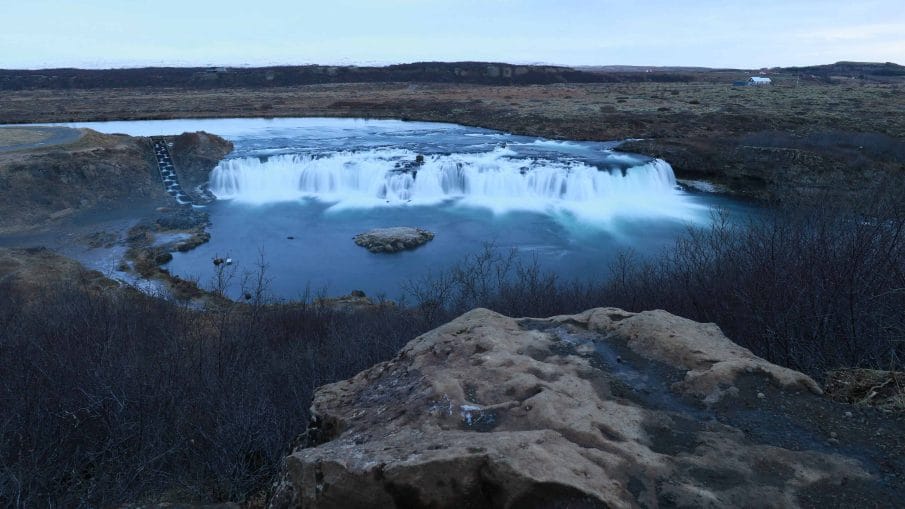
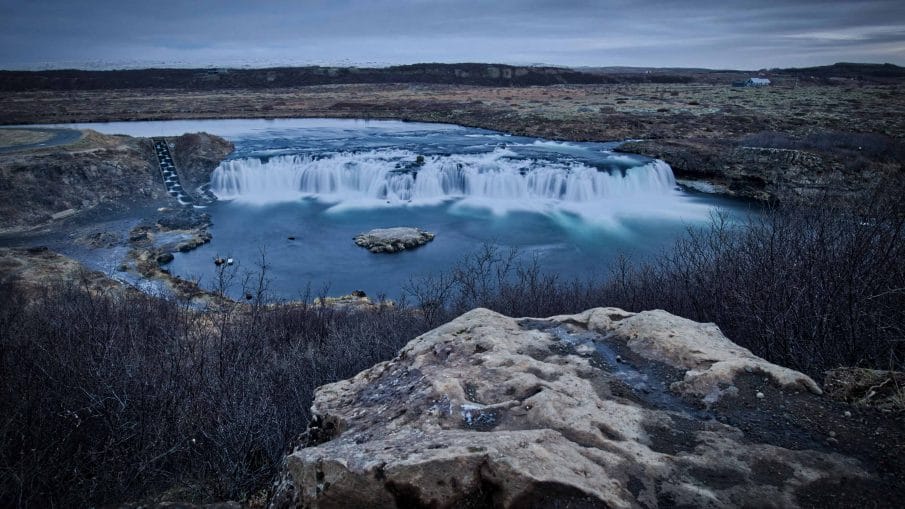
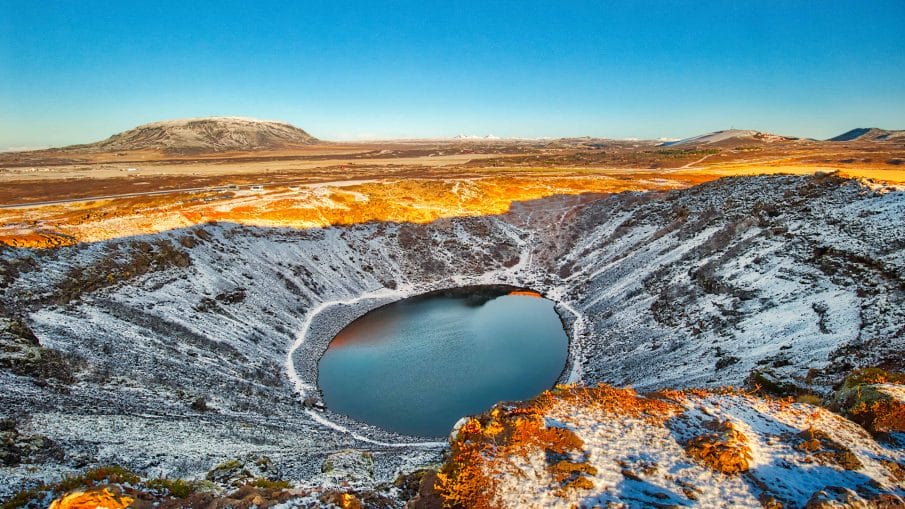
A lot of times when you’re taking pictures, your camera cannot capture the full dynamic range leaving you with flaws such as overexposed skies. With HDR photography, you can fix this by taking multiple photos (some darker and some lighter) and then merge them together in Adobe Lightroom or Photoshop’s HDR Merge tools. But HDR merge is very basic and results are very basic as well. Typically you’ll need to do further editing in Lightroom or Photoshop. But what if there’s another tool that will let you create better HDR photos yet is still easy to use. In this video, we’re going to be reviewing Aurora HDR.
Aurora HDR is Easy
One of the first things you’ll notice is also what I would consider the second best selling point of Aurora HDR. And that is that it’s very beginner friendly. You can open your own photos or if you don’t have any yet, you can load the sample images to play around. You can also use just one photo but obviously you’ll have less flexibility in regards to recovering details.

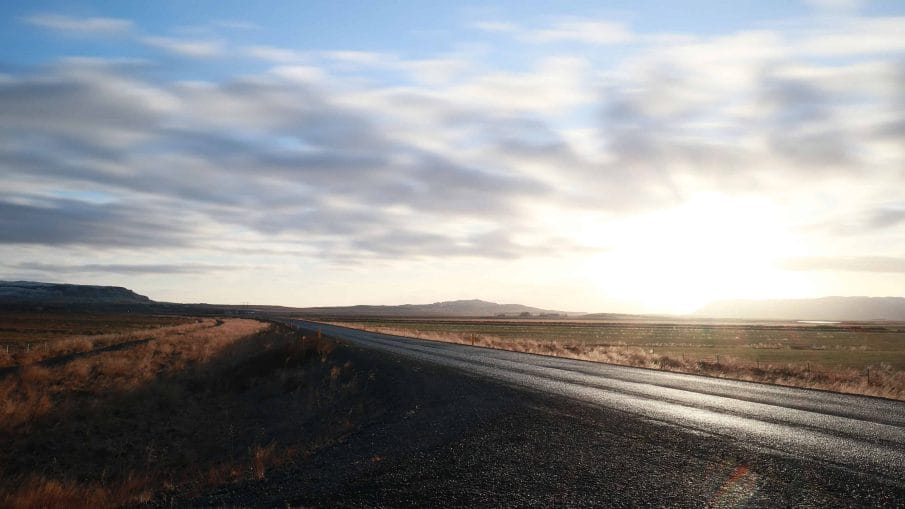
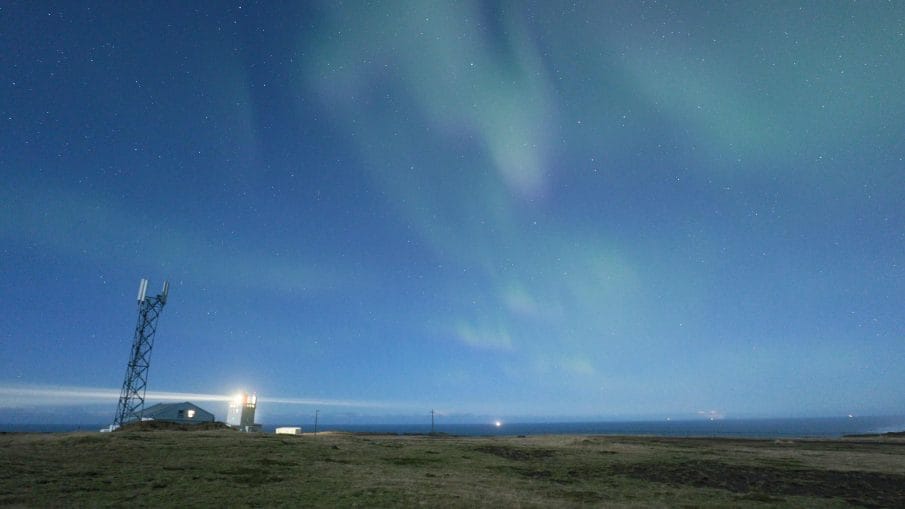
I’m going to be loading this set of photo shot in Iceland. You can import as many exposures as you need and they don’t need to be evenly bracketed. For example, I’m going to delete two exposures and you’re going to see later that it’ll still work fine.

For the options, you can choose to:
- Enable alignment in case you didn’t shoot it with a tripod and your photos aren’t aligned properly.
- Enable ghost reduction in case your photos have moving objects like people or cars.
- Enable color denoise which by the way will only work with Raw files.
- And enable chromatic aberration removal in case your photo has some color fringing around the edges.

It’ll take awhile to load depending on how many exposures you have and the resolution. By the way, if you use Lightroom, you can also load the photos directly from Lightroom to Aurora HDR. It works both as a standalone software and a plugin.

HDR Presets
Once your photo is loaded, you can start editing. I like to start off with the presets at the bottom. Aurora HDR comes with tons of presets that you can pick from. I’m going to go into the categories and let’s check out some of Trey Ratcliff’s presets.

As you can see, there’s a preview of each effect and if you hover over it, you can adjust the opacity.

I’m going to choose this one here as a starting point and start editing the settings. I’m going to start by adjusting the exposure. As you can see, there’s a ton of dynamic range that we can work with and the photos blend together very well.

HDR Filters
Smart Tone
Let’s go over what the settings do. Smart Tone lets you recover details in the highlights or shadows.

HDR Structure
HDR Structure is sort of like the Clarity setting in Lightroom. It’s a great way to add contrast to the edges. The HDR Microstructure setting targets the finer surface details. These settings can emphasize noise in your photo depending on how much of it you use. But right below that is HDR Denoise.

HDR Denoise
HDR Denoise reduces noise using their algorithm that tries to preserve edge details. You can fine tune how much smoothing it does and the Boost setting is useful for seeing what’s happening. For example, I usually like to set the Boost between 50-100% so that I can see what’s happening and then lower it back down to 0 when I’m done.

Image Radiance
Image Radiance is pretty interesting. Basically it adds a glowy effect which is how people create those soft and dreamy HDR photos. If you prefer more natural results, just keep this at 0.

Polarizing Filter
The Polarizing Filter setting will help you get those deep blue skies that you’d get if you were to use a polarizing filter on your camera. By the way, it doesn’t remove reflections like a real polarizing filter. There’s nothing that can do that and I’m not even sure if it’s possible.

HDR Details Boost
HDR Details Boost sounds really cool and it kind of is. You can use it to sharpen your photo but unlike traditional sharpening, you can control the amount of sharpening based on the small, medium or large details. The large details being the bigger, more obvious lines in your photo. And it can sharpening your photo without introducing halos.

Glow
Glow is sort of like the dehaze setting in Lightroom. You can increase it to add this ethereal glow or decrease it to emphasize the details.

Top and Bottom Tuning
Top and Bottom tuning lets you adjust basic tonal and color settings separately for the top and bottom half of your photo.

The rest of the settings are basically the same as what you’ll find in Lightroom.
Layers and Masks
Aurora HDR also supports layers and masks so you don’t even need to go back into Photoshop. For example, you might have noticed that the clouds look a bit weird. What I should have done was take the photos faster.

But there’s a fix. Click on the + sign and add a new image layer.

I’m going to choose one of the exposure to replace the sky with.

Next, click on the Brush icon and choose whether you’d like a Brush, Gradient, Radial, or Luminosity mask. I’m going to choose a regular brush.

In the options bar, I’ll set it to Erase mode and erase the foreground and the area where the sun is.

Adjustment Layers
You can also add an adjustment layer. Let’s say we want to make the area around the sun a little warmer. We can click on the + sign and add a new adjustment layer.

Next, click on the Brush icon and this time I’m going to choose Radial mask.

Before I draw, I’m just going to change the Temperature setting to something different so that you can see what’s happening. Now I can draw a circle that expands out from the sun…

…then click on the “Invert” button to make it affect the inside of the circle.

Now you can adjust the settings any way you like… or you can pick a preset. I’m going to go to the Landscape category and choose the Warm Skylight preset.

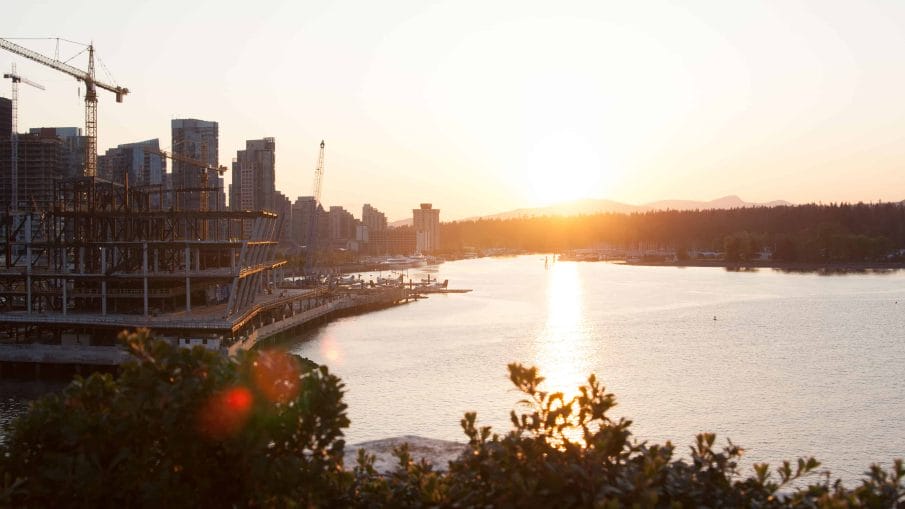
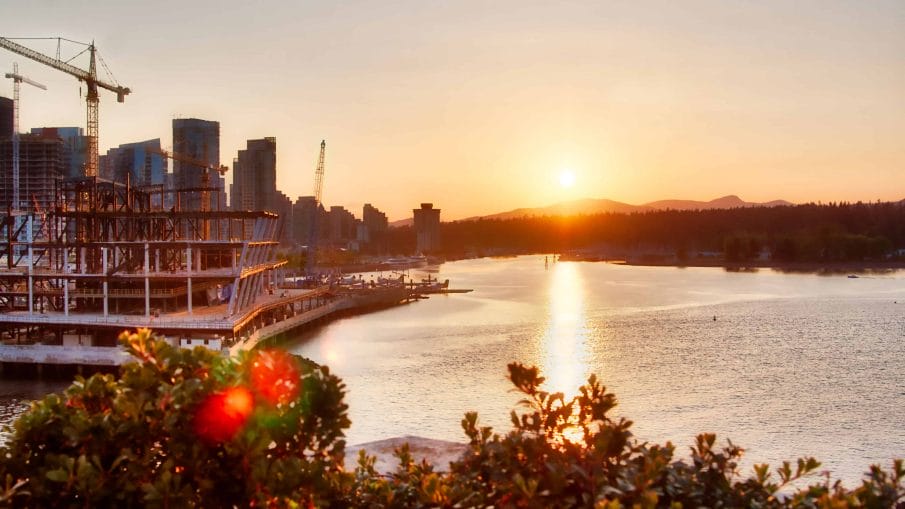
And we’re done. Here’s how the image looks like before and after. As you can see, Aurora HDR is quite easy to use and at the same time it’s powerful enough that, most of the time, you can do everything in Aurora HDR without going back to Lightroom or Photoshop.


Aurora HDR vs Lightroom and Photoshop
So how are the results? Obviously, the HDR Merge tool in Lightroom and Photoshop isn’t as advanced. But there are some noticeable difference in the results.
First of all, I find that the way it dealt with the moving clouds in my photo is completely different. Adobe’s PhotoMerge tool tries to merge the clouds together which works good in some areas but not so great in other areas. Aurora HDR does it differently. It blends the clouds evenly but it also leaves a repeating pattern. I tried importing the photos with the ghost removal option checked but it didn’t work too well on clouds and I find that the results are more natural without that option disabled. That said, on other photos with smaller moving subjects such as people and cars, I find that the ghost removal option works great.

As for the files, when you do HDR merging in Lightroom, it creates a single 16-bit DNG file with way more dynamic range than an 8-bit JPG photo. Aurora HDR also lets you export it out as a 16-bit file – the only difference is that it’s a PSD instead of a DNG file. You also get all the layers that you created in Aurora HDR. However, these layers are just flattened raster layers.

The Verdict
Aurora HDR brings the fun back into HDR photography.
I started HDR photography 11 years ago and at first it was really fun because you can take photos of a scene and then there’s this mystery of not knowing how it’ll look until you go home and process it. But post processing it in Photoshop was a lot of work and the other option was to use HDR software that gave unnatural results with lots of halos (Keep in mind this was 2007).
I haven’t done HDR photography much ever since but after trying Aurora HDR, my interest and motivation is coming back. Aurora HDR throws away the boring steps in a typical HDR tone mapping workflow and makes it easy and fun. It feels rewarding and it’s amazing how much you can transform your photo.
Overall I’m very happy with it. The current price is $100 and the license lets you use it on 5 computers. There’s a free trial you can download and if you decide to buy it, you can use the coupon code DENNYSTIPS for $10 off.
