Ben Thomas is an Australian photographer and many of his photos are popular for the flat pastel colors that give it this surreal dreamlike feeling. I love the color grading and a lot of people have asked how to reproduce it so in this video, you’ll learn how to edit like Ben Thomas. If you use Photoshop, you can still follow along with the Camera Raw filter (Filter > Camera Raw)
Free Lightroom Presets
Before we start, I just want to let you know about the Lightroom presets that you can download for free. After copying it to your presets folder, you’ll find them in the Develop settings. There’s 5 effects that you can choose from and they all come with their matching LUTs which you can use in other software like Photoshop, Affinity Photo, Premiere, After Effects, and any other software that supports LUTs. There’s also a Pro version which you can upgrade to. And if you do, thank you so much for your support – I really appreciate it. The Pro version will give you all 14 looks and the presets are fadeable which lets you choose something lighter or stronger. Whether or not you use these presets, I still highly recommend that you continue watching this video to learn how to do it. It’s a great technique that you can adapt to create so many other looks.
The Flat Look
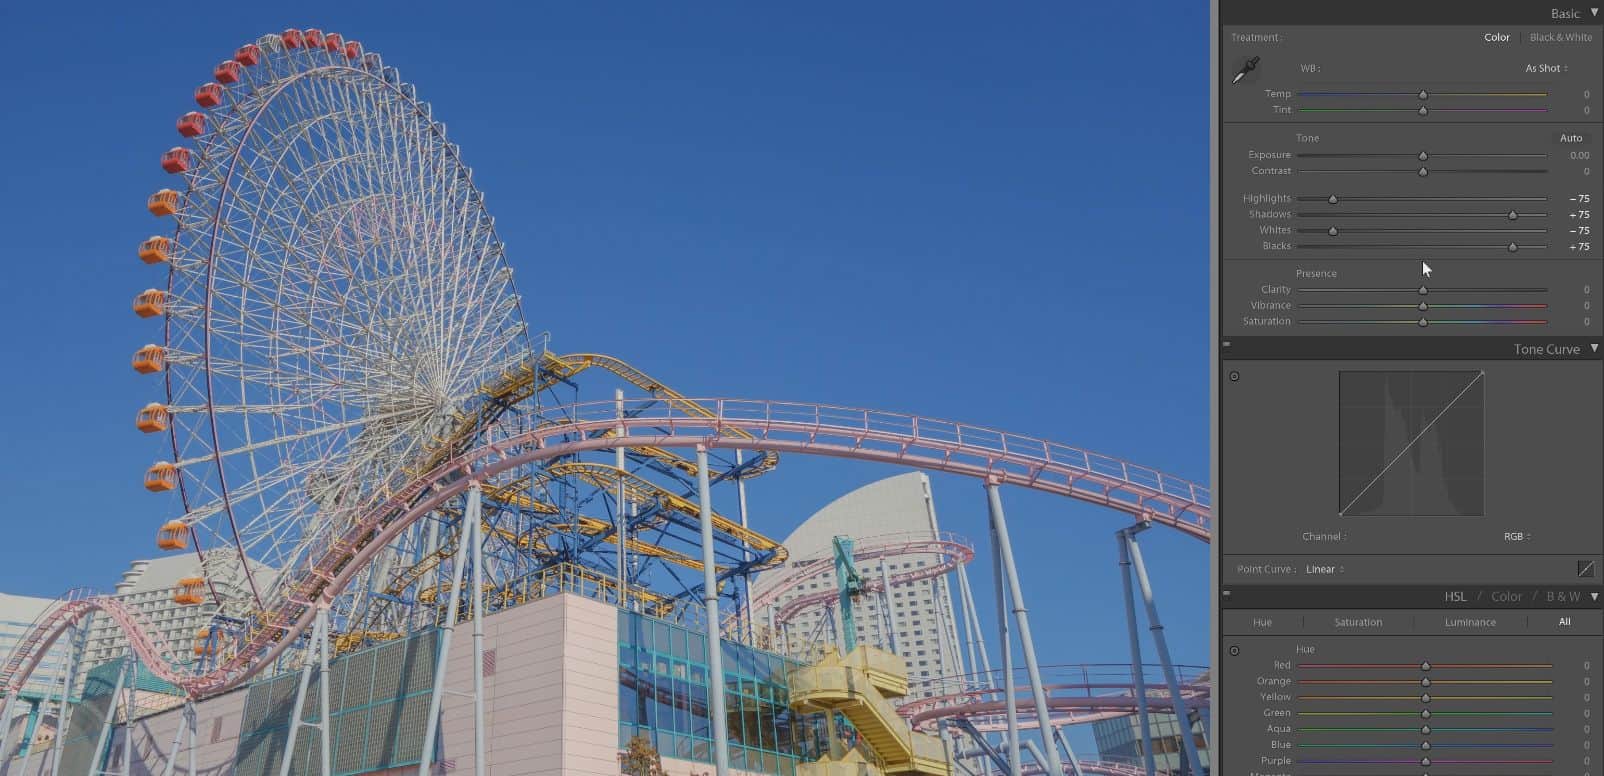
First, we’re going to work on the tones to achieve the flat look. To do this, simply drop the highlights and whites and increase the shadows and blacks. I’m just going to set them all to -75 and 75. 75 is a good starting point and you can adjust it depending on how much contrast is in your photo.
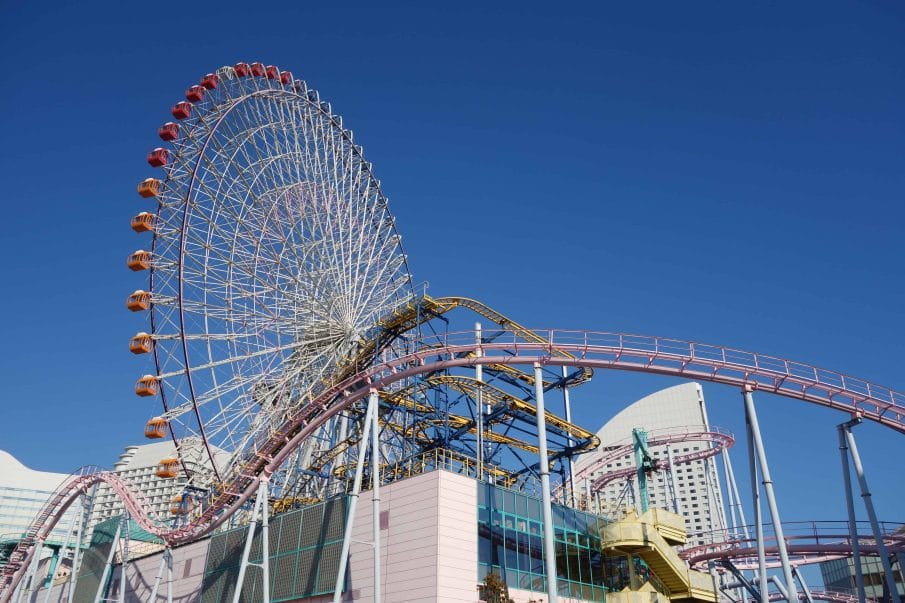
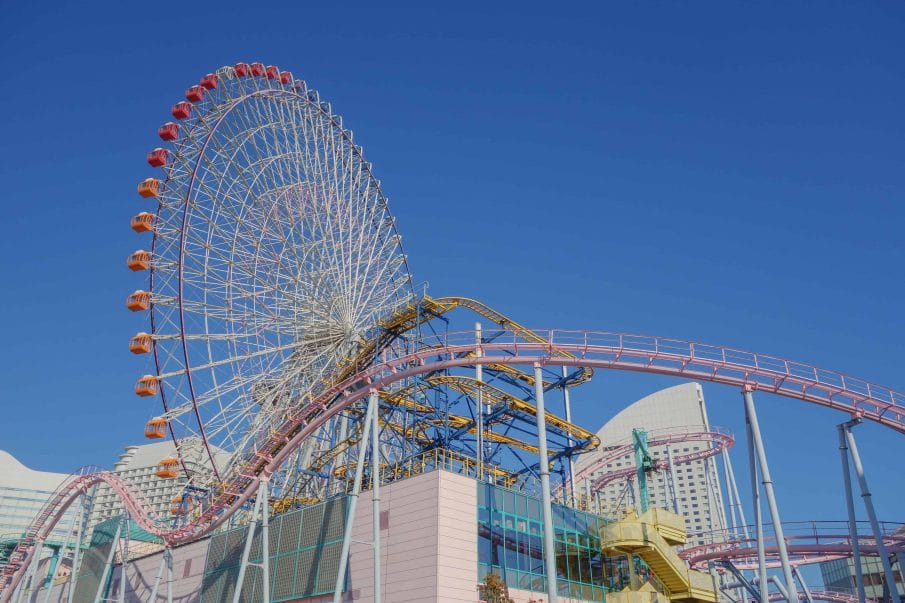
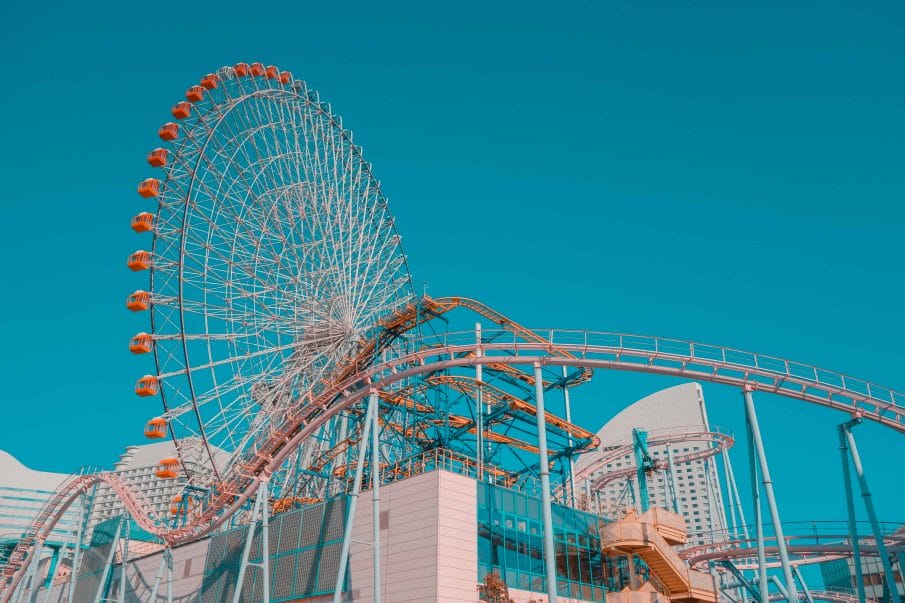
Here’s how the image looks like before and after.
Camera Calibration
Next, we’re going to shift the hue. But instead of starting in the HSL section, scroll down all the way to the Camera Calibration section. Start off by setting the green hue to 100 and blue hue to -100. This will shift the blues towards teal. Set the red hue to around +75 which will shift the rest of the colors towards yellow.
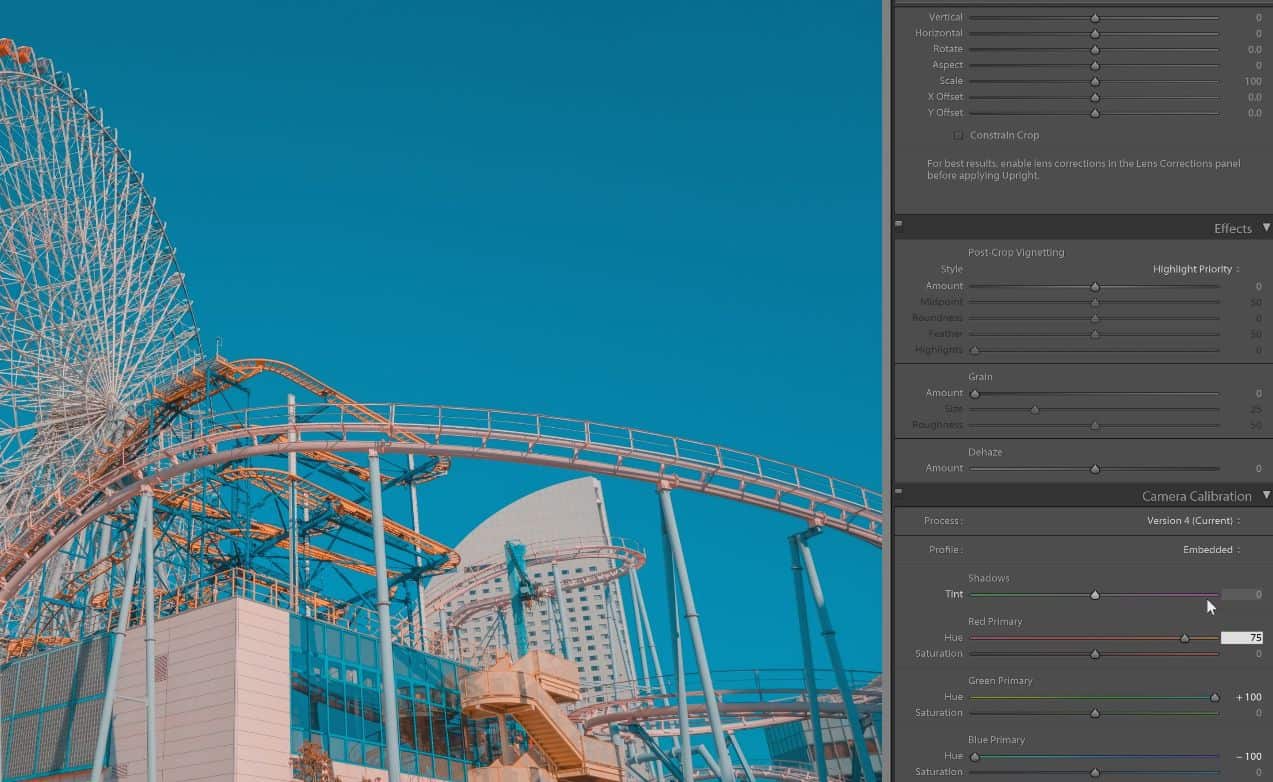
Here’s how it looks like before and after. As you can see, we now have this flat and pastel look. It’s quite close to what we’re going for but the colors aren’t there yet despite maxing out the green and blue hue settings.

Further Adjustments with HSL
To shift the hue even more, we’re going to go into the HSL section. Make sure that you’re in the “All” tab so that you can see all of the settings. Select the picker tool here and simply click and drag on the blues to shift it towards teal.


To shift the reds towards yellow, use the Hue picker and drag on the reds until they look yellow. Then to deepen the color, select the Luminance picker to darken the yellows and then switch to Saturation picker to increase the saturation.

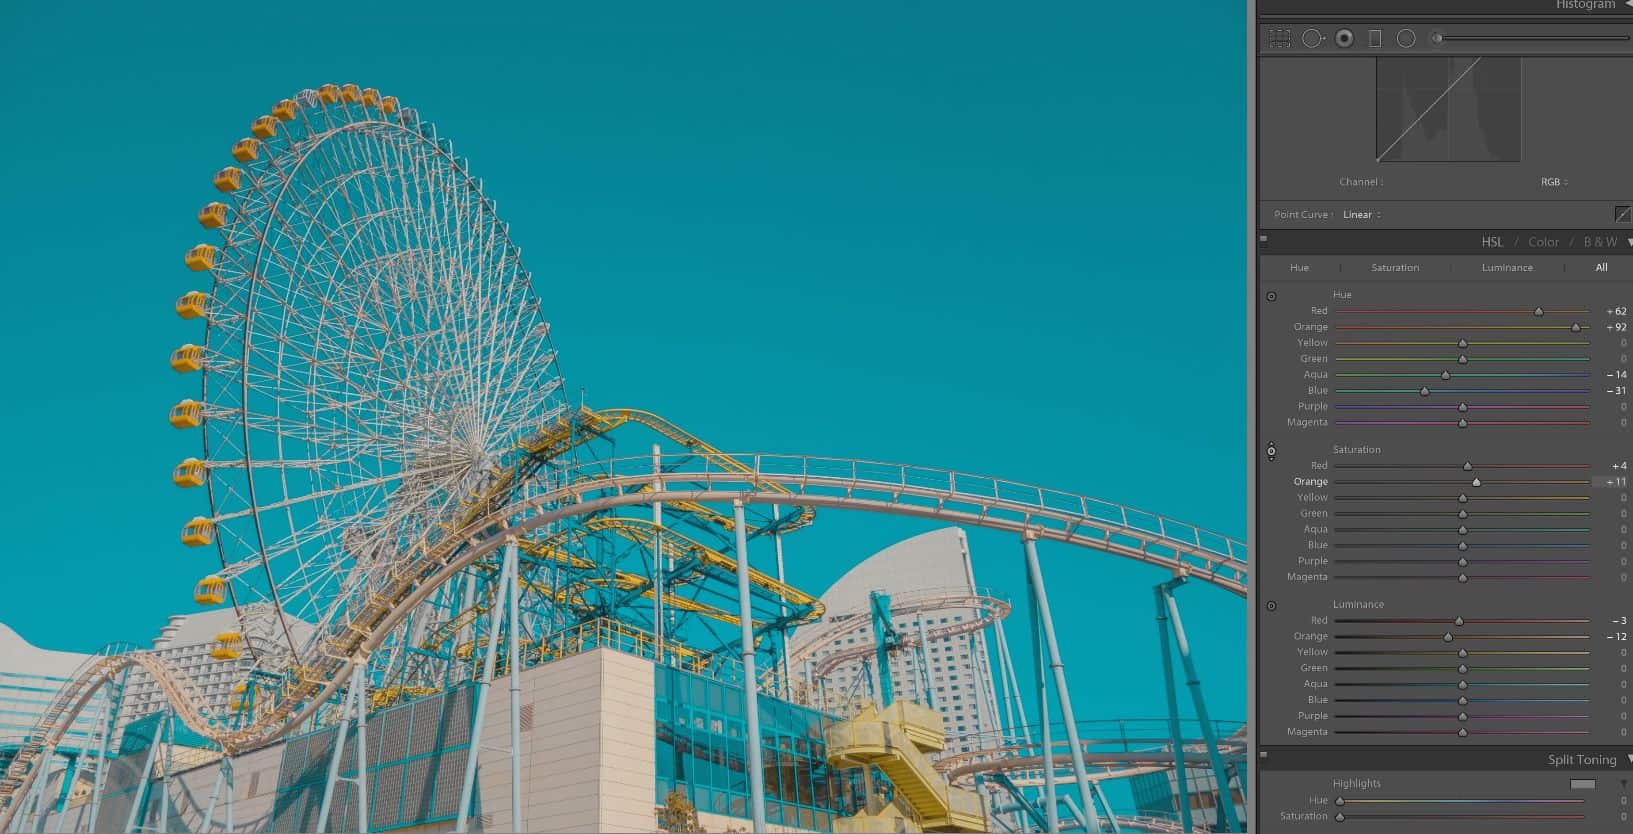
Here’s how the image looks like before and after.

Final Tweaks
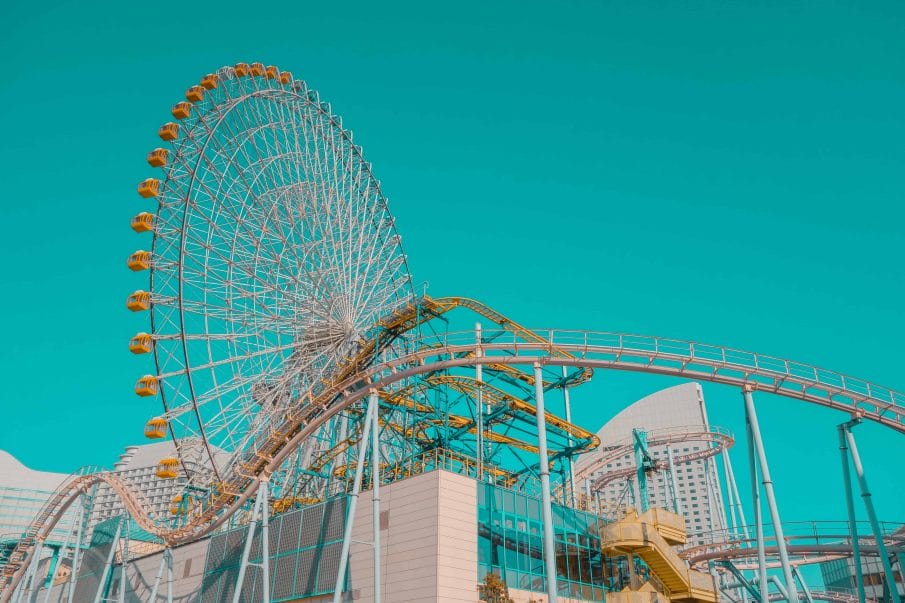
To finalize the look, you can go into any settings and tweak it until you get something that you like. But if you want to change the balance between the amount of teals and yellows, simply adjust the white balance.
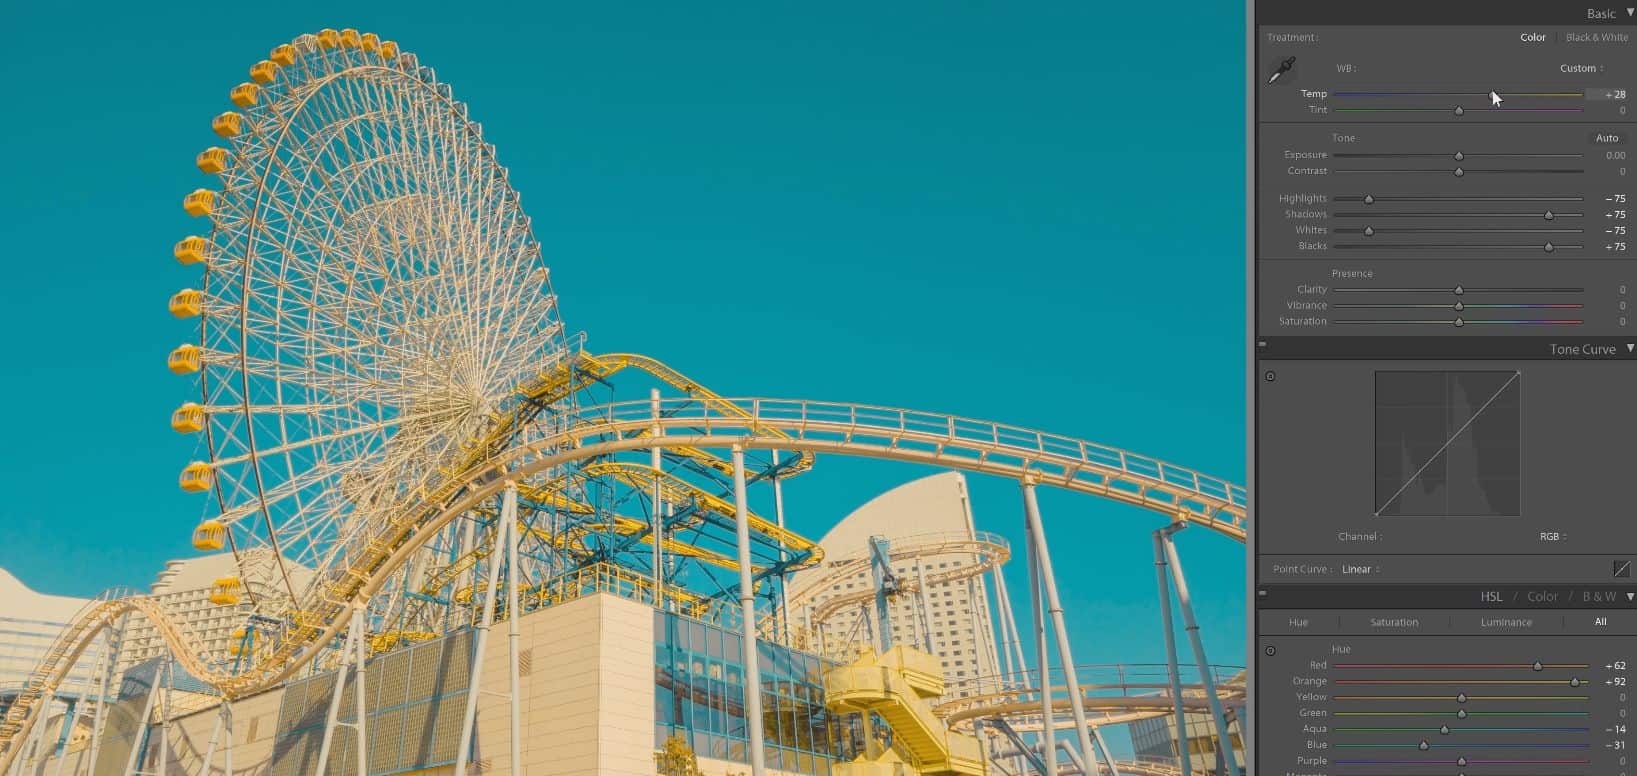
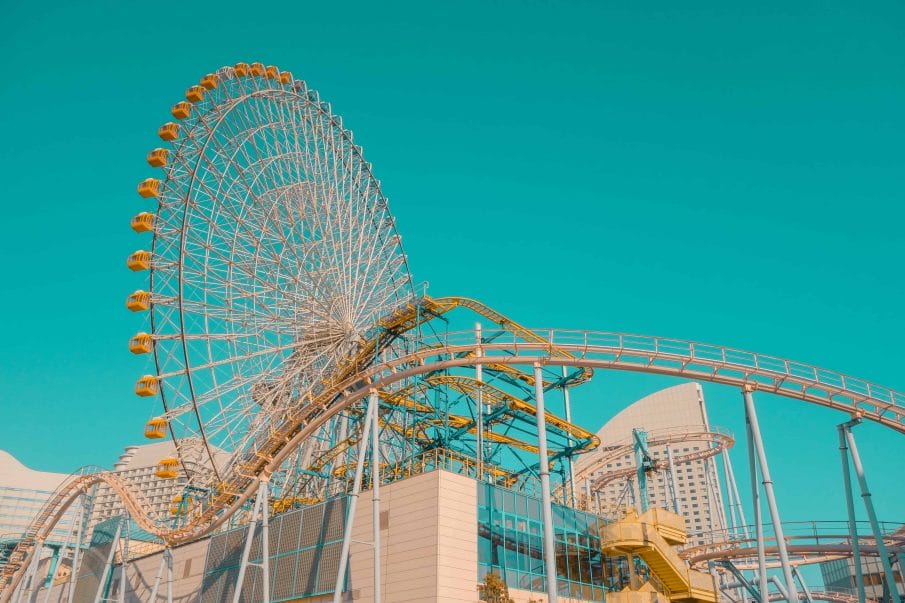
We’re done! Here’s how the image looks like before and after.


Denny: Great Video – I love your style of teaching – easy, relaxed, very understandable and will illustrated with photos.
Thanks ocanannian – glad you found the tutorial helpful!
This tips are wonderful, and with the help of this tips my editing skills also improve.