Awhile ago, I made a tutorial on how you can trick Photoshop to give you better results with the Dehaze tool. I also promised to create Photoshop actions so that you can do faster and easier. Well it’s finally here and I’m excited to show you how it works.
Free Download
The free actions let you perform the dehaze trick with five variations.
Download Ultimate Dehaze Photoshop Actions
Ultimate Dehaze Pro
The pro version gives you two additional dehazing algorithms and automatically fixes common errors. You can purchase Ultimate Dehaze Pro from SparkleStock or Creative Market.
The Problem with Photoshop’s Dehaze
The Dehaze tool is a great way to restore details in your photo. However, it can get quite aggressive with the feathering which can create halos between areas that are hazy and areas that aren’t.

In my recent Dehaze tutorial, I showed you how you can trick Photoshop to giving you better results by temporarily enlarging your document size. But that’s a lot of work and sometimes it’ll take you several tries to find the right setting to use. So with these Photoshop actions, it automates the process making it easier and saving you a heck lot of time.

How to Use the Photoshop Actions
Step 1
To load the Photoshop actions, doubleclick on the ATN file and it will show up in your Actions panel. If you don’t see the actions panel, you can open it by going to Window > Actions.

Select the Default Dehaze action then click the play button on the bottom of the panel. It’ll take some time to process because it’s prerendering five variations of the effect. This is so that you can pick the best one without having to play the action several times.

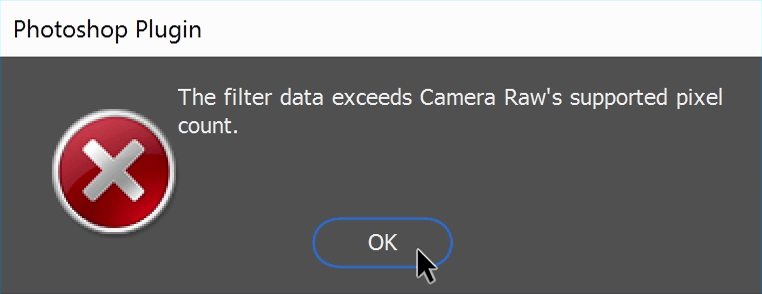
Also, you might run into some error messages about the Camera Raw Filter if your photo is over 21 megapixels. This is because to trick the Dehaze tool, we need to enlarge the document size temporarily. And sometimes it can be too large for the Camera Raw Filter to process. This is normal and you can simply click OK to skip those messages. You’ll just get less variations to choose from. If you want all the variations, then you’ll need to resize your image so that it’s less than 21 megapixels.

Step 2
Once it’s done processing, it’ll ask if you want to open the History panel. If you don’t already have the panel opened, click Continue and it’ll open it for you.
Here in the History panel, you can pick which effect you want to use. The strongest effect is the default dehaze adjustment at the highest setting. But most of the time that one won’t give you the best results. So go through and pick different ones to use.

Step 3
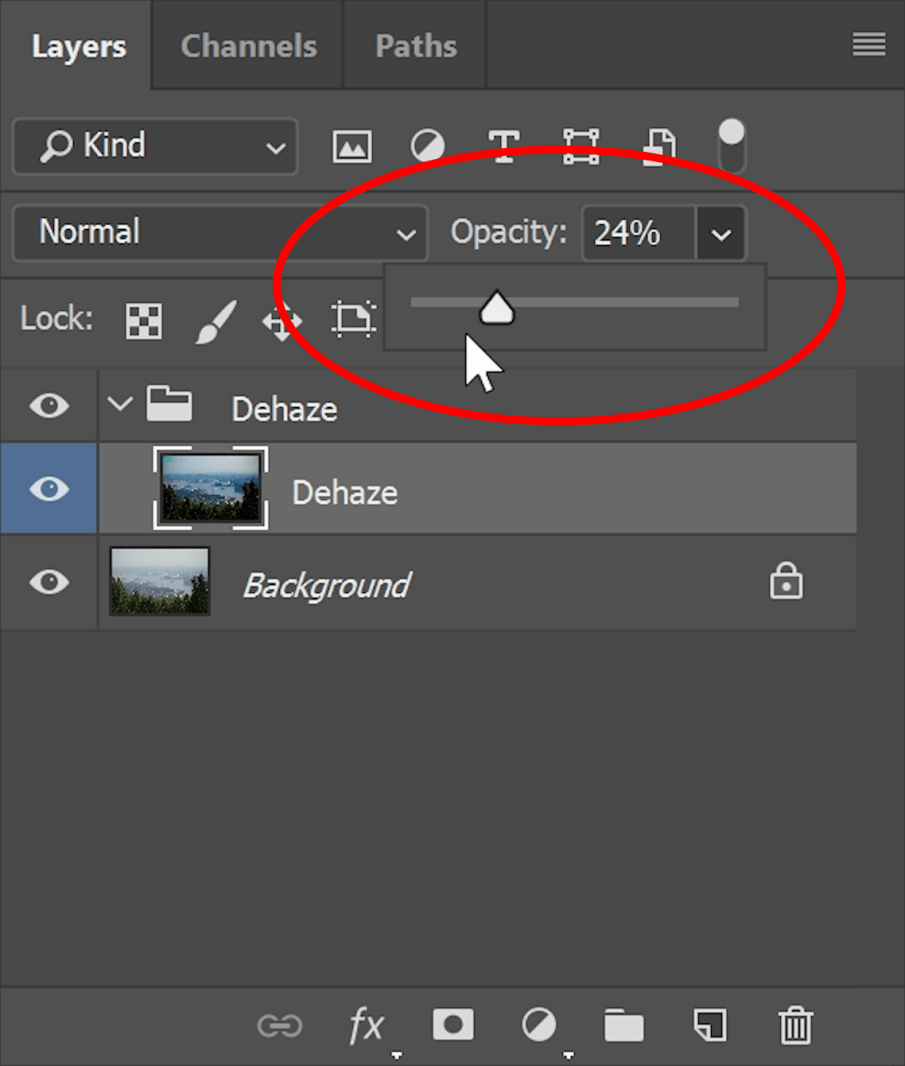
Next, if you want to reduce the strength of the effect, you can do so simply by lowering the layers opacity.

And there you go. The photo has now been dehazed and it looks much better than what we would have got if we just settled for the default Dehaze settings.
Ultimate Dehaze Pro Guide
In the Pro version, you can get access to additional dehazing algorithms. One of them is a flat version of the default Dehaze which can give photos a flatter appearance. I also included one of my dehazing algorithms which works differently and gives you full control over the layers.
Step 1
To use it, simply play the Play All Effects action and let it run. By the way, none of the actions are better than each other. The results will vary depending on your photo and it’s just giving more options to pick from.

Step 2
When the action is done playing, you can pick an effect from the History panel.

Denny’s Dehaze
If you end up using the Denny’s Dehaze action, you most likely have to tweak the layer settings. Let me show you what this algorithm does. The first layer here is a simple levels adjustment to increase the contrast depending on how hazy the area is. You can look into the layer mask by holding the Alt/Option key and clicking on the layer mask thumbnail.

You can also edit the parameters of this layer mask. To do this, make sure that you have the layer mask selected then go into the Properties panel. If you don’t’ see it, you can open it by going to Window > Properties. Here you can adjust the density and feather settings to fine tune the results.

The other two layers are simple. Basically the contrast layer will add more contrast to the entire image and not just the hazy areas. You can change the layer opacity to fade this effect.

The Exposure Correction layer simply corrects the exposure. Just like with the other layer, you can adjust the opacity to your preference.

Examples
Here are some examples of what you can get with these Photoshop actions.


