Learn how to emphasize freckles and add a dim moody effect in Photoshop. I don’t remember exactly where I saw this effect but I do remember someone asking about it in the postprocessing subreddit and I thought it’d be a nice tutorial especially for beginners who don’t have much experience with Photoshop. It’s an easy simple effect and you’ll be learning how to do this with a very minimal and nondestructive set of layers.
Enhancing Freckles
We’re going to start by enhancing the freckles. There are a couple ways to enhance freckles in Photoshop. In the past, I taught people how to use the yellow channel to hide or enhance freckles and it works very well. If you want to learn how to do that, it’s in my skin retouching video.
But for this tutorial, I’ll show you another way of doing it that is simpler, faster, and still gives you great results.
Step 1
Here’s how to do it. In the adjustments panel, add a Channel Mixer adjustment layer. If you don’t see this panel, you can open it by going to Window > Adjustments.
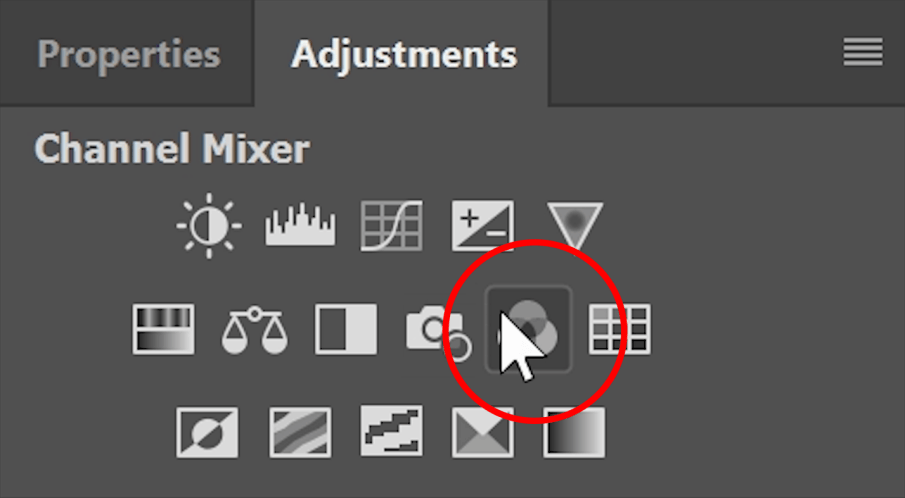
In the Properties panel, start by checking the Monochrome option which will make this layer black and white. Next, set the reds to -50, greens to -50, and blues to 200. You can also adjust the constant slider here if you need to adjust the brightness.
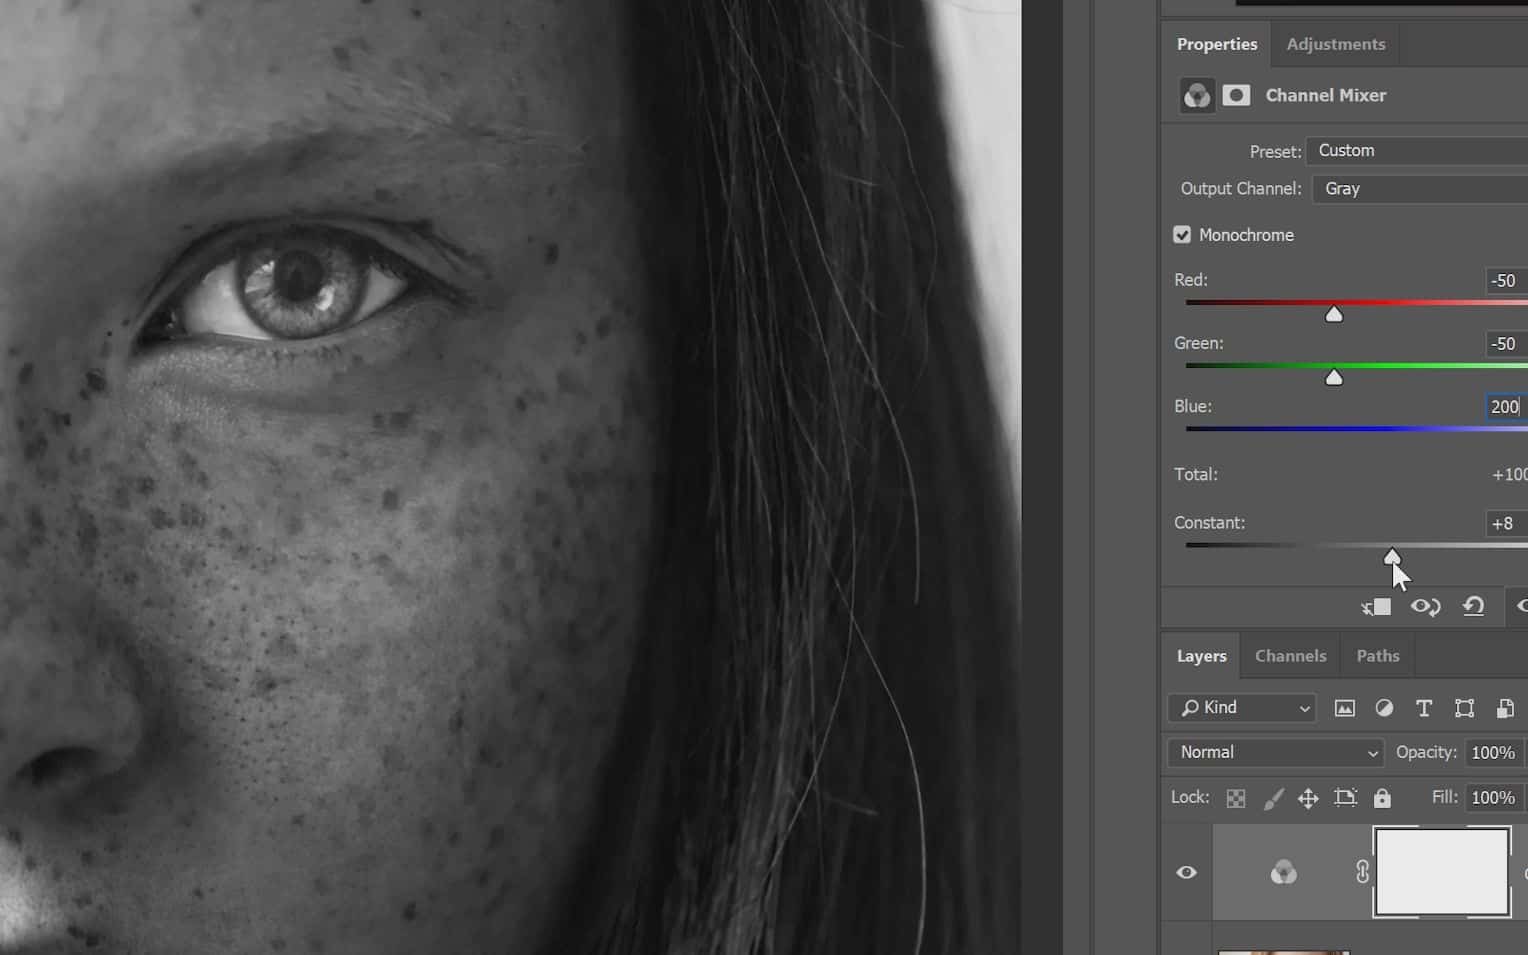
And as you can see with this black and white layer, it’s really emphasizing and bringing out the freckles.

Step 2
Next, change the blending mode of this layer to Luminosity and adjust the opacity.
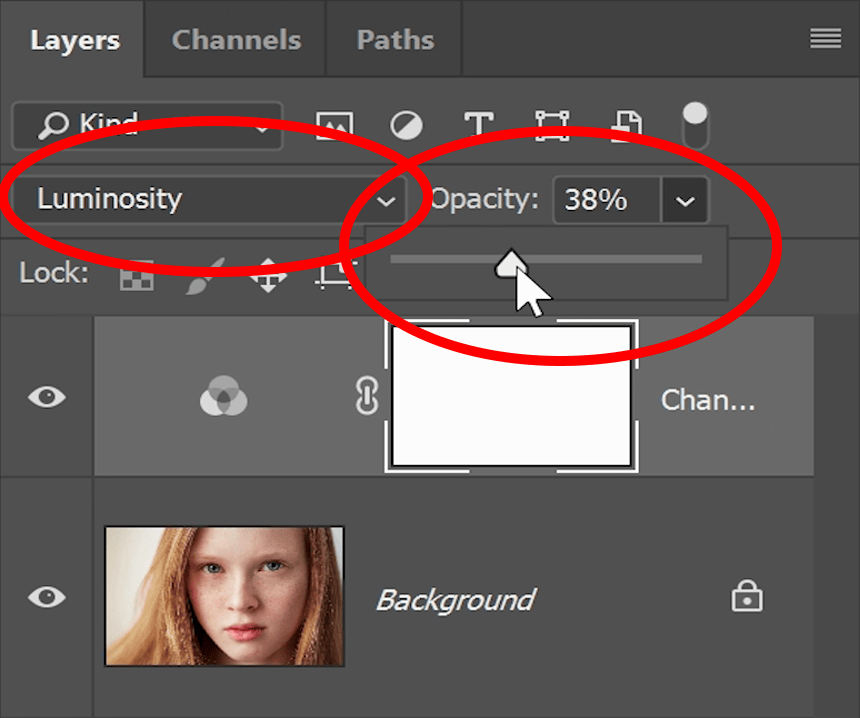
And by turning on and off this layer, you can see that it’s really emphasizing the freckles.


Step 3
If you only want this layer to affect the skin, you can paint in the mask. So start by selecting the layer mask in the layers panel and then press Ctrl or Cmd + I to invert it to black.
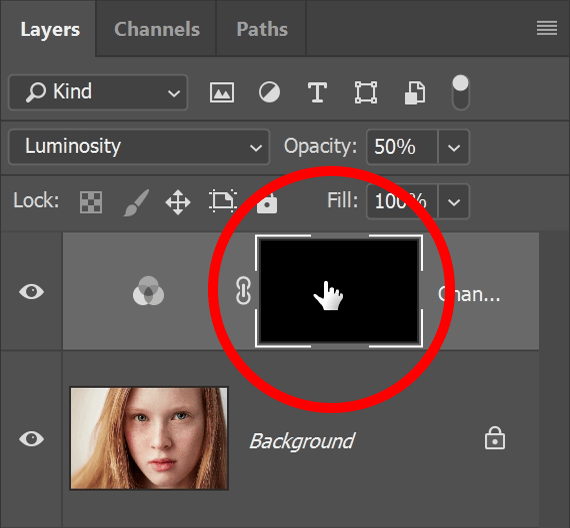
Select your Brush tool, make sure your foreground color is white, and then paint over the areas where you want the effect to appear.

Adding a Dim Moody Effect
Next, we’re going to add an effect that gives it a dim and warm effect using the tone curves which is the most efficient way of doing this. For this tutorial, the tone curve we’re going to apply is very simple and easy. So you don’t need to fully understand the tool to be able to follow along. But if you have the time, I highly recommend watching the tone curves video in the info card on the top-right corner. The tone curves is the most useful adjustment for photographers and you’ll find it in pretty much every image editing software including Lightroom, Affinity Photo, Capture One, and even some mobile apps like Snapseed and Lightroom Mobile.
Step 1
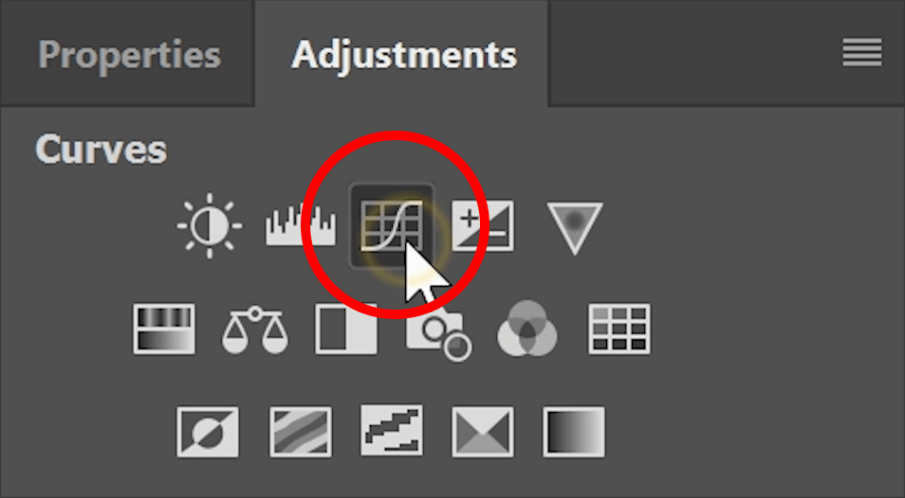
So here’s how to add the moody effect. In the Adjustments panel, add a Curves adjustment layer.
Here, we’re going to start with the RGB channel. Drag the top-right point downwards to dim the image like this.
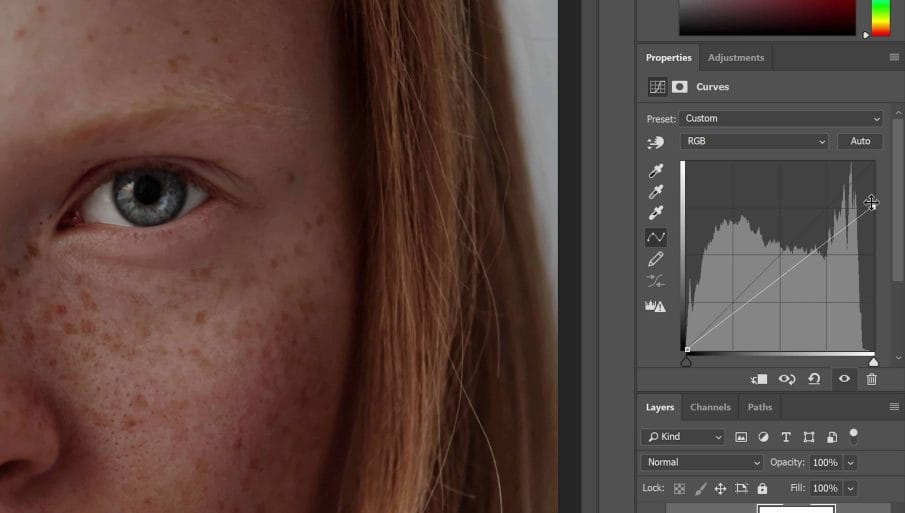
Next, click on the middle of the chart and add a point right in the center. This will restore the brightness a bit while still keeping the dim look.

Step 2
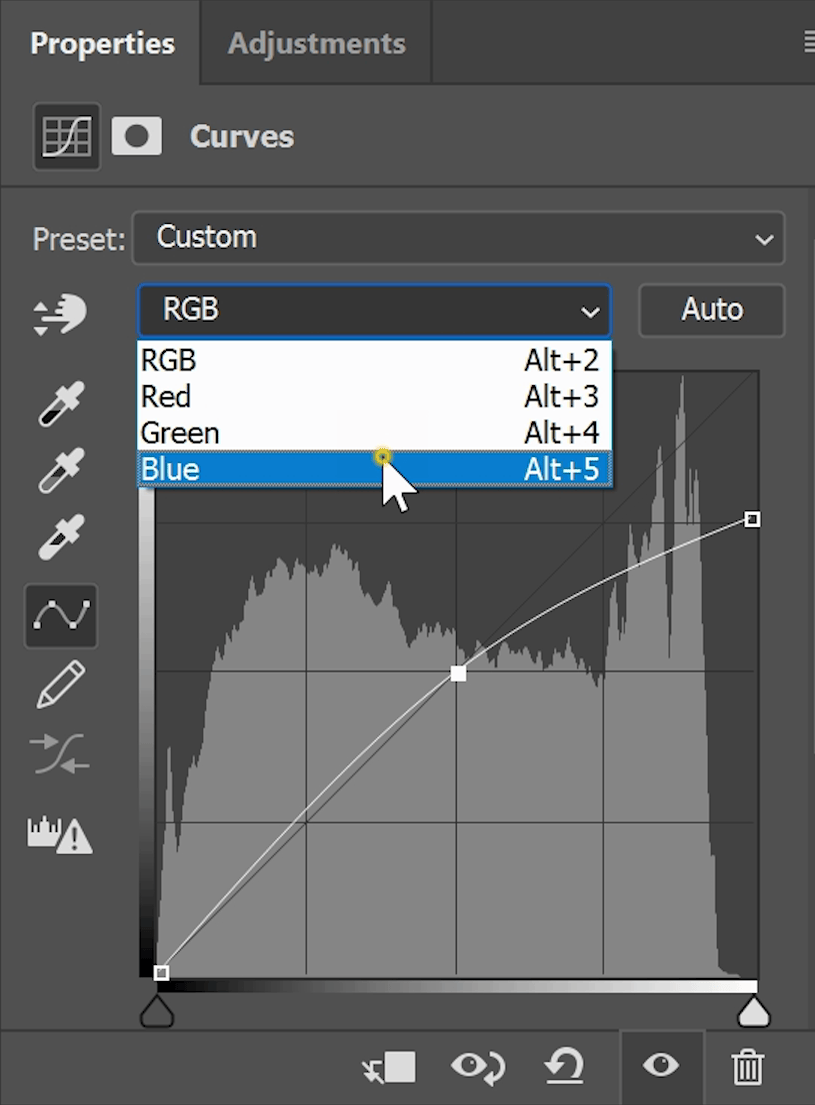
Next, click on the dropdown menu and switch to the blue channel.
For a lot of people, the red, green and blue tone curves is where people get confused the most. And for those of you who don’t know how to use the tone curves, he’s an easy way to understand how it work. Imagine the tone curves like this. This isn’t what it actually looks like in Photoshop but just imagine that it does. And keep this image in your head as you’re adjusting – it’ll make things so much easier.
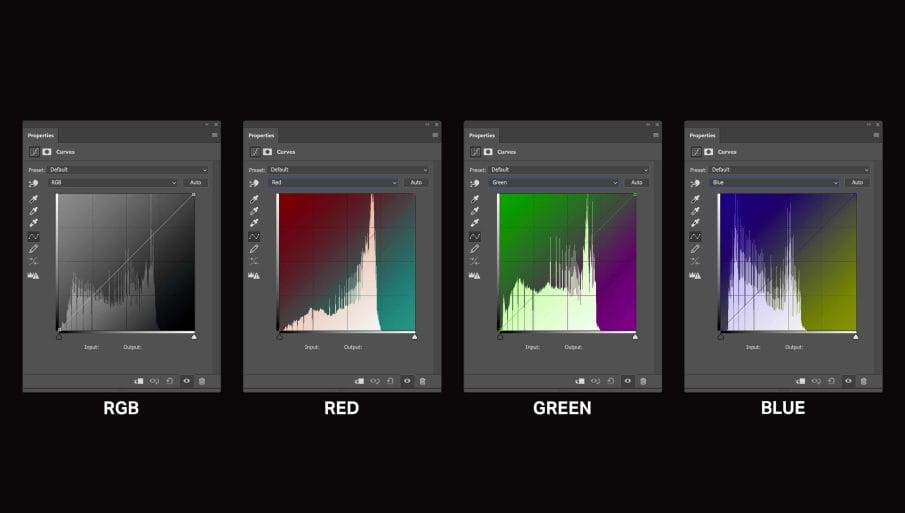
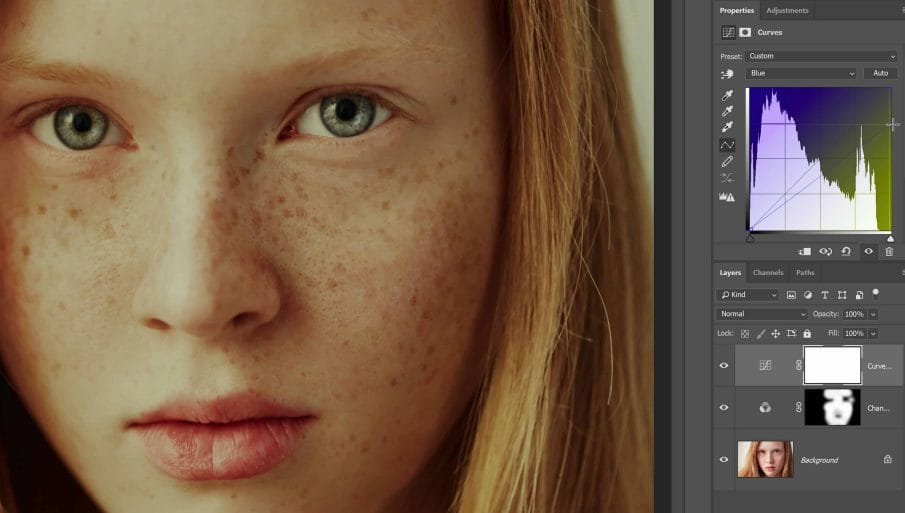
In the Blue channel, drag the top-right point downwards like this to tint the highlights yellow.
Next, lift the bottom-left point upwards like this to tint a very tiny amount of blues to the shadows.
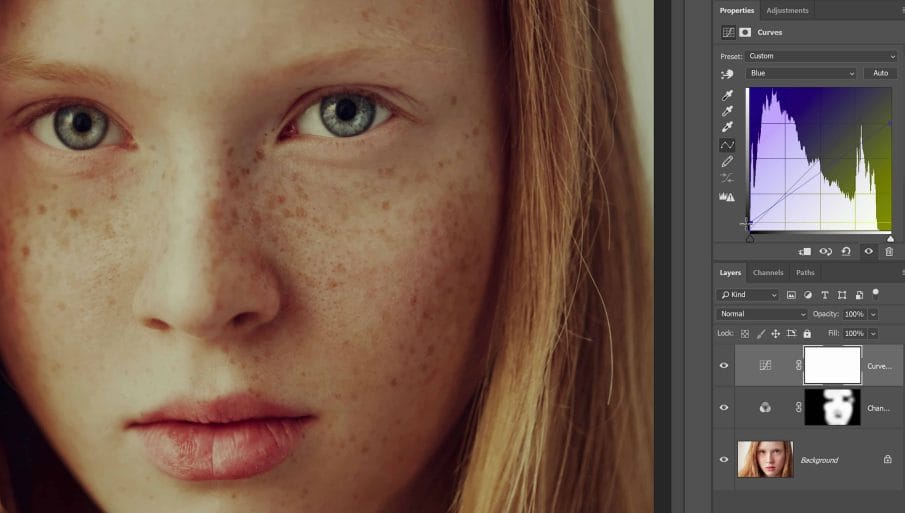
And we’re done. Here’s how the image looks like before, and after this adjustment. Using the tone curves is the best way to keep your layers minimal.


Simple Lighting Effect
To complete the image, we’re going to add a simple lighting effect with just one gradient fill layer.
Step 1
In the Layers panel, click on the New Fill or Adjustment layer button here and select Gradient Fill. By the way, you won’t find this in the Adjustments panel because it’s technically a fill layer not an adjustment layer.

In the Gradient Fill options, select the black to white gradient. If you don’t see this, you can click on the cogwheel icon and select Reset Gradients.

Next, set the style to Radial and checkmark the reverse option. Adjust the scale to however large you want it – I’ll set mine to 150%. Click OK when you’re done.

Step 2
We now have a gradient and to make it blend with your photo, change the blending mode to Soft Light. I’m also going to move this layer below the curves adjustment layer so that it doesn’t override the tone curves that we made earlier.

Step 3
Now we can reposition the light. To do this, doubleclick on the thumbnail to readjust the Gradient Fill settings.
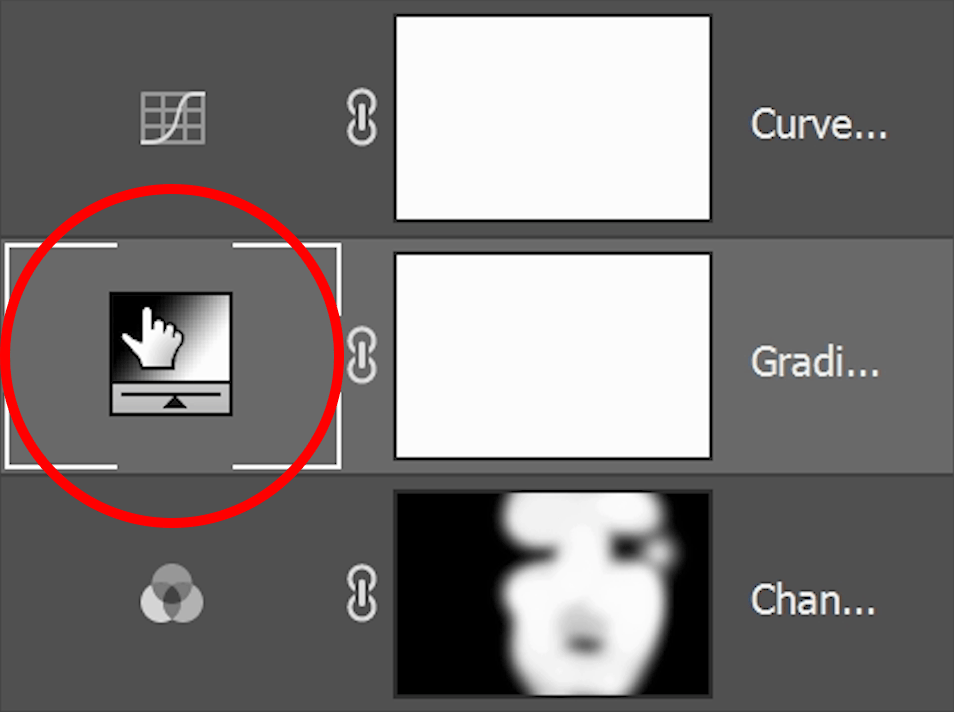
Click and drag on your document and you’ll notice that the light moves around wherever your mouse is. I’m going to position mine around the face and I’m also going to adjust the scale to enlarge the gradient.
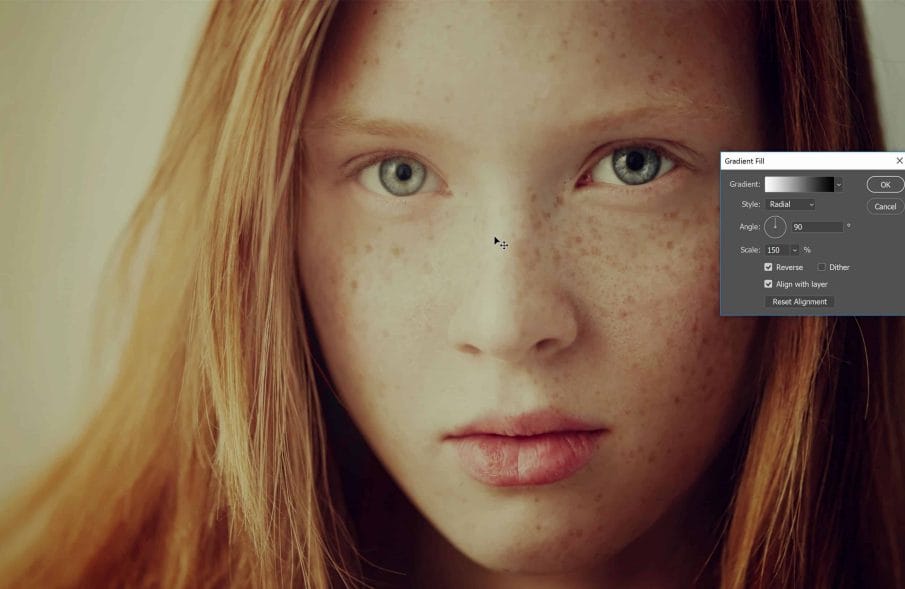
If we turn on and off this layer, you can see that it changes the lighting a lot. Unlike a traditional vignette, this gradient overlay can be repositioned anywhere and it’s a great way to add focus to your photo.


Final Results
We’re done! Here’s how the photo looks like before and after.


