This week I updated one of my best selling products – Double Exposure Kit. This product was created in 2015 but it’s still being used by a lot of people and so I released another update for it which includes more textures and blending modes. This product lets you can easily create awesome-looking double exposure photos in a short amount of time. There’s a free version that will let you create basic double exposures and if you want to get more creative, the pro version will give you way more Photoshop actions, textures, and gradients.
Free Download
The free version lets you create simple double exposures with:
- 3 Double Exposure Blending MOdesblending modes
- 3 High-Res Textures
- 3 Double Exposure Gradients
Double Exposure Kit (Pro Version)
The pro version gives you a lot more features including:
- 20 Double Exposure Blending MOdesblending modes
- 30 High-Res Textures
- 10 Double Exposure Gradients
- Automatically fixes common document issues
The pro version can be purchased at SparkleStock or Creative Market. Thank you for your support!
What’s new in Version 3.0
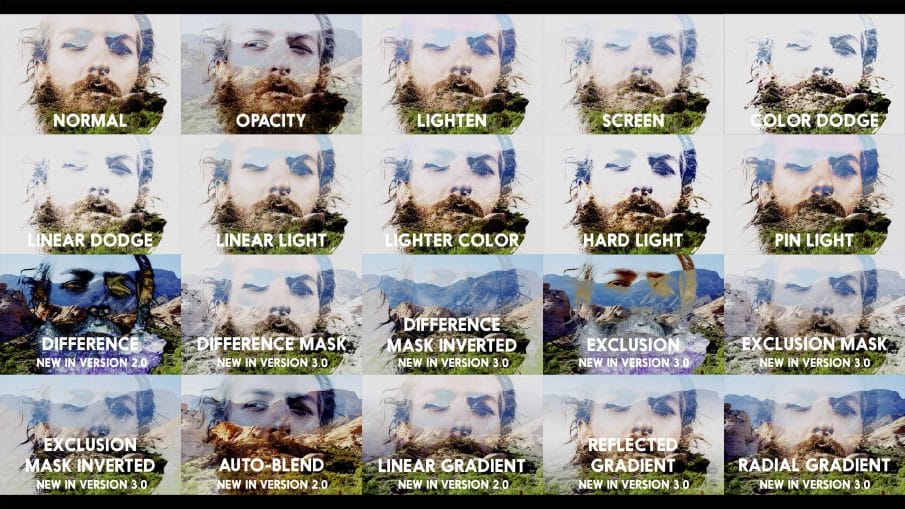
Version 3 includes new blending modes including Difference Mask, Exclusion, Exclusion Mask, Radial Gradient and Reflected Gradient. There are also other tweaks such as a stronger Fade layer so that you can control how much fade to increase or decrease simply by changing the layer opacity.
How to Use Double Exposure Kit
Let me show you how to use the Photoshop actions. Start by creating a document with two layers – one of your foreground and background image. To do this, I’ll start off by opening a texture as the background. Then I’ll drag and drop the foreground image into Photoshop which will place it as a new layer. There’s no rule to what type of photo you can use but generally people like to use a high contrast silhouettes like this one.

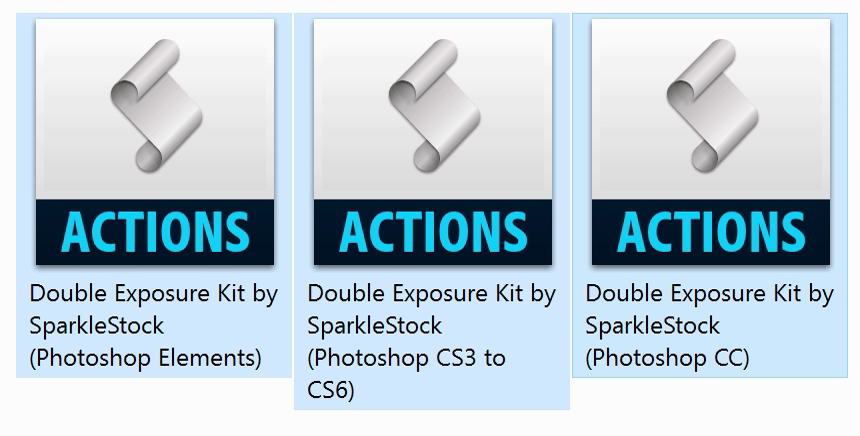
If you don’t already have the actions loaded, simply doubleclick on the ATN file and it’ll show up in your Actions panel. Make sure that you’re loading the right ATN file. There’s three ATN files depending if you’re using Photoshop Elements, Photoshop CS3 to CS6, or Photoshop CC. Photoshop CC has some special features such as error detection which can automatically fix common issues. Asides from that, the Photoshop CS3 to CS6 runs pretty much the same.
You’ll be able to find the actions in the Actions panel. If you don’t see this, you can open it by going to Window > Actions. If you’re using Photoshop CS3 to CS6, you’ll need to p lay the “Unlock background Layer” action first. With the Photoshop CC actions, it’ll do this automatically.
Next, select the “Play All Effects” action and let it run. This action plays all 20 of the actions which saves you a lot of time compared to playing them one-by-one. If you’re using Photoshop Elements, unfortunately you don’t have this action and but you do have every single effect there and you can play the actions individually.
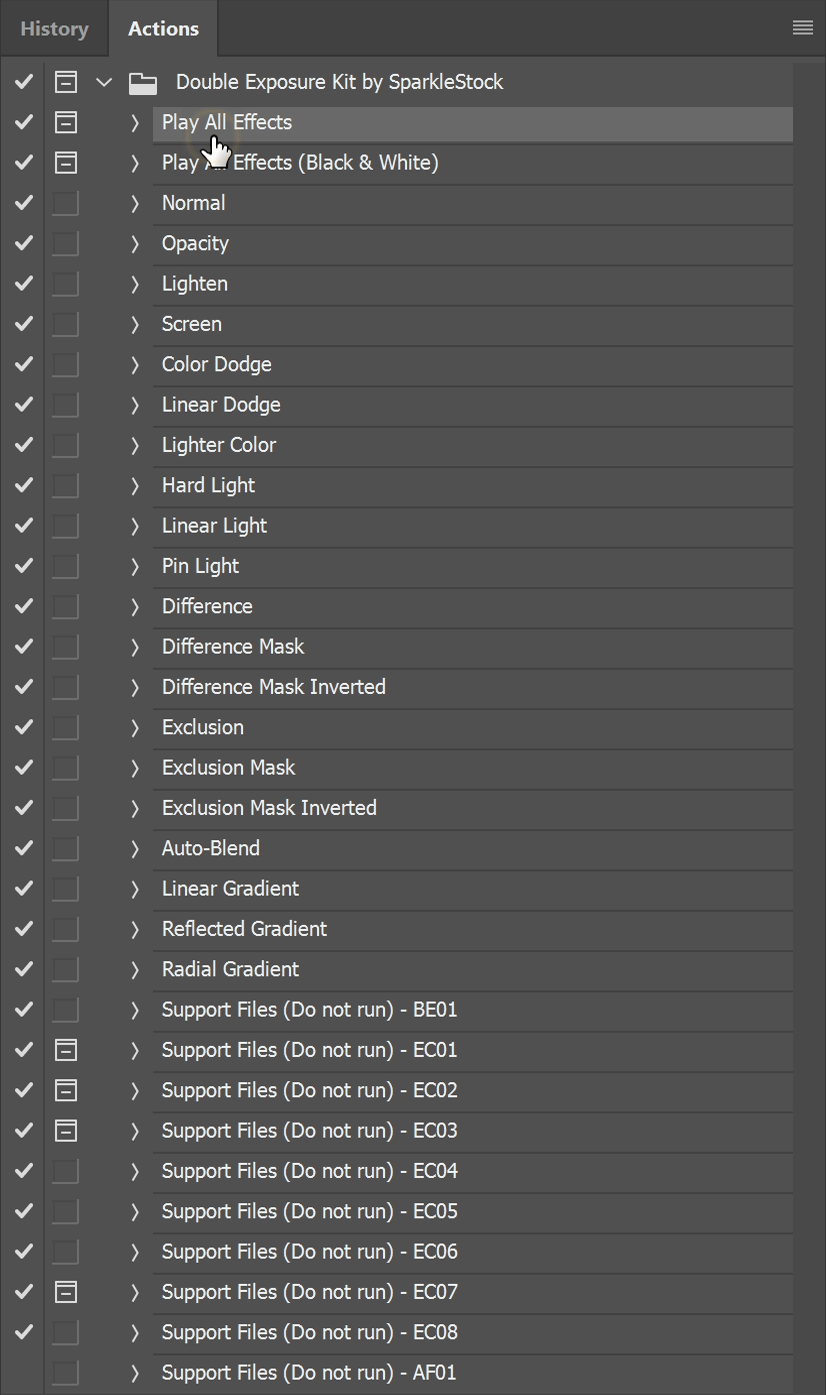
When it’s done playing, go to the History panel and pick an effect. The effects will show up immediately because they’re all prerendered. This is a feature that I implement on a lot of my products because it just saves you a lot of time.
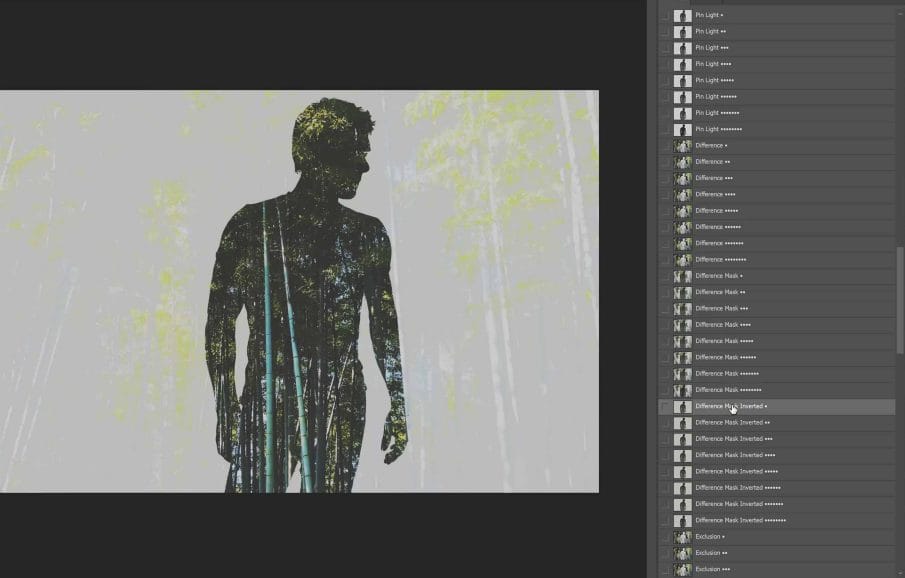
There are many ways to create double exposures and now you can experiment with a bunch of techniques with just by playing one single action.
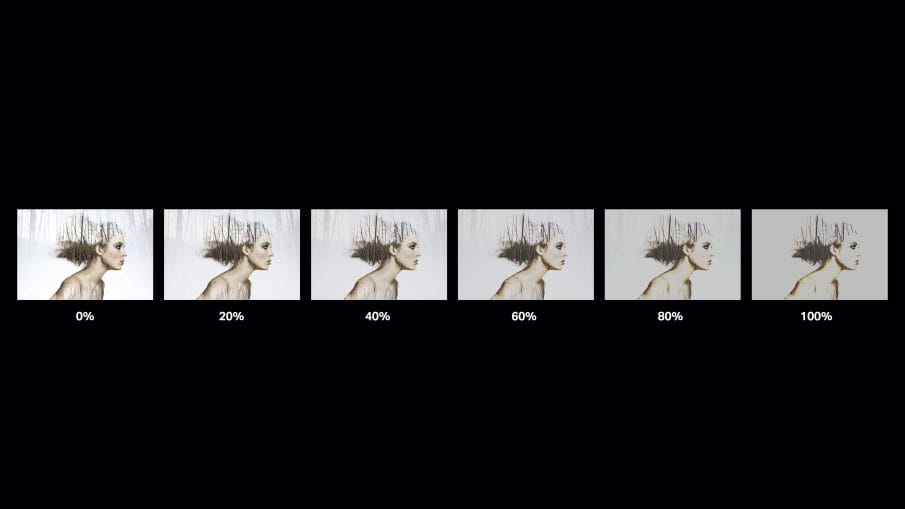
By the way, all of the effects have fully editable and nondestructive layers so you can go in and edit the layers. You can adjust the opacity of the fade layer which gives your photo the faded film look. The contrast enhancement layer can be turned on or off to increase the contrast of your foreground layer.
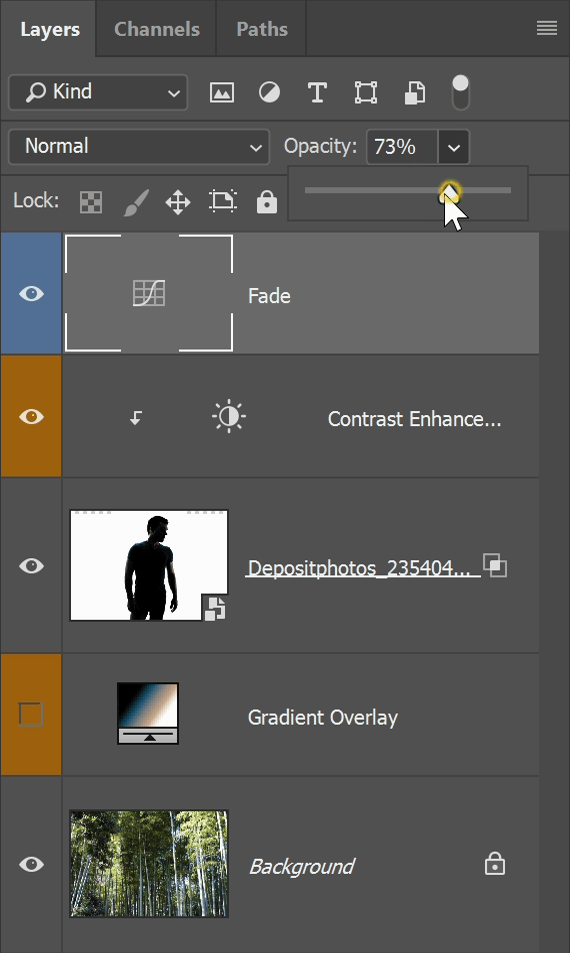
Finally, there’s a Gradient Overlay layer which you can use to add a gradient. A lot of times, you’ll find that gradients work very well with double exposures. This product includes a bunch of pre-made gradients that work great with double exposures. You can load it simply by doublelclicking on the GRD file. Once the gradients are loaded, you can edit the gradient layer and pick any gradient you like.

If you want to experiment with other textures, simply drag and drop the image into your document and move it to the bottom of your layer stack. I usually like to load at least a couple textures and experiment to see which one looks the best. This will work with every blending mode except for Auto-Blend – for that one, you’ll need to play the action again.

And just like that, we now have a pretty cool looking double exposure photo with fully editable layers.
Examples
Here are some more examples created with this product. Double Exposures are really fun effects to create and these actions can let you experiment with a lot of different techniques in a short amount of time. Try them out and let me know what you think. You can find the download link in the video description below. There’s a free version if you just want to do basic double exposures or if you want something more advanced, you can upgrade to the pro version. And if you do, thank you so much for your support. Your contributions help support me and my channel so that I can continue creating add-ons and tutorials for you and everyone.


