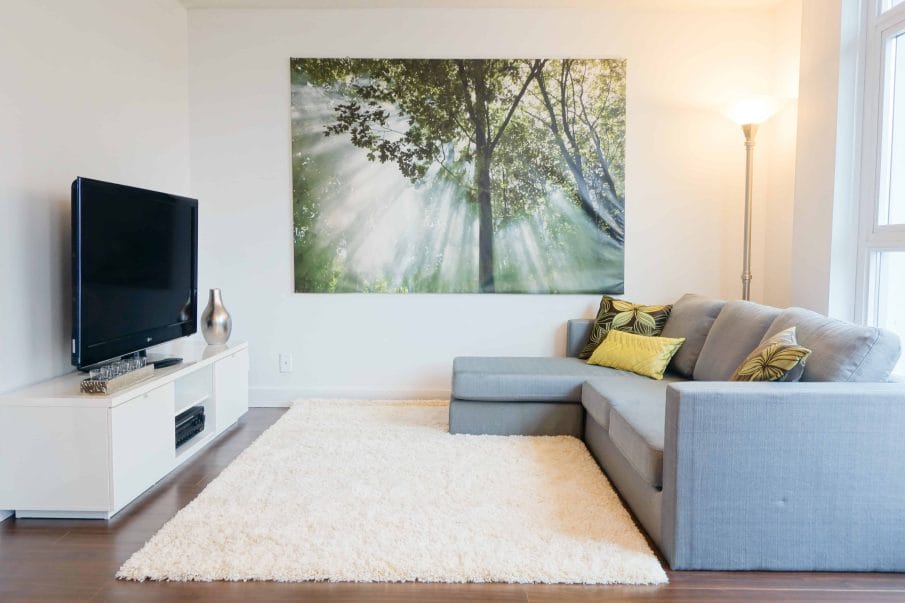
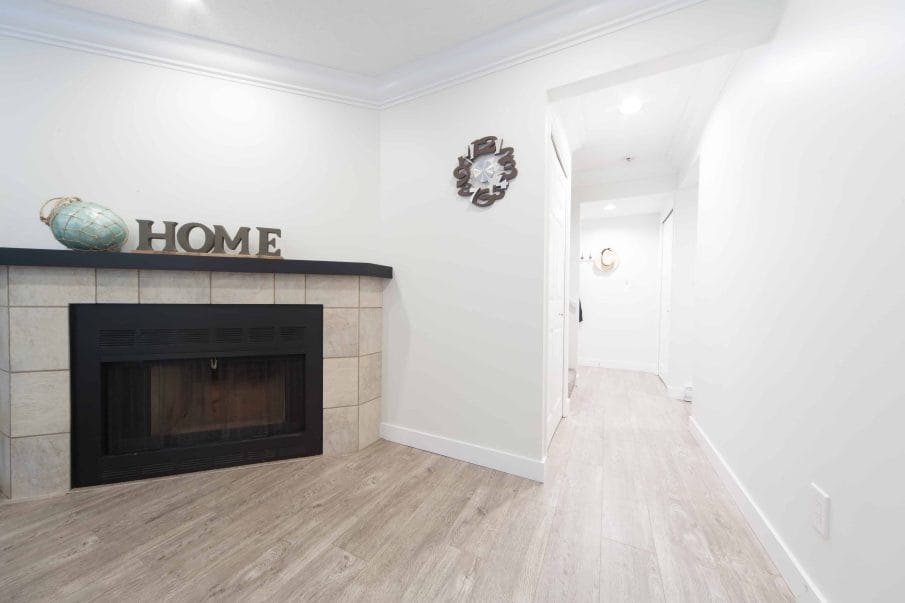
Learn how to even out the tones and colors of your photos with Adobe Lightroom or Adobe Photoshop’s Camera Raw filter. When your photo has mixed lighting, it feels like you can never get the proper white balance. Or maybe you can’t get the proper exposure without overexposing other areas. In this tutorial, you’ll learn a retouching technique to even out the brightness and white balance in an easy and quick way.
Shoot in Raw
First of all, it’s best to shoot your photos in Raw mode instead of Jpeg. Raw files give you way more leeway especially when it comes to white balance. When you open Raw files in Photoshop, it’ll automatically open Adobe Camera Raw.

But if you’re working on a Jpeg photo, open it in Photoshop, right-click on the layer and convert it to a Smart Object. This lets you use the Camera Raw filter as a Smart Filter which essentially lets you can go back and change the settings anytime you like.

You can find the Camera Raw Filter in the Filter > Camera Raw Filter menu. Keep in mind that this is just giving you access to the Camera Raw tools but the results won’t be the same as what you’d get when you’re editing a Raw file.

Lens Correction
The first adjustment we’re going to make is not actually the white balance or exposure. It’s the Lens profile which you can find in the Lens Correction area. Checkmark the Enable Profile Corrections option and it’ll automatically correct the distortion and vignetting. This will only work if Adobe has the profile for your lens. If not, you can go into the Manual settings and adjust it manually. For mine, I’m going to reduce the amount of distortion correction because the profile tends to overdo it.

So why are we doing this as the first step. It’s because most lens produce vignetting which is the darkening of the outer areas of your photo. This lowers the overall brightness. Sometimes your photo is properly exposed but it looks slightly underexposed because of the vignetting. So by correcting the vignetting first, we can more accurately fix the exposure afterwards.


Fixing the Exposure and White Balance
Next, adjust the exposure and white balance as you’d normally do. For the exposure, simply adjust the exposure slider. If your photo’s white balance is completely off, it’ll be hard to get the correct exposure so in that case, fix the white balance first.

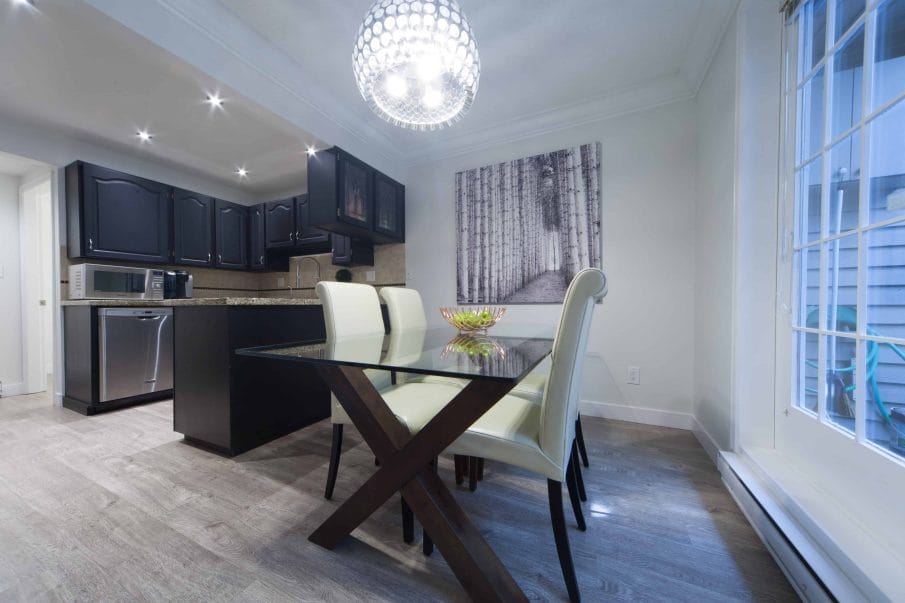
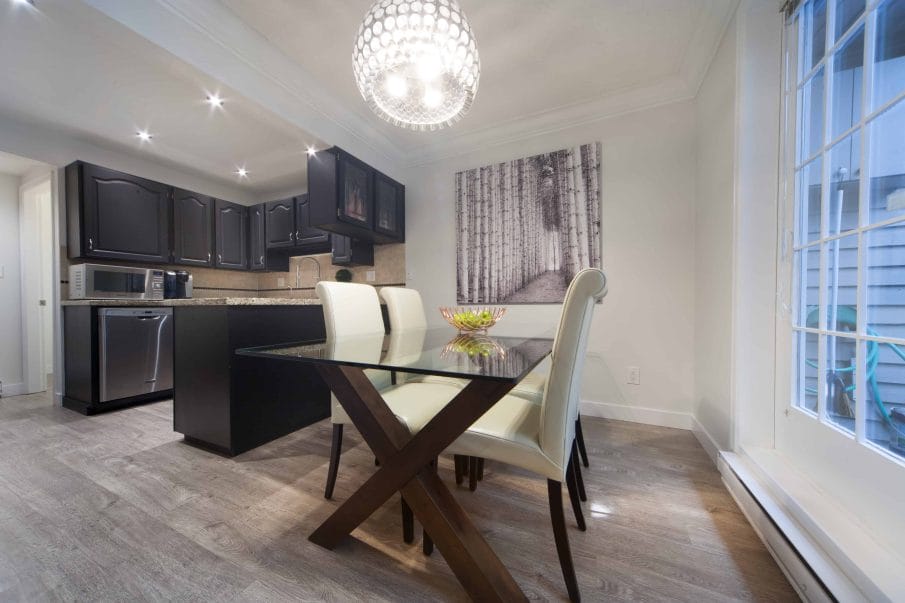
For the white balance, you can use the White Balance tool here and click on an area that should be neutral color. But for photos like this one, it feels like you can never get the perfect white balance. And that’s because of mixed lighting. We have warm light bulbs inside the home but the glass door on the right is casting blue light. So for situations like this, fix the white balance for one side and then we’ll selectively adjust the white balance in the next step.

Making Local White Balance Adjustments
We’re now going to make some local adjustments. Let’s start off with the white balance. Select the Radial Filter tool and then drag to create an oval like this.


Next, right-click on the dot in the middle of the oval and select Reset Local Correction Settings.

Adjust the white balance. For my image, I’ll make it warmer by moving the temperature slider towards the right.

If it looks like the effect is being applied outside the oval, make sure that the effect setting down here is set to Inside. You can also adjust the Feather setting to control how gradual the change is.

Keep adding more radial filters to balance out the white balance.

Here’s how the image looks like before and after.
Making Local Exposure Adjustments
Next we’re going to do the same thing but with the exposure. This is great for the areas in your photo that aren’t so well lit. Just like before, add radial filters but instead of adjusting the white balance, adjust the exposure. Keep in mind that the tool will automatically use your previous setting so be sure to reset the white balance back to zero.

There’s also no problems if you want to do two or more adjustments in the same filter. I’m just doing it one setting at a time to make this tutorial easier to understand.

To switch back to the regular settings, click on the hand tool here. If you’re using Lightroom, you can click on the Radial Filter tool again to deactivate it.

Here’s how the image looks like before and after.

More Examples
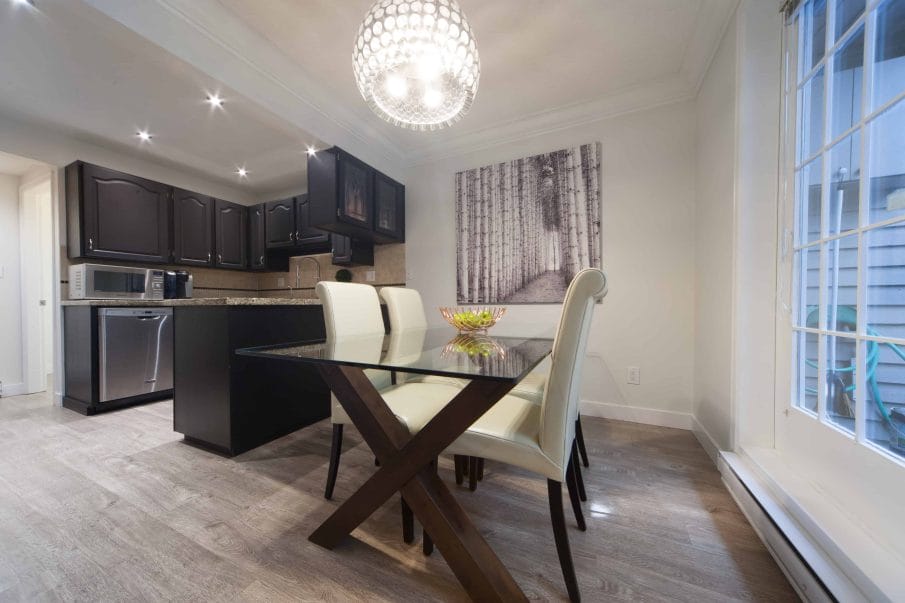
And here are more examples of what you can achieve with this technique. This is a quick and simple way to improve your photos. It’s good for things like typical real estate photography where mixed lighting is common and you want to finish the retouching quickly. By using Radial filters, you can even out the tones and colors in a short amount of time.
