Here are some really cool Photoshop actions and LUTs that will transform the colors in your photos to a variety of orange-teal and orange-blue effects. They’re very easy to use. The Photoshop actions are fully editable and nondestructive. You’ll also get LUTs that you can use in other software such as Adobe Premiere, After Effects, Final Cut Pro, Affinity Photo, and more.
Free Download
This version is completely free and includes my favorite Berlin Orange & Teal look.
- 5 Orange & Teal Looks
- 5 LUTs
- “Play All Effects” Action
- Fully Editable Layers
Orange and Teal Pro
The pro version gives you a lot more looks and features.
- 16 Orange & Teal Looks
- 16 LUTs
- 16 Stackable LUTs
- “Play All Effects” Action
- Fully Editable Layers
- Face Detection Skin Tone Masking (Photoshop CC)
- Automatically Fixes Common Errors (Photoshop CC)
Orange and Teal Pro can be purchased at SparkleStock or Creative Market. Thank you for supporting me – I really appreciate it!
How to use the Photoshop Actions
This download includes both LUTs and Photoshop actions. If you’re using Photoshop, you definitely want to use the Photoshop actions over the LUTs because it’s more flexible.
After downloading the file, you can load the actions simply by doubleclicking on the ATN file. Note that there are several ATN files for different versions of Photoshop. So check the filename and open the one that matches your version of Photoshop.

Once you have them loaded, you can find them in the Actions panel. If you don’t see this panel, you can open it by going to Window > Actions. Here in the Actions panel, you can find all of the effects. Select the Play All Effects action and then hit the Play button. This action will prerender all of the effects and it’ll save you so much time compared to playing them one-by-one. By the way, if you’re using Photoshop Elements, this feature is unfortunately unavailable and you’ll have to play the actions one-by-one. But the download does include a handy reference chart for you to use.

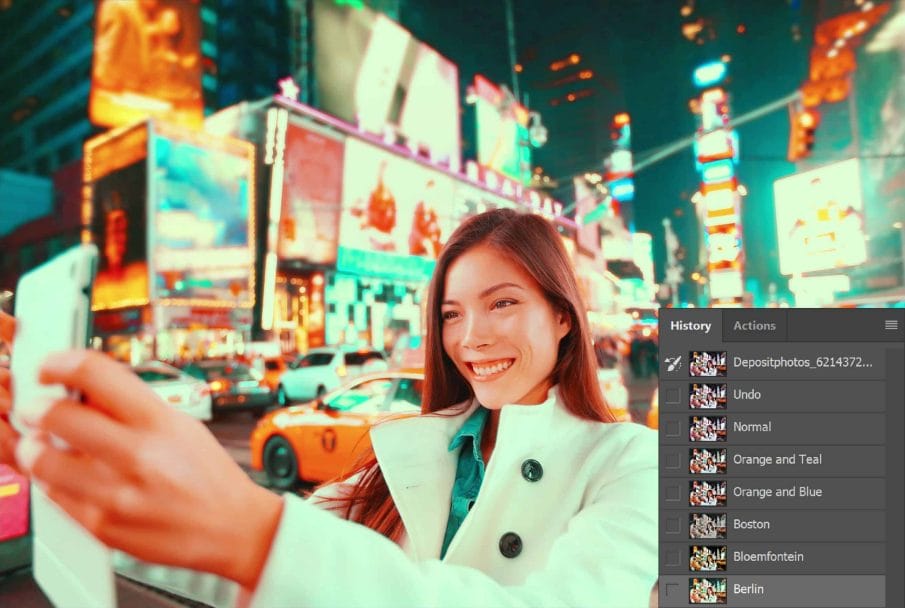
Once the actions are done playing, you can pick an effect from the History panel. If you don’t have the panel opened, you can click continue and it’ll open it for you. The first thing you’ll notice is that the effects show up instantly and that’s because they’re all prerendered.

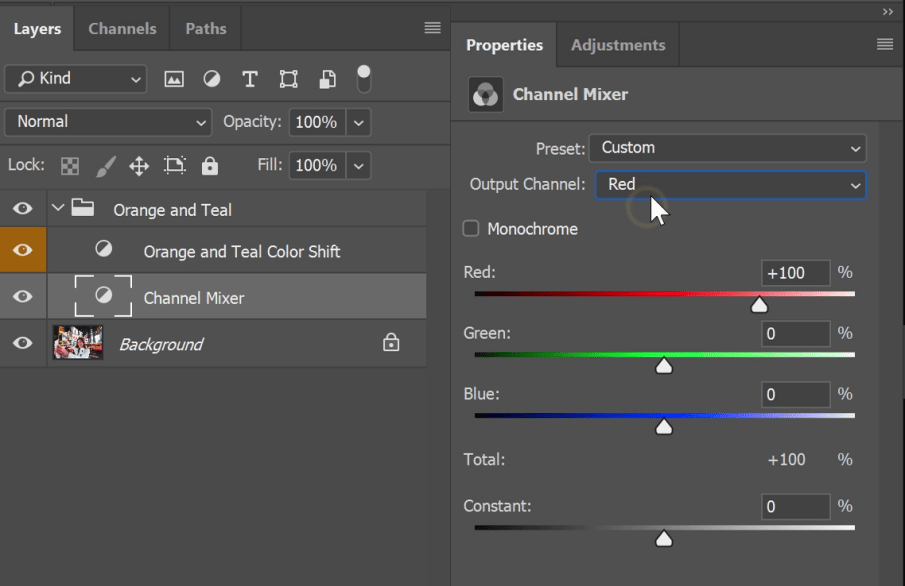
Also, all of the layers are fully editable and nondestructive. It won’t merge your layers or use any tricks to hide any the techniques. You can go into the layers and find the exact formula. And I also encourage you to do this because I think it’s a great learning experience.

By the way, my favorite look is this Berlin look here. I purposely included my favorite look in the free version because I want everyone to be able to try it out regardless of your financial situation. I spent an entire day tweaking this effect, experimenting with it on a ton of photos, and really just trying to perfect the look.

Unlike the standard orange and teal look where the colors are either orange or teal and nothing else, the Berlin look keeps a lot of the colors. It’s also not like most typical vintage looks that are dull and faded. My goal was to create something that was the opposite. Something that still gives you the retro vintage feeling but using bright vibrant colors.

It works great for busy city photos with lots of lights and colors. It also works great on sunset or sunrise photos with the warm highlights and cool shadows.

For daytime photos like this one, which by the way was provided by an awesome photographer from Vancouver named Geoffrey Yuen (thank you Geoffrey for the photos!). When you use the Berlin look in daytime photos like this one, the teal looks unnatural. So the solution I came up with is to have a separate layer for the teals and you can fade it simply by changing the layer opacity.


Pro Version
If you upgrade to the pro version, you’ll get a lot more features. First of all, if you get the pro version, thank you so much for supporting my channel. I really appreciate it.
In the Pro version, you’ll get 11 additional looks.

Just like with the free Photoshop actions, all of the layers are fully editable and nondestructive. The pro version takes that a step further with a special version just for Photoshop CC. If you’ve used any of my other products, you know that I really make use of all the features in Photoshop CC.

The first feature of the Photoshop CC edition is that it has built-in error detection. So if your image is for example in the wrong color mode, instead of getting an error message, the actions will try to find the problem and fix it for you automatically.

The second feature is automatic skin tone masking. So sometimes a look will give you undesirable skintones. For example, this Busan look applies a very consistent color grading throughout the entire photo. But your client might not like the skin tones so pale and white. So what you can do is click on the layer mask here to turn it on and that will restore the skintones. This mask is automatically created, and because it uses the Photoshop’s face detection feature, it’ll work best if there is a face in the photo for it to use as a reference.

Right now, she looks very tanned in comparison to the brightness of the photo.

We can fix this by going into the Properties panel and adjusting the feather setting which will blur the layer mask. And right now it already looks much better.

You can adjust the Density setting which is like adjusting the opacity. I’ll set mine to around 80%.

And now you can see that the photo still has the same color grading but the skin tones look much more natural.


The final feature you get in the Pro version are what I call stackable LUTs. These stackable LUTs act like layers and you can combine and adjust the opacity of the individual LUTs to get the look you’re going for. For example, with the Berlin look, it natively has this teal color to it which you might be too strong for some photos or videos. And now with the stackable luts, you can customize to your liking simply by adjusting the LUTs opacity.

Examples
Here are some examples of what you can achieve with these Photoshop actions and LUTs. And once more, special thanks to Geoffery for providing his photos for this video. Check out some of his works on Instagram.
And speaking of Instagram, I also have account now and if you want to see what the behind-the-scenes, what I’m working on, and other stuff that you don’t see on my YouTube channel, you can follow me and my username is dennystips.
Finally, if you need any help with this product, there’s an instructions.html file and inside there, you can find a link where you contact me directly.


Hey, thank you for your work – how do I get them into Affinity?