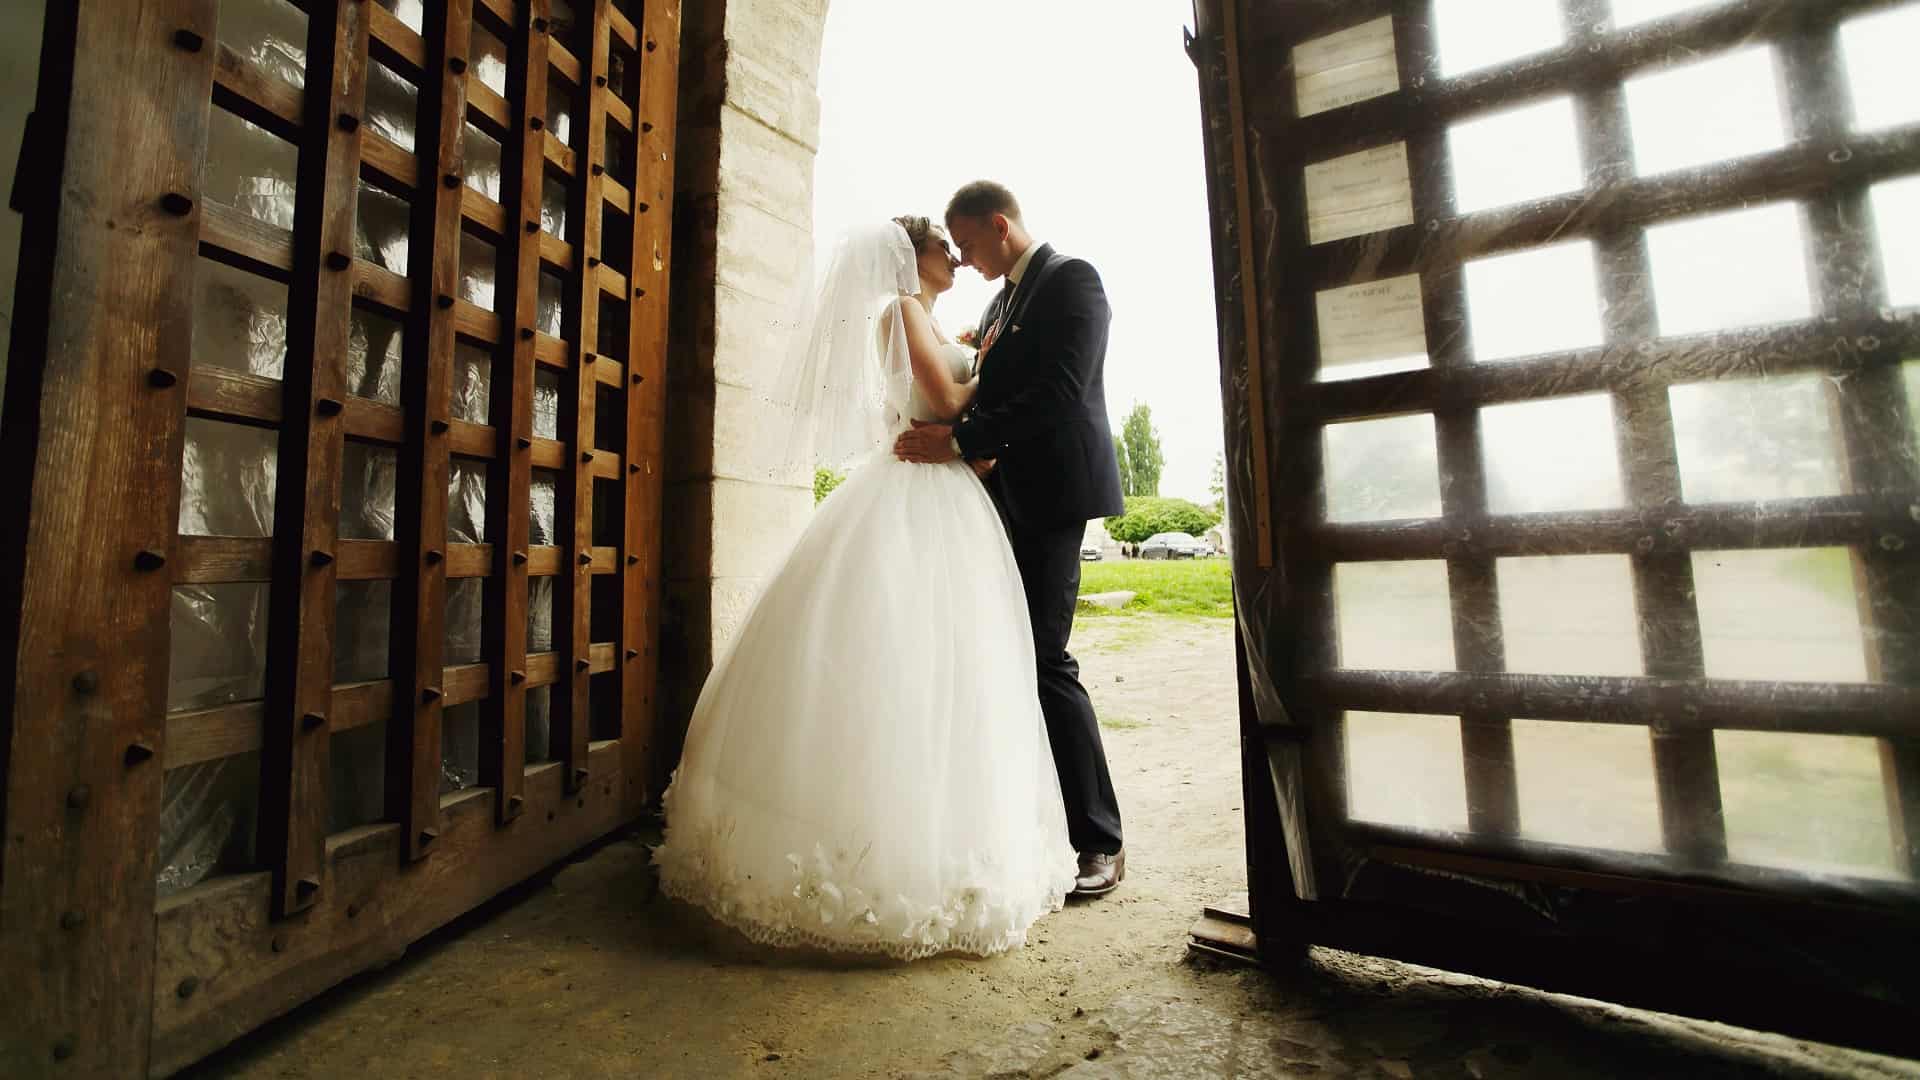
In this Photoshop tutorial, you’ll learn how to make your photos look more dramatic by adding puddles. You’ll start off by cutting and pasting parts of your photo to create a fake reflection. Then you’ll paint in the puddle with a layer mask and tweak the settings to make it look realistic. Finally, you’ll finish it by adding a subtle ripple effect to the puddles. And you’re going to do all of this using nondestructive editing techniques with a very minimal set of layers.
Choosing the Right Photo
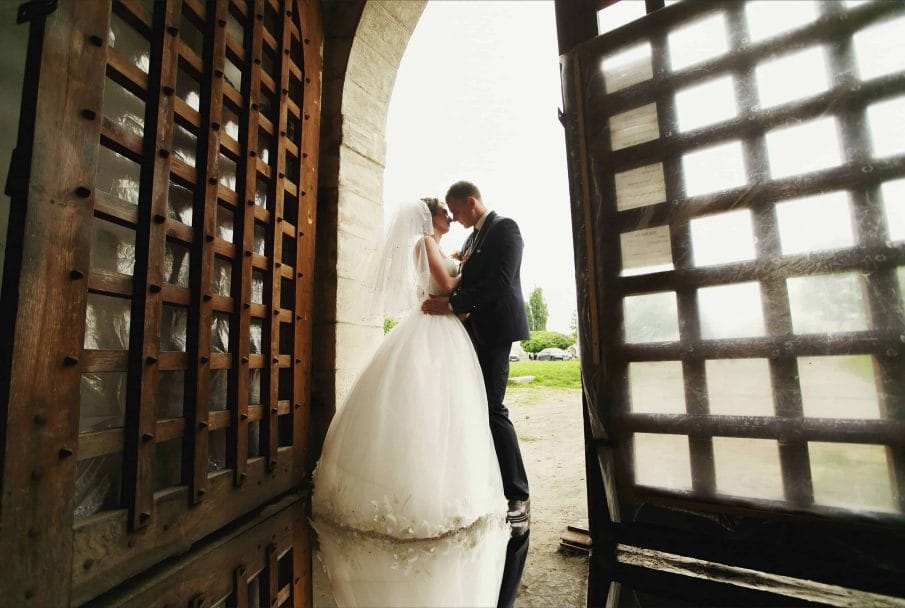
Before you begin, you’ll need to choose the right photo. A photo on a cloudy day or after a rainfall will work the best. For sunny photos, it’s a lot harder to make the puddles look believable and sometimes it just won’t work.
So if this is your first time following this tutorial, start off with a cloudy photo like the one we’re using. By the way, we’re using a stock photo and if you want to follow this tutorial with the same image, you buy this photo. Or you can just use your own.

Creating the Reflection
Step 1
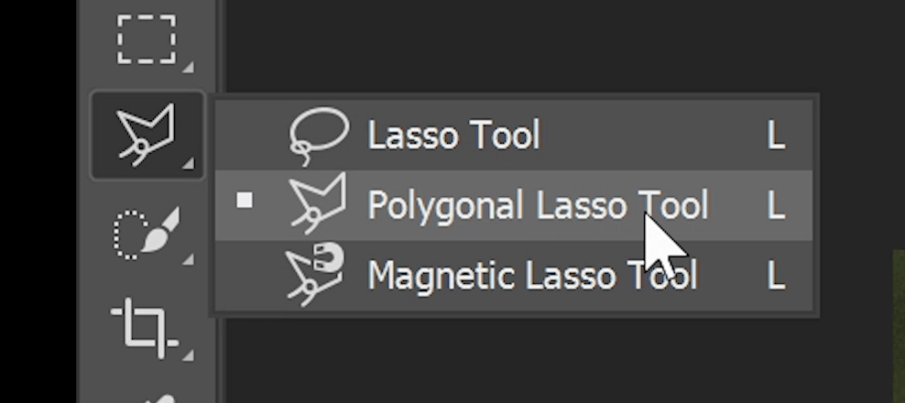
The first step is to create a fake reflection by cutting, pasting, and flipping different areas in the photo. Let’s start with this door here. We can make a selection of it with the Polygonal Lasso tool and simply draw a selection around the door. By the way, we only need the bottom half and the selection doesn’t need to be overly precise.


Step 2
Duplicate the layer by press Ctrl/Cmd+J. Before we transform this layer, right-click on the layer and then choose Convert to Smart Objects. This will let us do the transformation nondestructively.

Step 3
Next, press Ctrl/Cmd+T for the Transform tool then right-click inside the box and select Flip Vertical. Don’t press enter yet.

Position the layer so that it’s on the bottom of the door. It’s not going to match so we need to skew the transformation by right-click in inside the box and choosing Skew. Now we can drag the side vertically to make it align with the door.


Step 4
Repeat this for the other objects.

Step 5
The last object to create a mirror of is the bride and groom in the middle. This one’s a little different because it’s a more complex shape. The easiest way to create a selection for this is to use the Quick Selection tool.
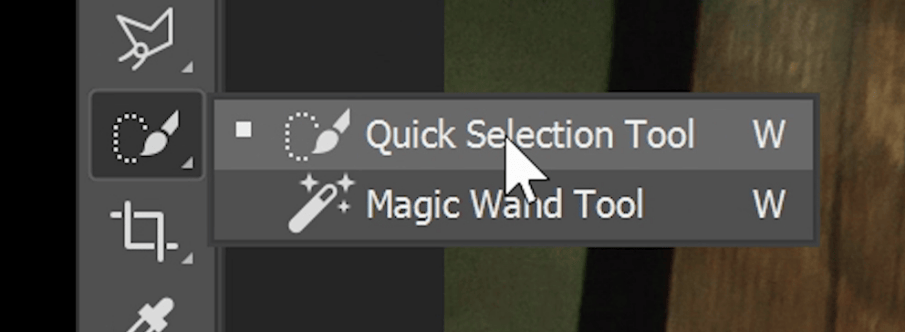
With this tool, you can simply brush over the areas that you want to select. If you want to remove an area from the selection, you can do so by holding the Alt/Option key and painting over the areas that you want to remove.

Step 6
Once we have the selection, select back the background layer then press Ctrl/Cmd+J to duplicate it.
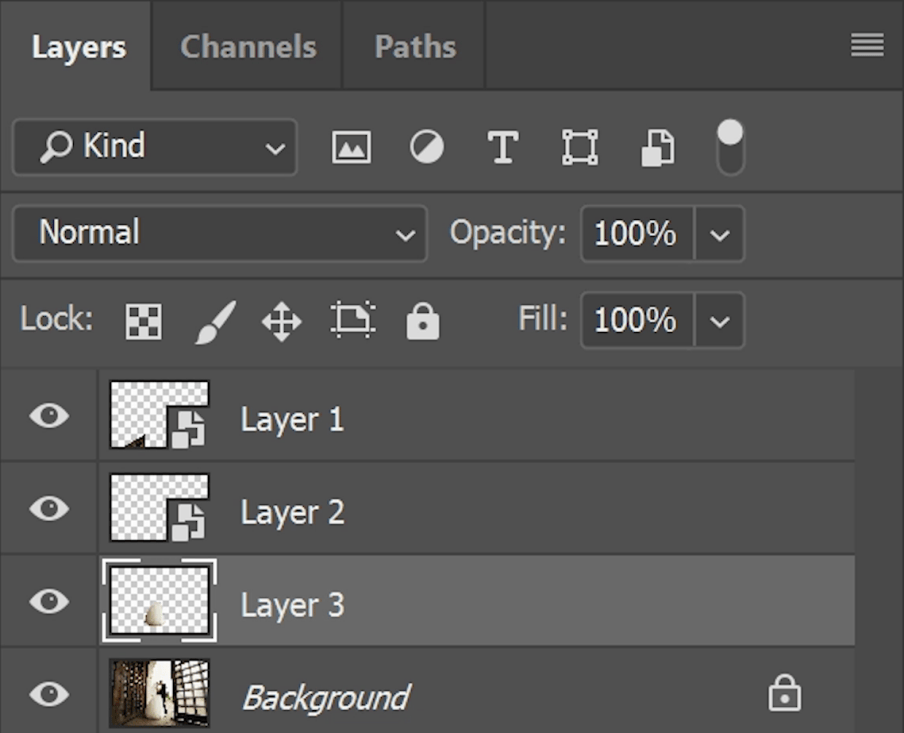
Right-click on the layer and convert it into a Smart Object. And then press Ctrl or Cmd+T, flip it vertically, and position it below the bride.


Step 7
Now to transform this in a curve, you can right-click and change the transform mode to Warp.

Now you can simply drag downwards like this to make it contour properly.

Step 8
Finally, I’ll repeat this for the groom.

Now we have a reflection and it looks pretty good.
Forming the Puddles
Step 1
Now that we’re done creating the reflection, we can form the puddles. Before we begin, merge the layers by selecting all the reflection layers and then right-clicking and choosing Convert to Smart Object. This is just a nondestructive way to merge layers.

Step 2
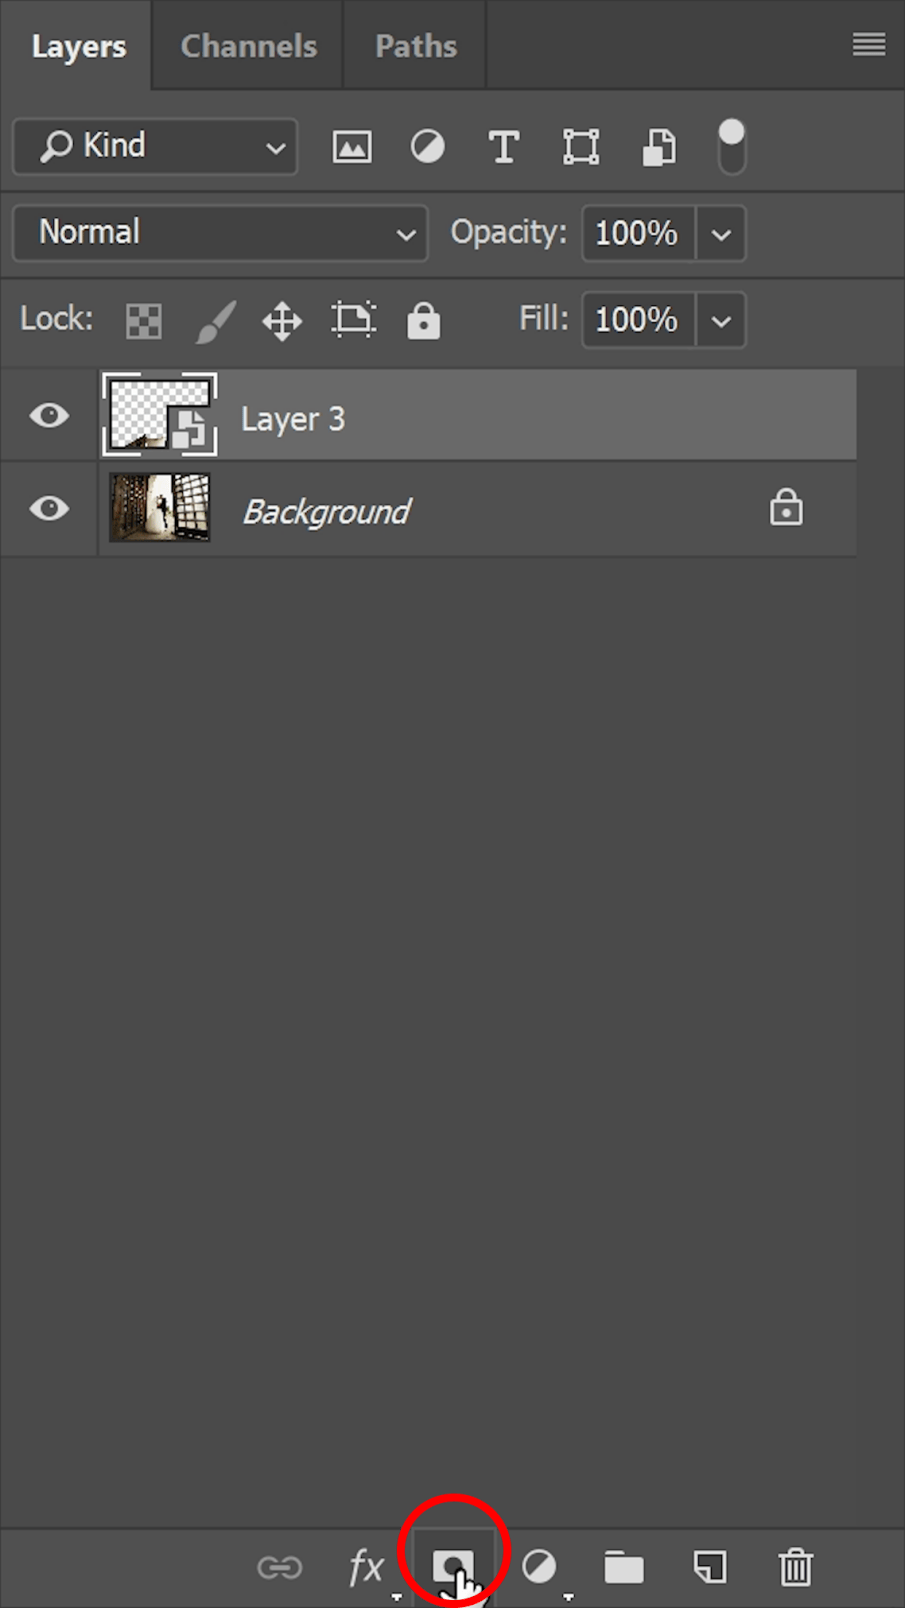
Next, add an inverted layer mask and by holding Alt/Option and clicking this button here in the Layers panel.
Step 3
Select the Brush tool and use a large and soft brush like this.

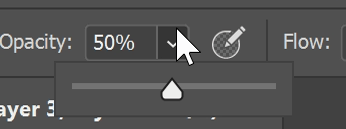
Set the brush opacity to 50%.
Paint over the areas where you want the puddles to appear.

Step 4
Right now the puddles look like a mirror reflection. To make it look more realistic, we need to do two things – reduce the opacity and darken it a bit. First, let’s darken it by going into the Adjustments panel and adding a Levels adjustment layer.
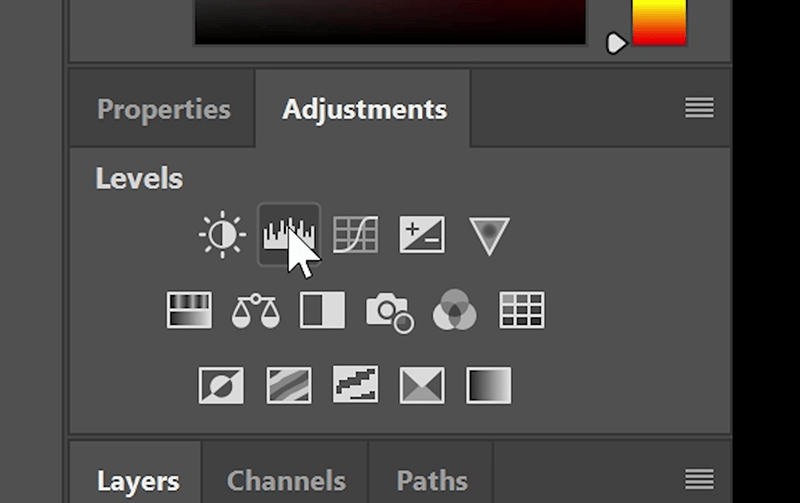
Here you can move the middle input slider to darken the image like this.

To make the Levels adjustment layer only affect the layer below, click on this button here.

Step 5
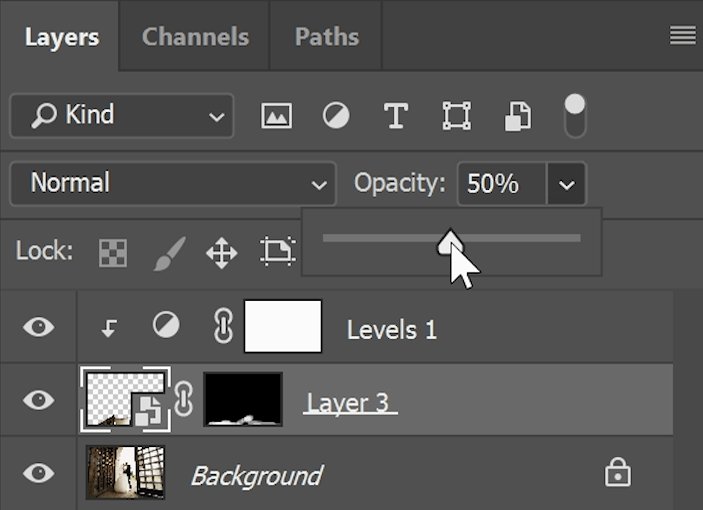
Reduce the opacity of the puddles layer to around 50%.
Step 6
Before we finish, here’s a tip. If you want to blur the layer mask, instead of using the Gaussian Blur filter, you can select the layer mask then go into the Properties panel. Here, you can adjust the feather setting which will blur the layer mask. It’s better than using a blur filter because you can undo or change the settings at any time.
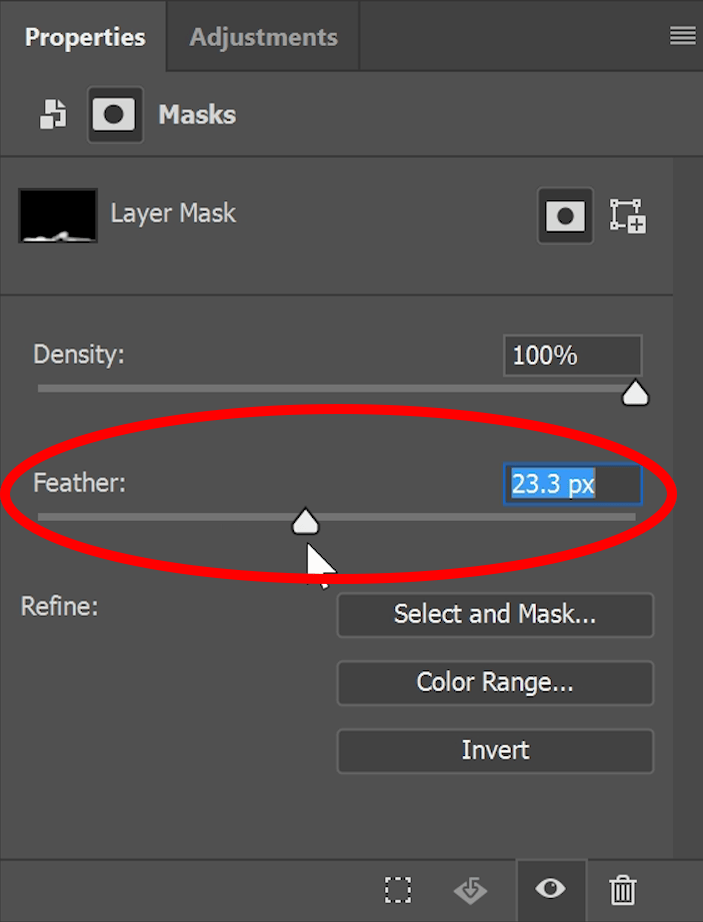
Here’s how the puddles look after blurring the layer mask.

Adding Ripples
The last thing to do is to add a slight ripple effect to the puddles.
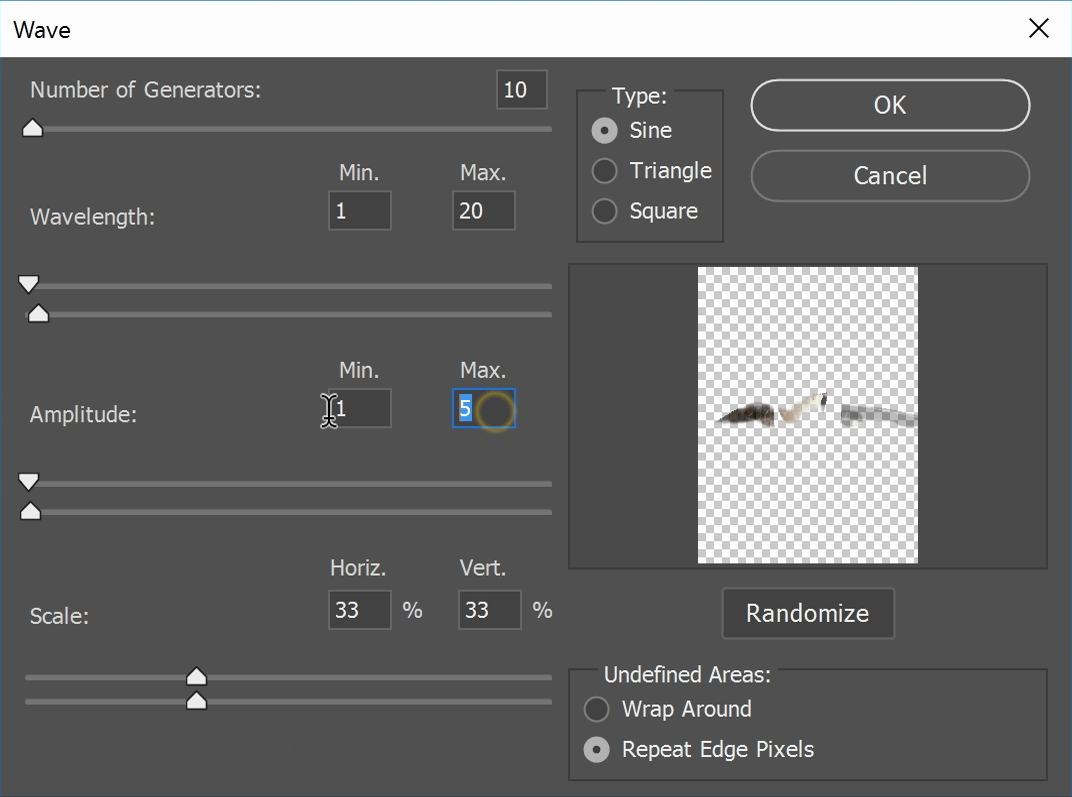
Select the reflection layer then go to Filter > Distort > Wave. Play around with the settings to get a subtle ripple effect that matches the roughness of the floor. I like to start off by setting the scale to around 25%.

The preview image in this tool is really small so what I like to do is click OK to preview it and then edit the settings again by doubleclicking on the Smart Filter in the Layers panel.
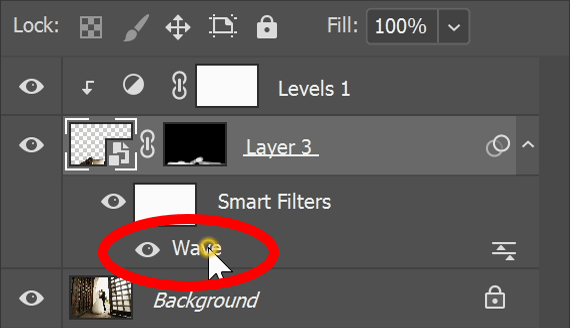
Here are the settings I ended up using.
Final Results
We’re done! Here’s how the image looks like before and after.
