In this Lightroom tutorial, you’ll learn how to create the popular red and blue duotone effect similar to the graphics and cover art you see in Spotify. You’ll learn how to do this in two ways. You’ll learn how most people do it with the split toning method. It’s easier and sometimes it’s good enough. Then you’ll learn my way of doing it which will give you much better results. It’s also a transferable skill that you can use in other software like Photoshop, Capture One, Affinity Photo and more. Finally, there are a lot of color combinations that work great as duotones and I’ll be showing you a straightforward way to figure out what settings to use for any color you want.
Duotone The Quick and Easy Way
The quick way of creating a duotone effect in Lightroom is to use the Split Toning tool. The results aren’t as good the method you’re going to learn later but it is easier to understand and it’s the most commonly used and taught method. Here’s how to do it. In the Develop module, scroll to the HSL section and then click on the black and white mode. This will make your image black and white. Don’t worry about the black and white settings yet – it’s easier to adjust it afterwards.

Next, scroll to the Split Toning section. Here, simply set the saturation of both sliders to 100%. For the shadows, shift the hue to around 220 degrees and then adjust the balance to bring out more of the reds.
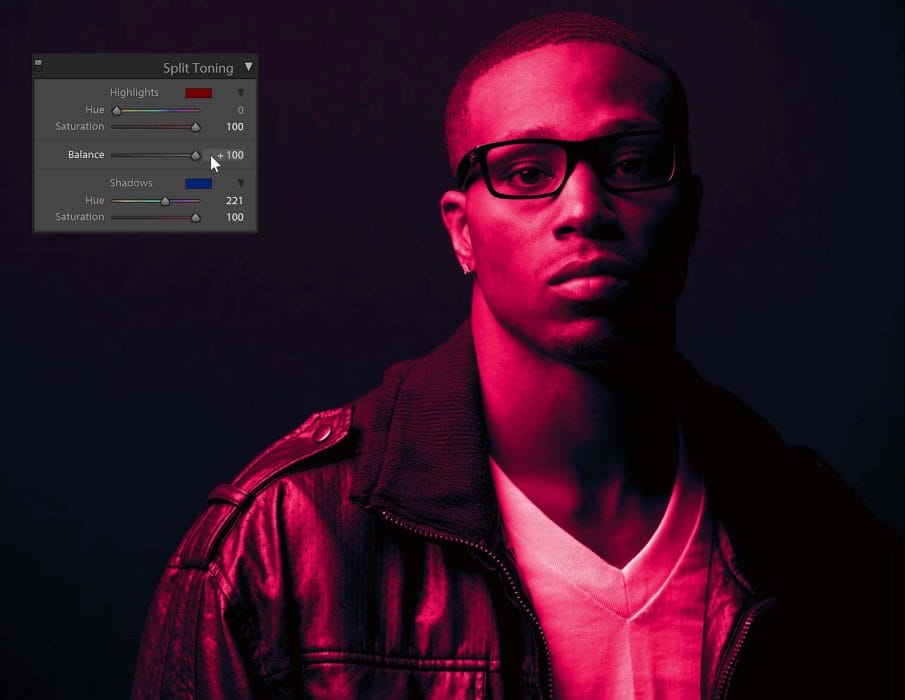
The final thing to do is to go into the tone curves. Make sure that you’re in the point curve mode. There are two modes for the tone curve in Lightroom and you can switch by clicking this button here.

Next, drag the top-right point downwards. This will drop the whites which will give you more solid colors.

And we’re done. Here’s how the image looks like before and after. You might notice that the reds are somewhat pink. And you can’t really get that red color even no matter how much you adjust the hue. This is one of the limitations with Split Toning tool but next, you’ll learn a better way of creating a duotone effect that will let you actually get that red color.


Duotone Using Tone Curves
There’s a better way to create the red blue duotone effect and that is with the tone curve. What’s great about this method that it uses tools that are available in many other software such as Photoshop, Affinity Photo, Capture One, and even mobile apps like Snapseed and Lightroom Mobile. It’s a skill that you can learn once and use in many different software.

I also find that the results are much better. It gives you more control and flexibility and in practice, it doesn’t take much longer than what we did earlier with the split toning adjustment.

Here’s how to do it. First convert your photo to black and white. You don’t need to adjust the black and white settings yet. It’s easier to do it after the color grading.

Next, go to the Tone Curves. By the way, if you don’t understand what the tone curve does, you can still follow along without any problems. If you to learn more, check out my video on how to use the tone curves. But to get you going, I’ll be placing some overlays in this video so that you can get a feeling of what’s going on when we’re making adjustments.

In the Channel dropdown menu, go to the Green channel and then drag the top-right point all the way to the bottom. This basically makes your green channel completely black.
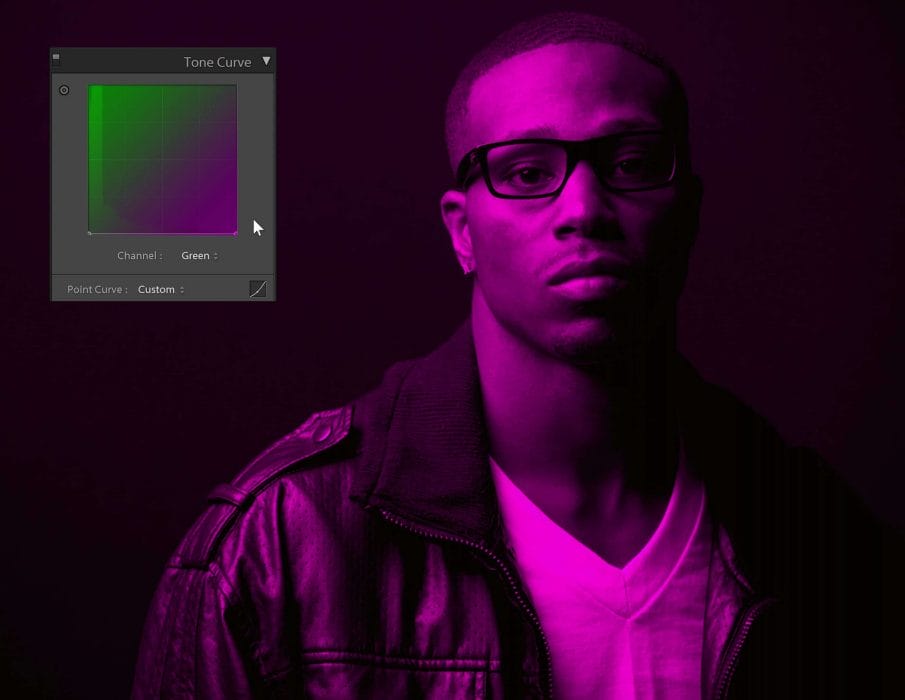
In case you don’t know what channels are, color photos are made from three channels. A red, green and blue channel that when combined forms a color photo.
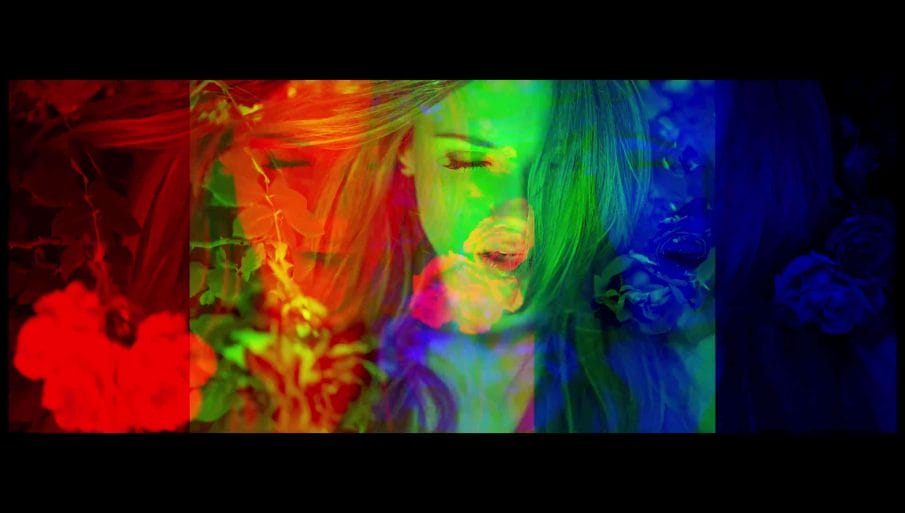
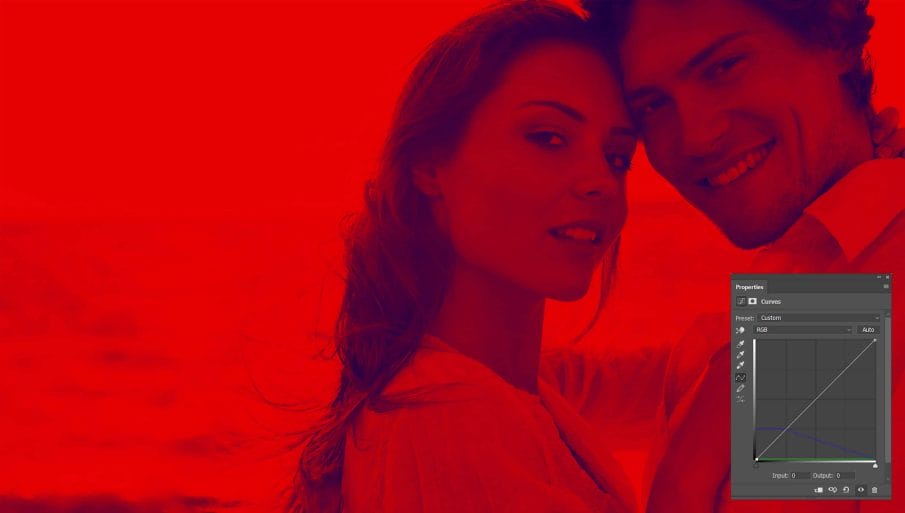
We’re going to repeat this with the blue channel. So click on the dropdown menu and select the Blue channel. Drag the top-right point all the way to the bottom and now we have a red-tinted image.
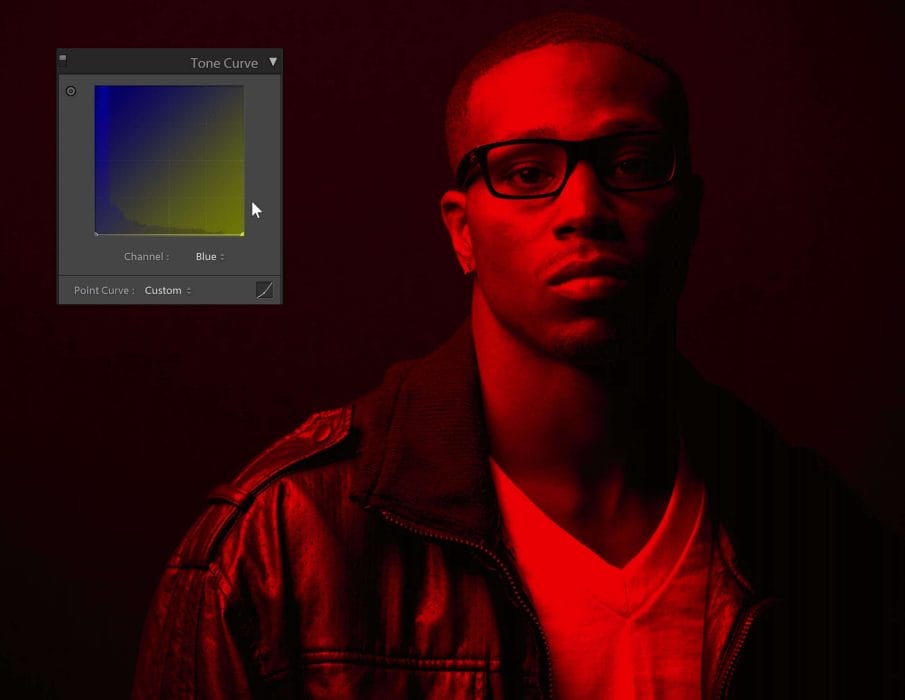
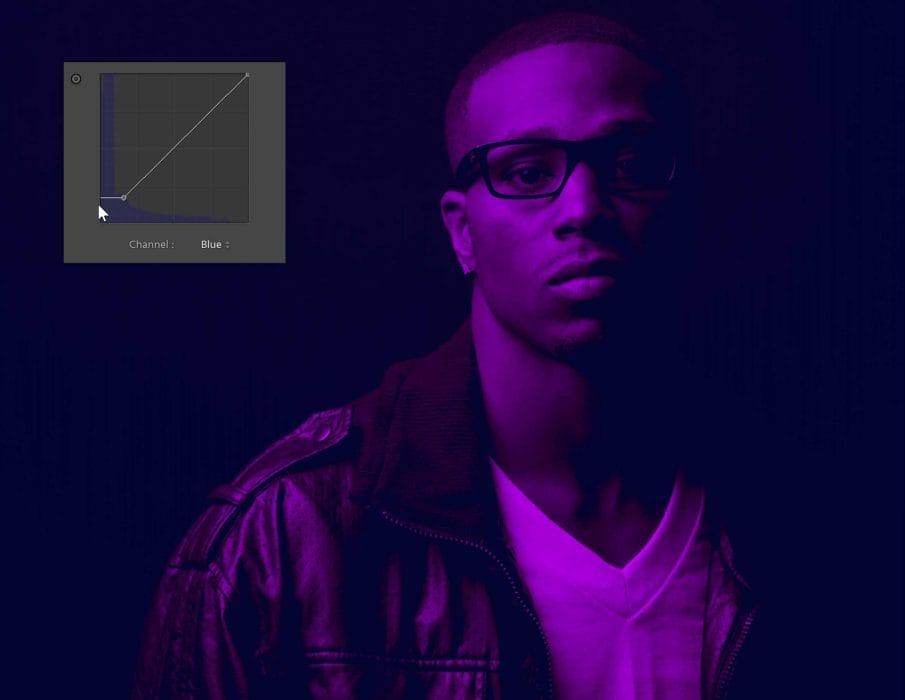
To add some blues to the shadows, simply lift the bottom-left point. And that’s all, you just created a red and blue duotone effect using very minimal settings. You can go into the black and white settings to fine tune the colors.
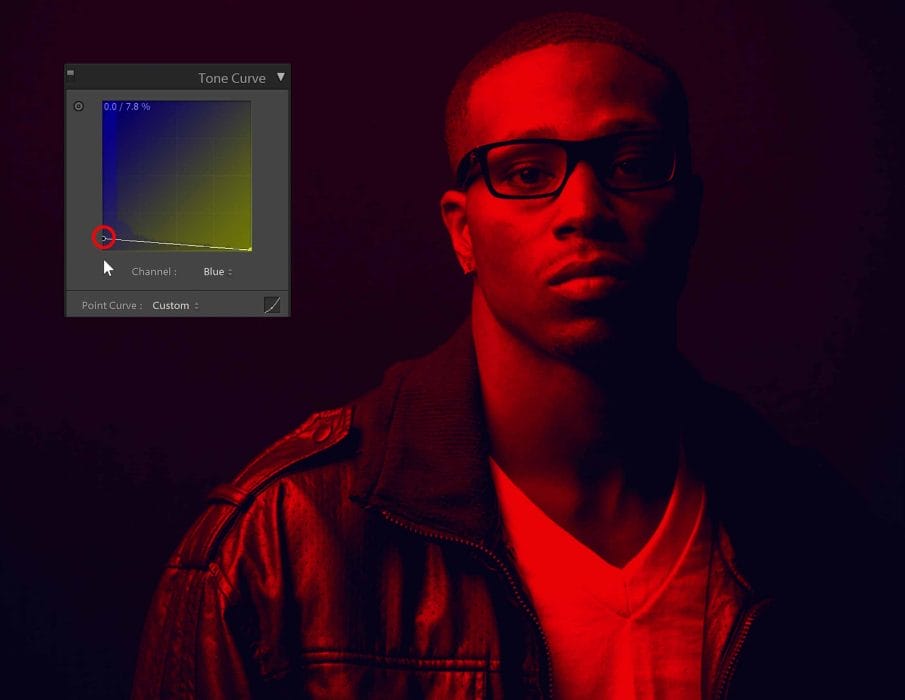
When you’re done, you can save this as a preset by clicking on the + sign in the Presets section.

Give it a name and for the settings, only checkmark the items that you used. For us, it’s the tone curve, black and white mix, and process version. You can also checkmark the Auto Black & White Mix which lets Lightroom automatically adjust the black and white settings for you.

Here’s how the image looks like before and after.


Custom Duotone Colors
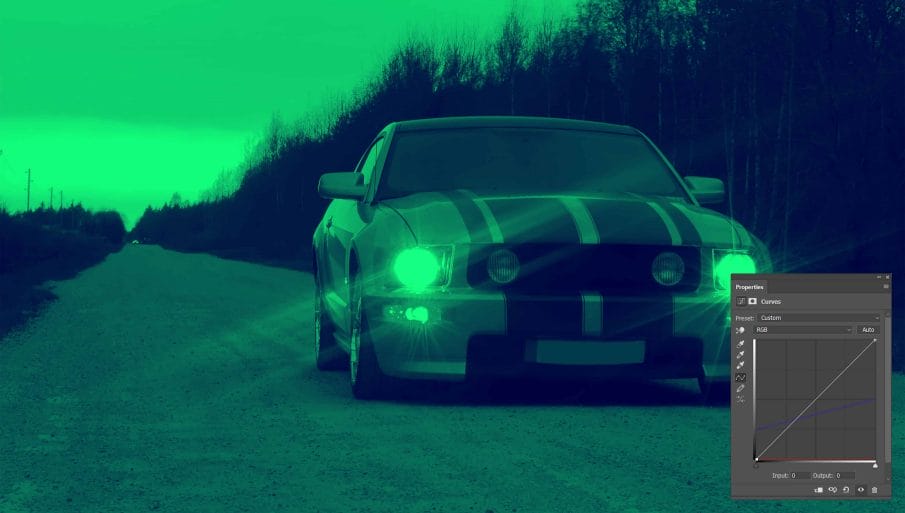
Red and blue is a popular duotone combination. If you want green or blue instead of red, it’s self-explanatory. For example, if you want green instead of red, you can just lift the greens back to normal and then drop the reds. It’s the same pattern for if you want blue.


But what if you want a color like purple that’s not on the dropdown menu? For that, you have to find out what percentage red, green and blue you have to mix to get the color purple. If you’re familiar with color and color theory, you probably already know what the formula is. You can also play around with the tone curves and guess your way around.
But if you can’t figure it out, there’s one more way and it’s straightforward and easy. All you need is a color picker tool that will show you the RGB values of the color. You can use the color picker in Photoshop or, even easier, just go on Google and search for RGB color picker. It’ll then display this tool which you can use to pick any color you want and it’ll show your RGB value on the left. The numbers go from 0 to 255. The first number is for the reds, the second number is for the greens, and the third number is for the blues.
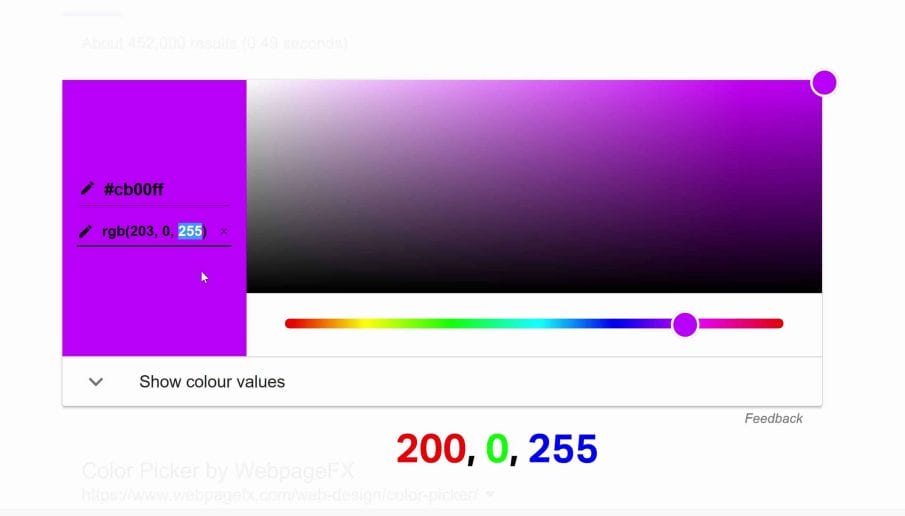
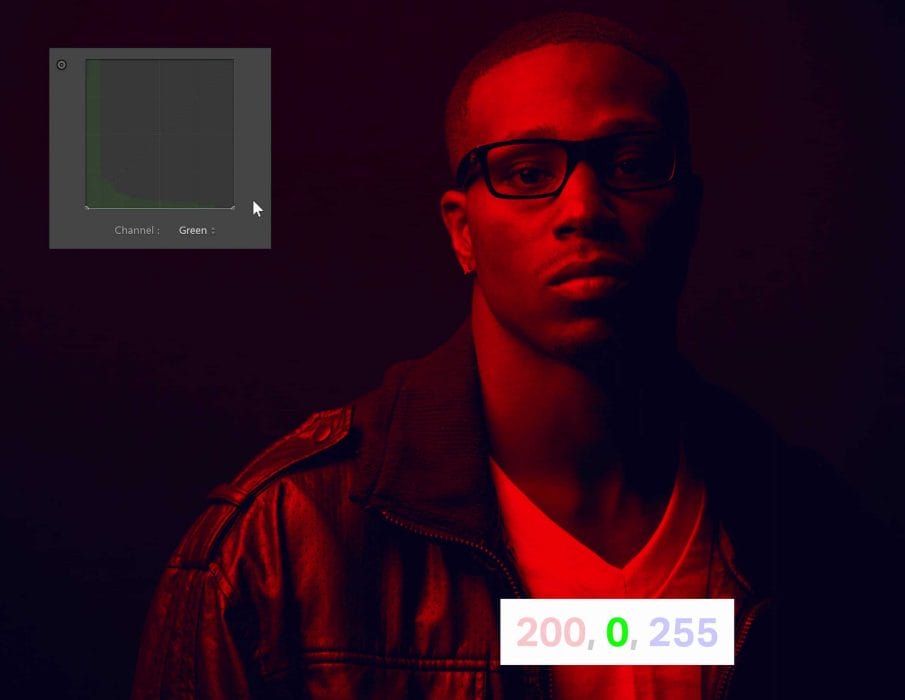
So looking here, we can see that to get this purple color, we need to make the greens 0 by switching to the green channel and dropping the top-right point all the way down.
Next, we’re going to switch to the blue channel and make sure that this point is all the way at the top.
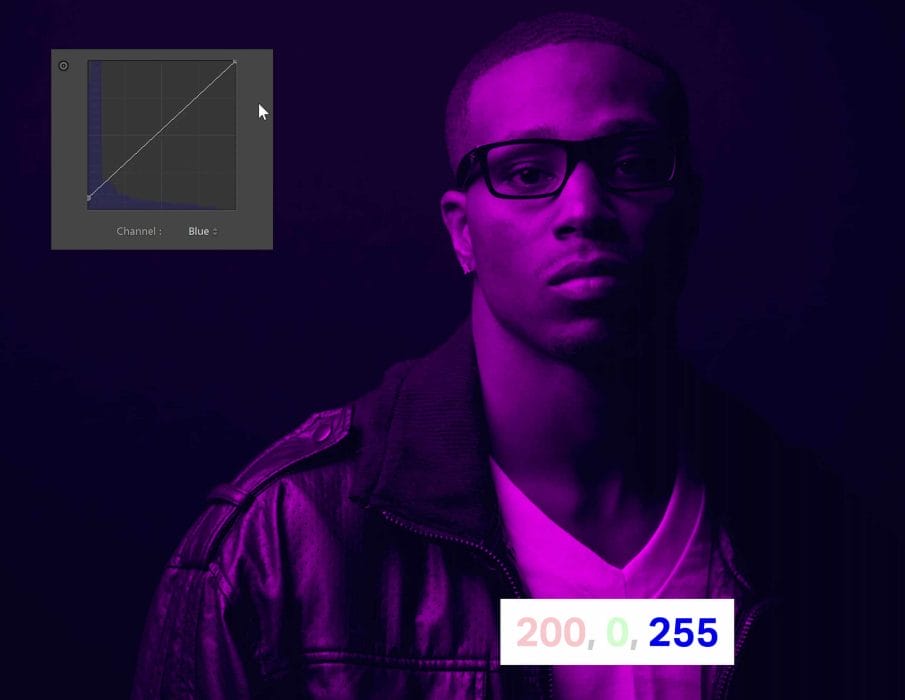
For the red channel, it’s in between and you can just drag it downwards until you get a purple color.
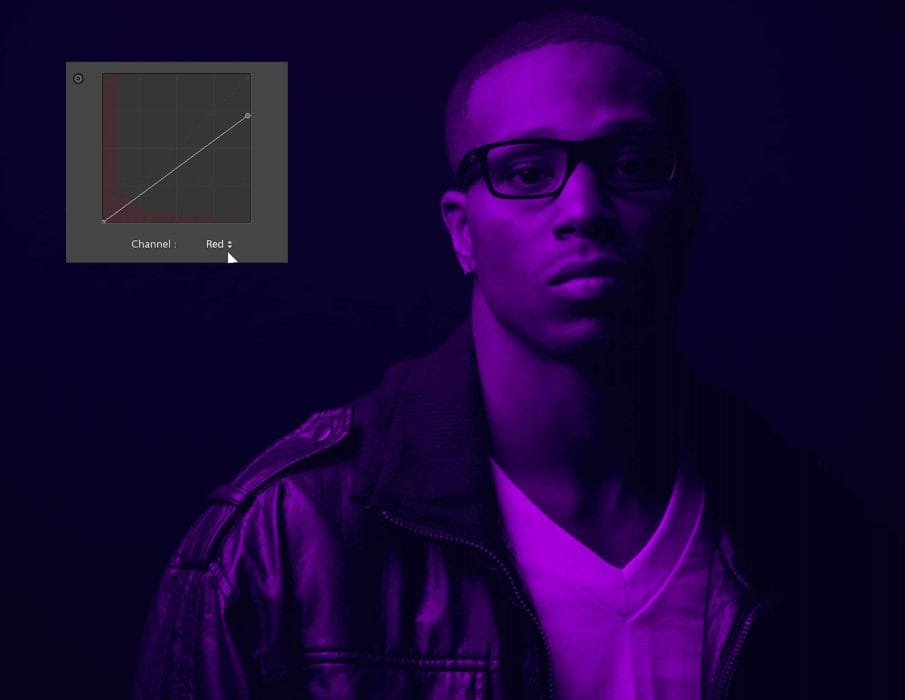
To finish it off, I’m going to add some blues to the shadows by switching to the blue channel and adjusting the bottom-left node like this.


Examples
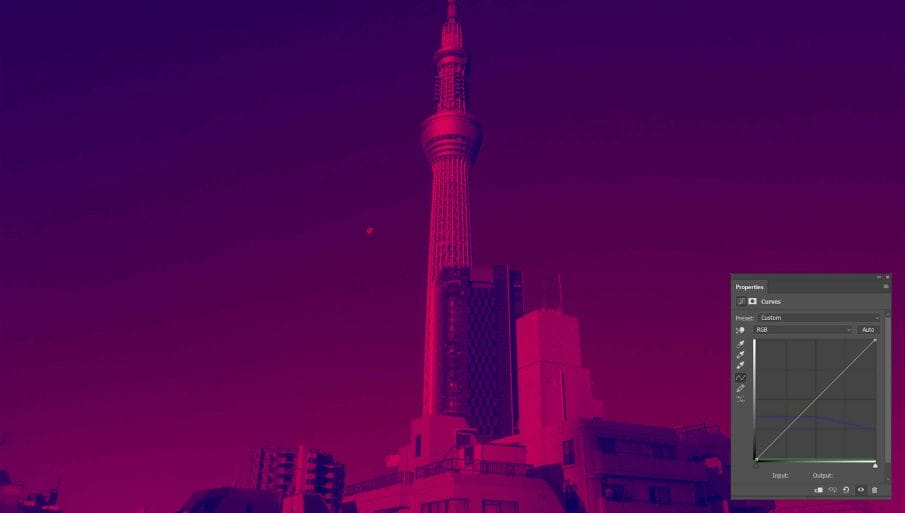
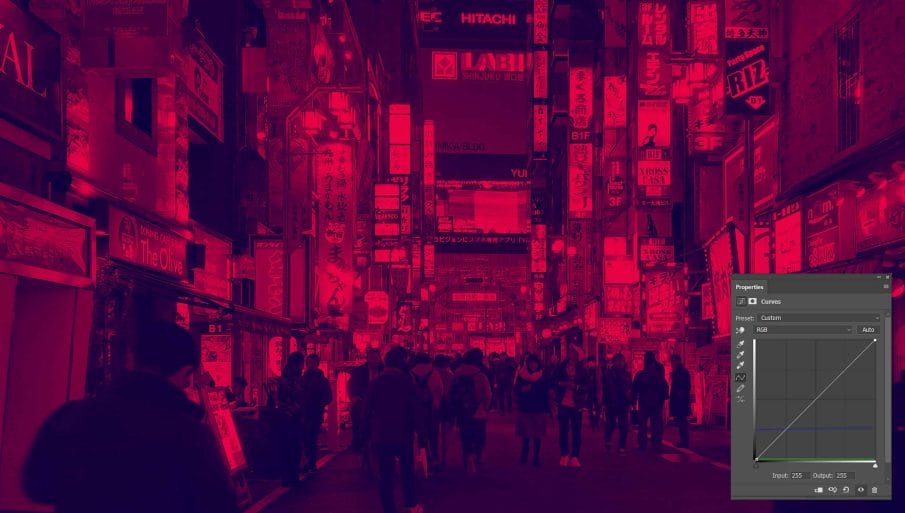
Here are some more examples of other duotone effects you can create with the tone curve method.


[…] than you use Photoshop, then there’s two ways to creating duotones. One is from a tutorial by Denny’s Tips which you will learn how to create a red/blue effect using the tone curves (yes that’s right […]