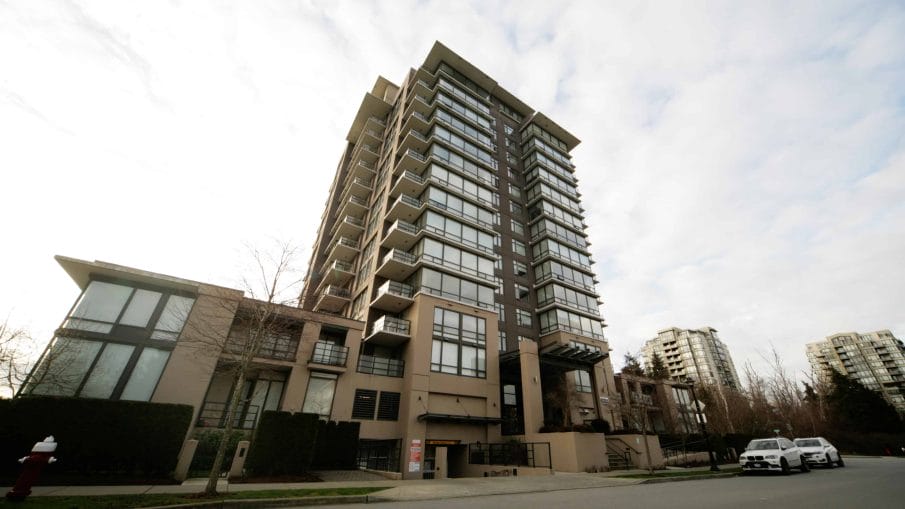
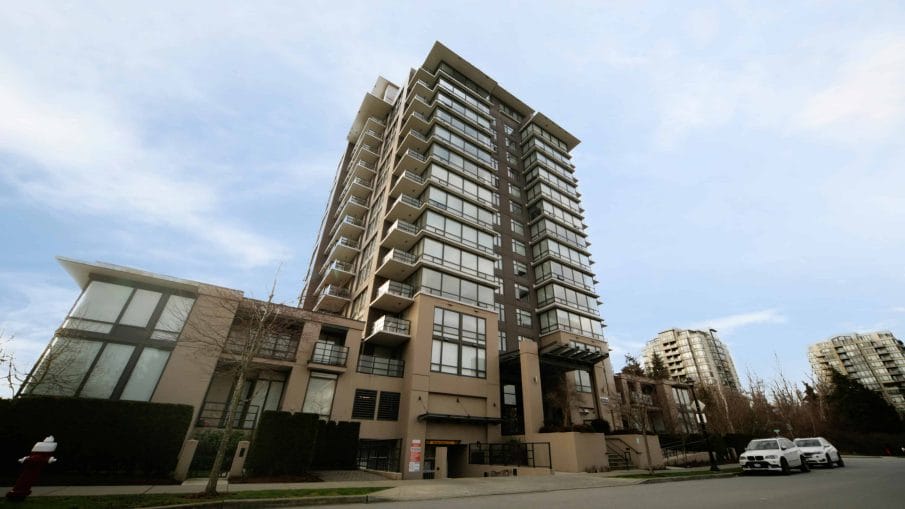
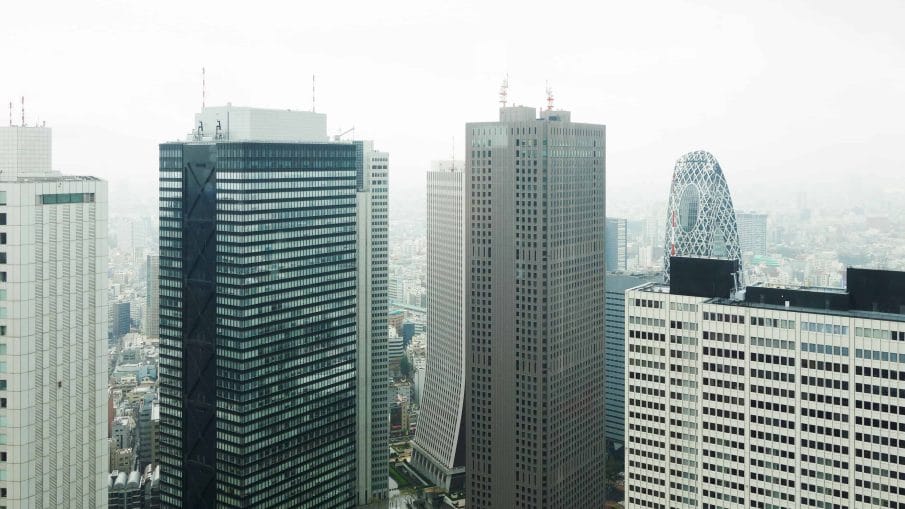
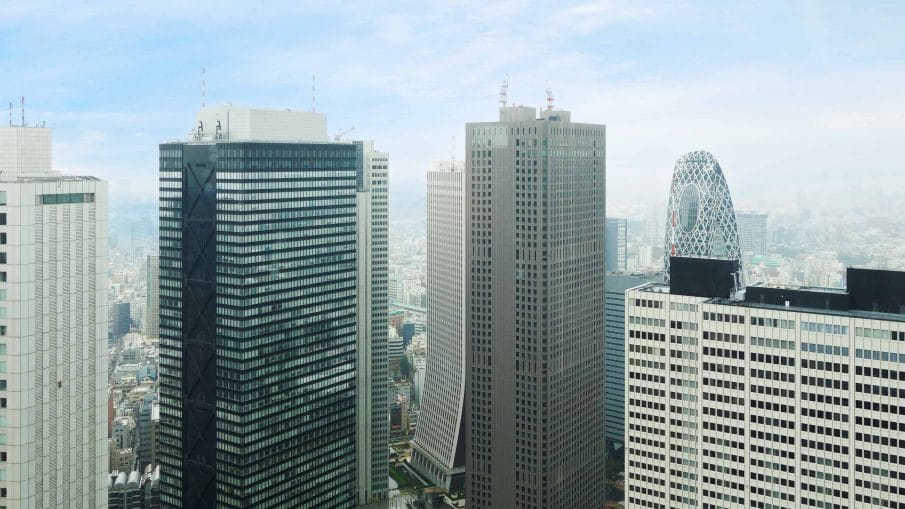
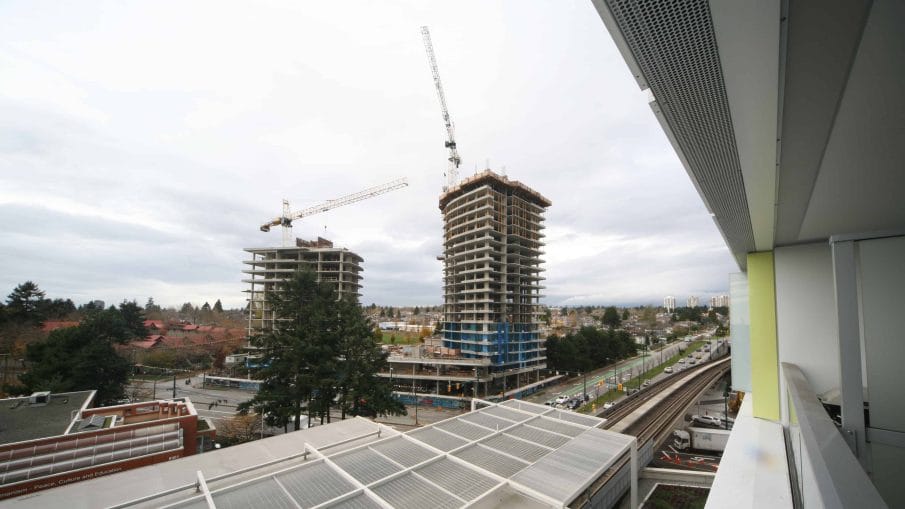
A lot of times we take pictures in undesirable weather. And replacing the sky usually means that you have to spend a lot of time masking out the sky. But there’s another way that’s way easier and faster. In this Photoshop tutorial, you’ll learn an incredibly cool trick to replace gray cloudy skies and replace with with a sunny blue sky. It’s fast, easy and you can do it with just a few layers. If you’re interested, keep watching to find out how it’s done.
Placing Your Sky Photo
First, open a photo of a gray overcast sky. This technique will also work with overexposed skies. This photo that I’m using isn’t anything special but I’m just using it because it makes a good example. There’s some trees around the sides which would typically take a lot of time and effort to mask out. And this is a good example of when this sky swapping technique is most useful.

Next, drag and drop a photo of a sky. If you don’t have any, I have a couple sky photos that you can download for free.

Roughly scale and position it where you like it to be. It doesn’t need to be exact because you can always change it after.

Blending the Sky Using Luminosity Masking
Next, we’re going to blend the sky in using a technique called Luminosity Masking. This lets you blend your layer based on the luminosity of the layers below. To do this, right-click on the layer and then go to Blending Options. Near the bottom of the panel, drag the black slider towards the right. You’ll see that the sky starts to disappear where the dark areas are. Move this until it covers the sky.

It looks pretty good so far but if we zoom into the trees here you can see that the edges aren’t smooth at all.

I’m going to go back into the Blending Options and this here’s the trick to make it smoother. Hold the Alt or Option key then drag the slider. You’ll notice that it splits in half. Spread out the two half-sliders which will smooth out the edges like this. When you’re done, click OK and your sky should be blended in.

Using a Second Mask
Most of the sky has been blended in and we didn’t have to do much. But there are areas that we need to manually mask out. So for this, go into the Layers panel and while holding the Alt or Option key, click on the Add Layer Mask button. Holding the Alt or Option key will create an inverted layer mask. So instead of a layer mask that’s filled with white, it’ll fill it with black.

Select the Brush tool and make sure that your foreground color is white. If it isn’t, you can quickly reset it by pressing D on your keyboard. I’m going to right-click on the document and choose a large semi-soft brush. Paint over the overcast area and your sky will magically appear.


Tweaking the Sky Color and Exposure
We’re almost done. The sky’s exposure doesn’t quite match the image. To fix this, go to the Adjustments panel and add a Brightness/Contrast adjustment layer. If you know how to use the curves adjustment, you can use that as well but for beginners I recommend sticking to the Brightness/Contrast adjustment layer.

With this adjustment, you can change the brightness but it’s going to affect the entire image. To make it so that it only affects the layer below, click on this button here. This will snap your adjustment layer to the layer below.

Adjust the settings so that it blends in with your photo.

If you want to adjust the color, you can go into the Adjustments panel and add a Hue/Saturation adjustment layer.

Here, you can tweak the hue very slightly which will change the color of the sky. And then you can change the saturation to match your photo.

If this layer is affecting the entire image instead of just the sky, just click on this button here to clip it to the layer below.

Final Tweaks
Finally, we’re going to transform the sky. You can scale and resize the sky anyway you like with the Transform tool that you can use by pressing Ctrl or Command+T. But before you do this, make sure that you click on this link icon to unlink your layer from the layer mask.

Otherwise, when you try to transform it, it’ll transform your mask as well which will do something this.

In addition to resizing and repositioning your sky, you can also hold the Ctrl or Command key and drag one the corners to skew it.

You can also right-click inside the Transform box and flip it horizontally. Keep adjusting it until you’re done.

We’re done! Here’s how the image looks like before and after.


Sky Replacer Photoshop Actions
By the way, if you like this tutorial then you’ll probably like my Sky Replacer Photoshop actions. The free version lets you replace gray or overcast skies and comes with 3 sky textures.


If you upgrade to the Pro version, and thank you so much for your support by the way, you get two additional actions to replace clear and deep blue skies.


It also comes with 22 high-res sky textures for you to choose from.

You can download Sky Replacer free from Photoshop Tutorials or buy the Pro version at CreativeMarket
More Examples
Here are some more examples of what gray overcast skies being replaced with sunny blue skies.
