A lot of times, you’ll find photos that have been processed with a color grading you really like. And if you want to replicate the looks, it’s very hard to do. There are a lot of tutorials that teach you how to create a very specific effect. But there’s very little information on how to actually decode and replicate the color gradings by yourself.
In this 2 part series, you’ll learn brand new techniques that you can use to replicate color gradings. Typically, these sort of advanced topics could be sold as an expensive and fluffed up 4 hour postprocessing course. But time is valuable and I’m always trying to find ways to teach you post processing techniques that are easier and more efficient. So I came up with some new techniques that will make replicating looks so much easier and faster with less guesswork involved.
These techniques will work with a majority of the color grading effects out there. It’s also the very first time I’m teaching it to anyone. So if you want to learn these secret tricks, keep reading and you’ll learn how it’s done.
Tutorial Resources
Here’s the photo that I used for this tutorial. You can follow along with the same image or using your own.

Tones & Color
This is a two part tutorial. In part one, you’ll learn how to replicate the tones from someone elses photo. In part two, you’ll learn how to replicate colors. Some color gradings are made with only tonal adjustments, some are made with only color adjustments, and some are made with varying levels both.
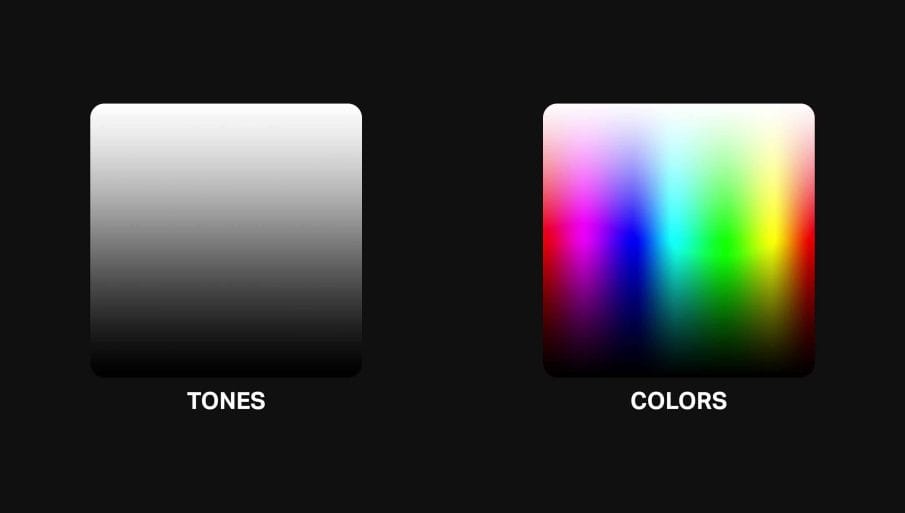
First of all, if you haven’t used the curves adjustment before, then watch my video on how to use the tone curves with the tone chart technique. It’s the easiest way to understand and get the feeling of how the curves adjustment works.
So what are the differences between tonal and color adjustments? Originally I was going to give you a very detailed explanation and show you some color science but that would make the tutorial too long. So here’s the quick gist:
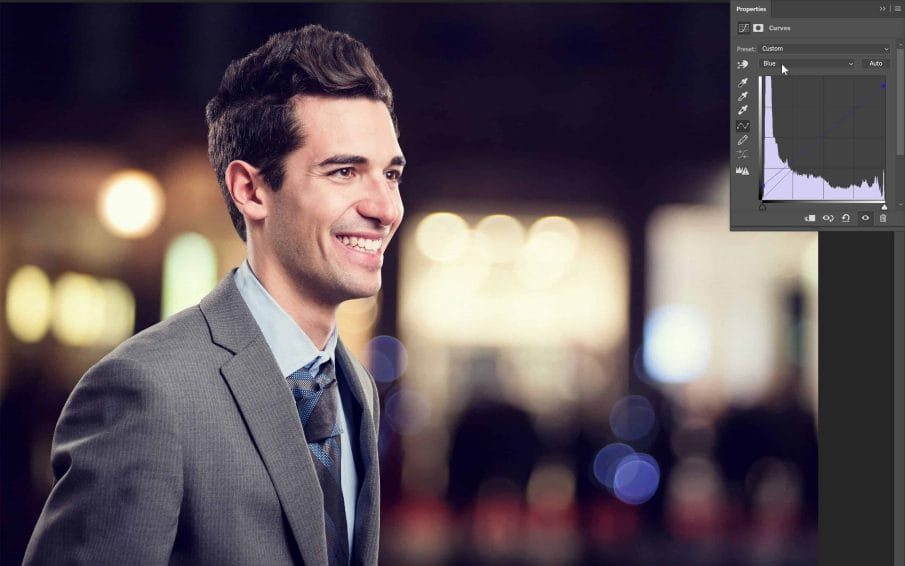
Tonal adjustments are basically anything that you do with the Curves adjustment. So if you’re brightening your image, that is a tonal adjustment because it is possible to do it with the tone curves. Tints like these, eventhough they produce color effects, they’re still tonal adjustments because you can do it with the tone curves.
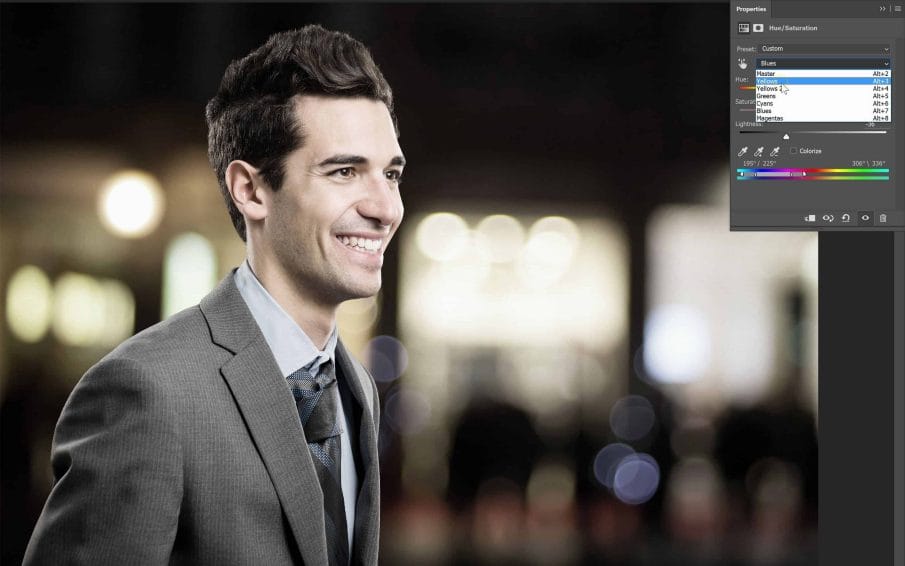
Color adjustments are anything you can do with the Hue/Saturation adjustment in Photoshop or the HSL adjustments in Lightroom. So desaturating your image is a color adjustment because you can do it with those HSL adjustments.
Okay so that was the basics. Now that you know the difference between tonal and color adjustments, let’s start replicating tones.
Replicating Tones – Creating the “Before” photo
Tones are the first thing that you should replicate. In this part one video, you’ll learn a cool trick on how to reverse engineer tones.
Step 1
I have here a picture that I downloaded from unsplash.com. You can use the same image or your own. If you’re using your own, start off with one that has a strong color grading effect, preferably one with a color tint, because it’s much easier to replicate the look of a strong effect than a subtle effect.

Step 2
To start, we need the before and after photos. But most of the time, you can’t get the before photo. So what you do instead is turn the after photo into the before photo. Now there’s some limitations to this. For example, if the photo has clipped highlights or shadows, you can’t recover those details and you have to guess some of it.


Step 3
First load the image into Photoshop and duplicate the layer. In your Adjustments panel, add a Curves adjustment layer. This is the only layer you need to manipulate the tones. Don’t worry about the color shifts, saturation, etc. – we’re just focusing on the tones.
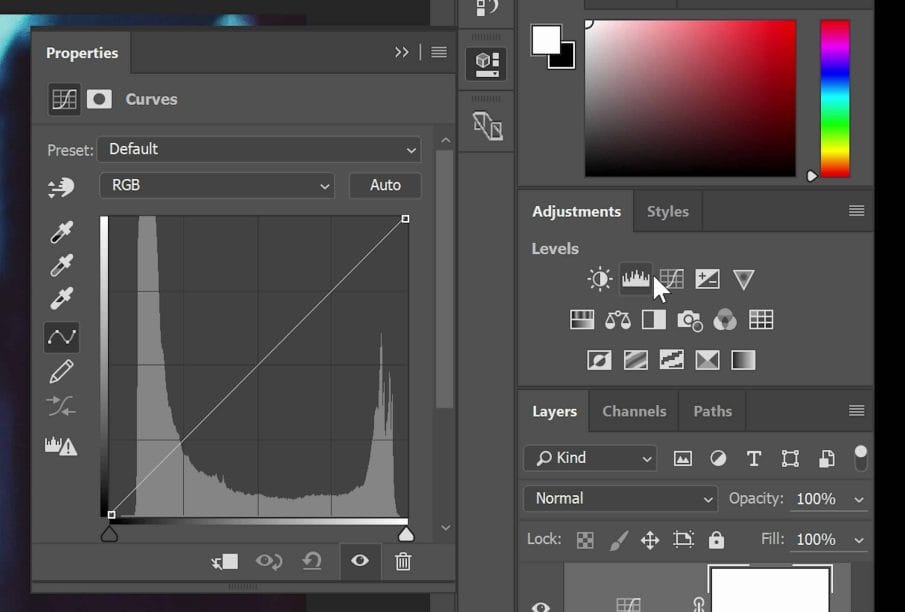
Step 4
In the Properties panel, select the Black Point Sampler. With this tool, we can specify the black point of the photo.

Hold the Alt or Option key and click on the darkest area in the photo. Keep holding the Alt or Option key and clicking on the darkest areas until there’s nothing darker.
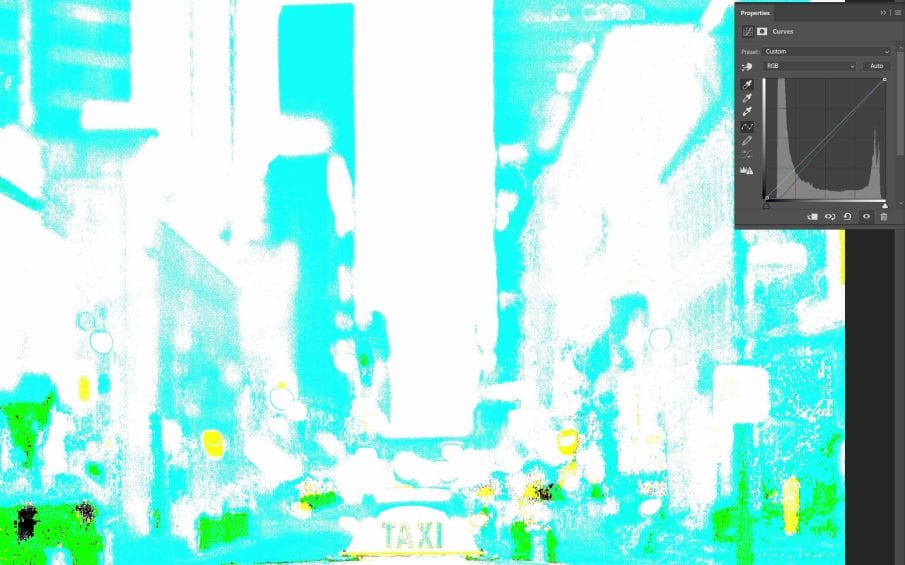
Step 5
Now we’re going to specify the white point of the photo. So select this White Point Sampler tool, hold the Alt or Option Key, and click on the brightest areas until there’s nothing brighter.
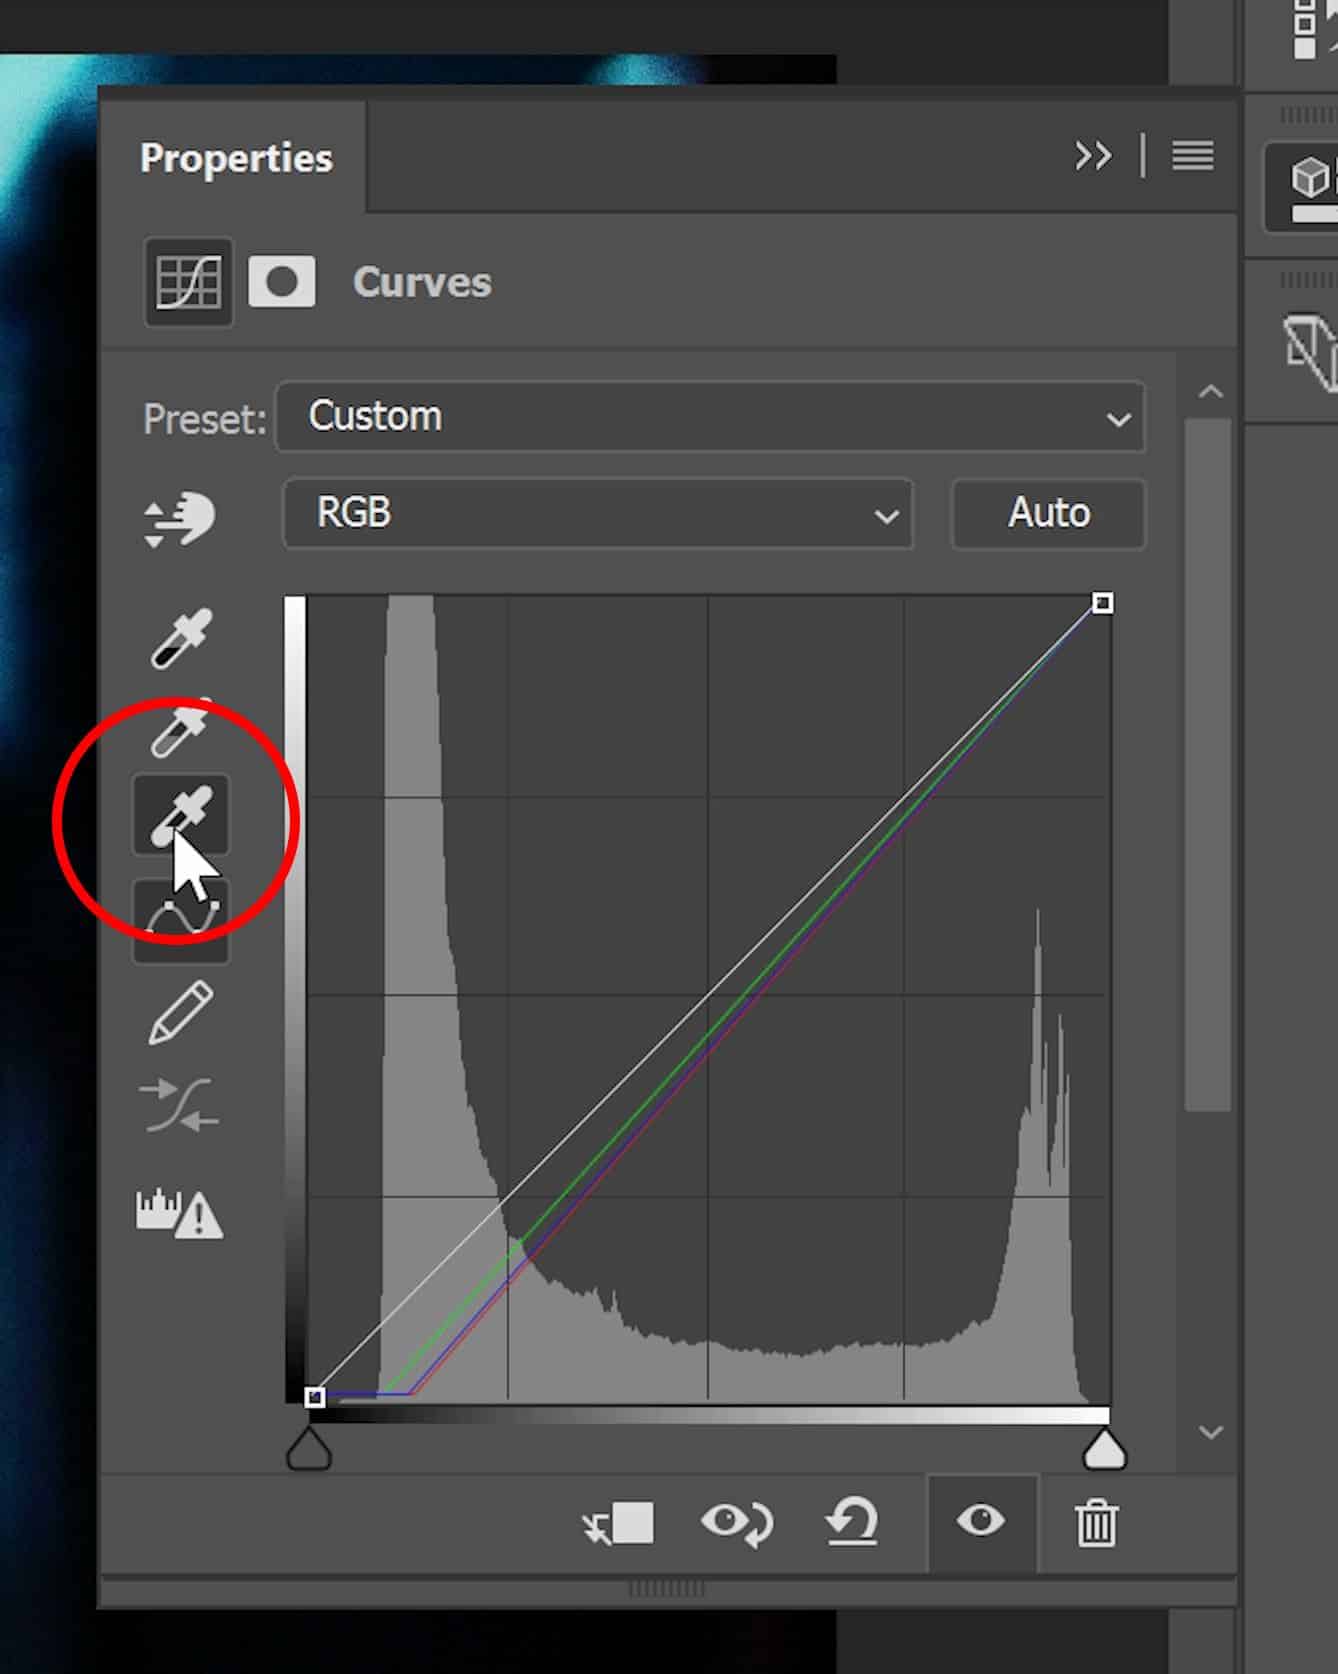
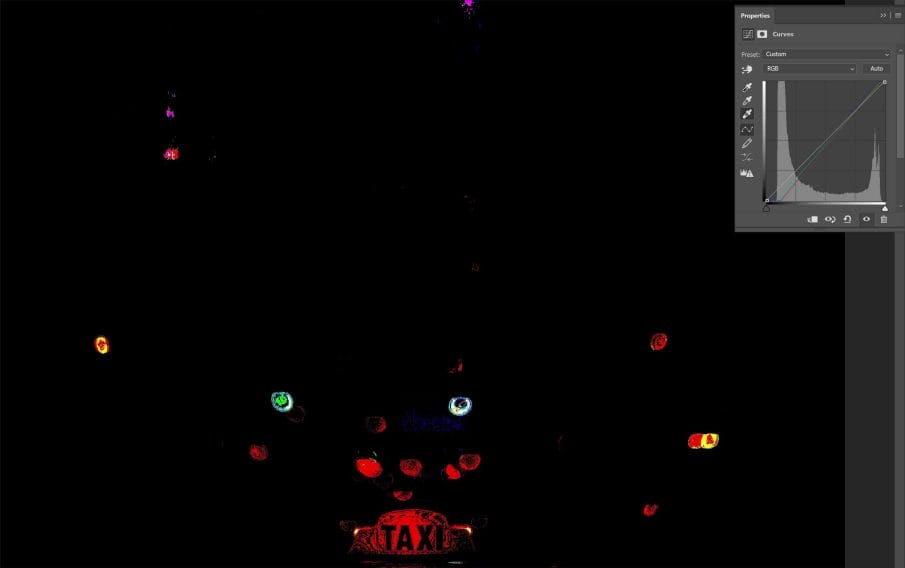
Step 6
So we have the Black and White points set. The next one to set is the gray point. Before we start, if you don’t want your color grading to affect the white balance, then don’t set a gray point. A lot of times, you don’t need to do this. But let’s say that I want the effect to actually tint my images blue. In that case, I’ll use the gray tool and click on something that’s neutral color which will reduce the blues in the before photo.
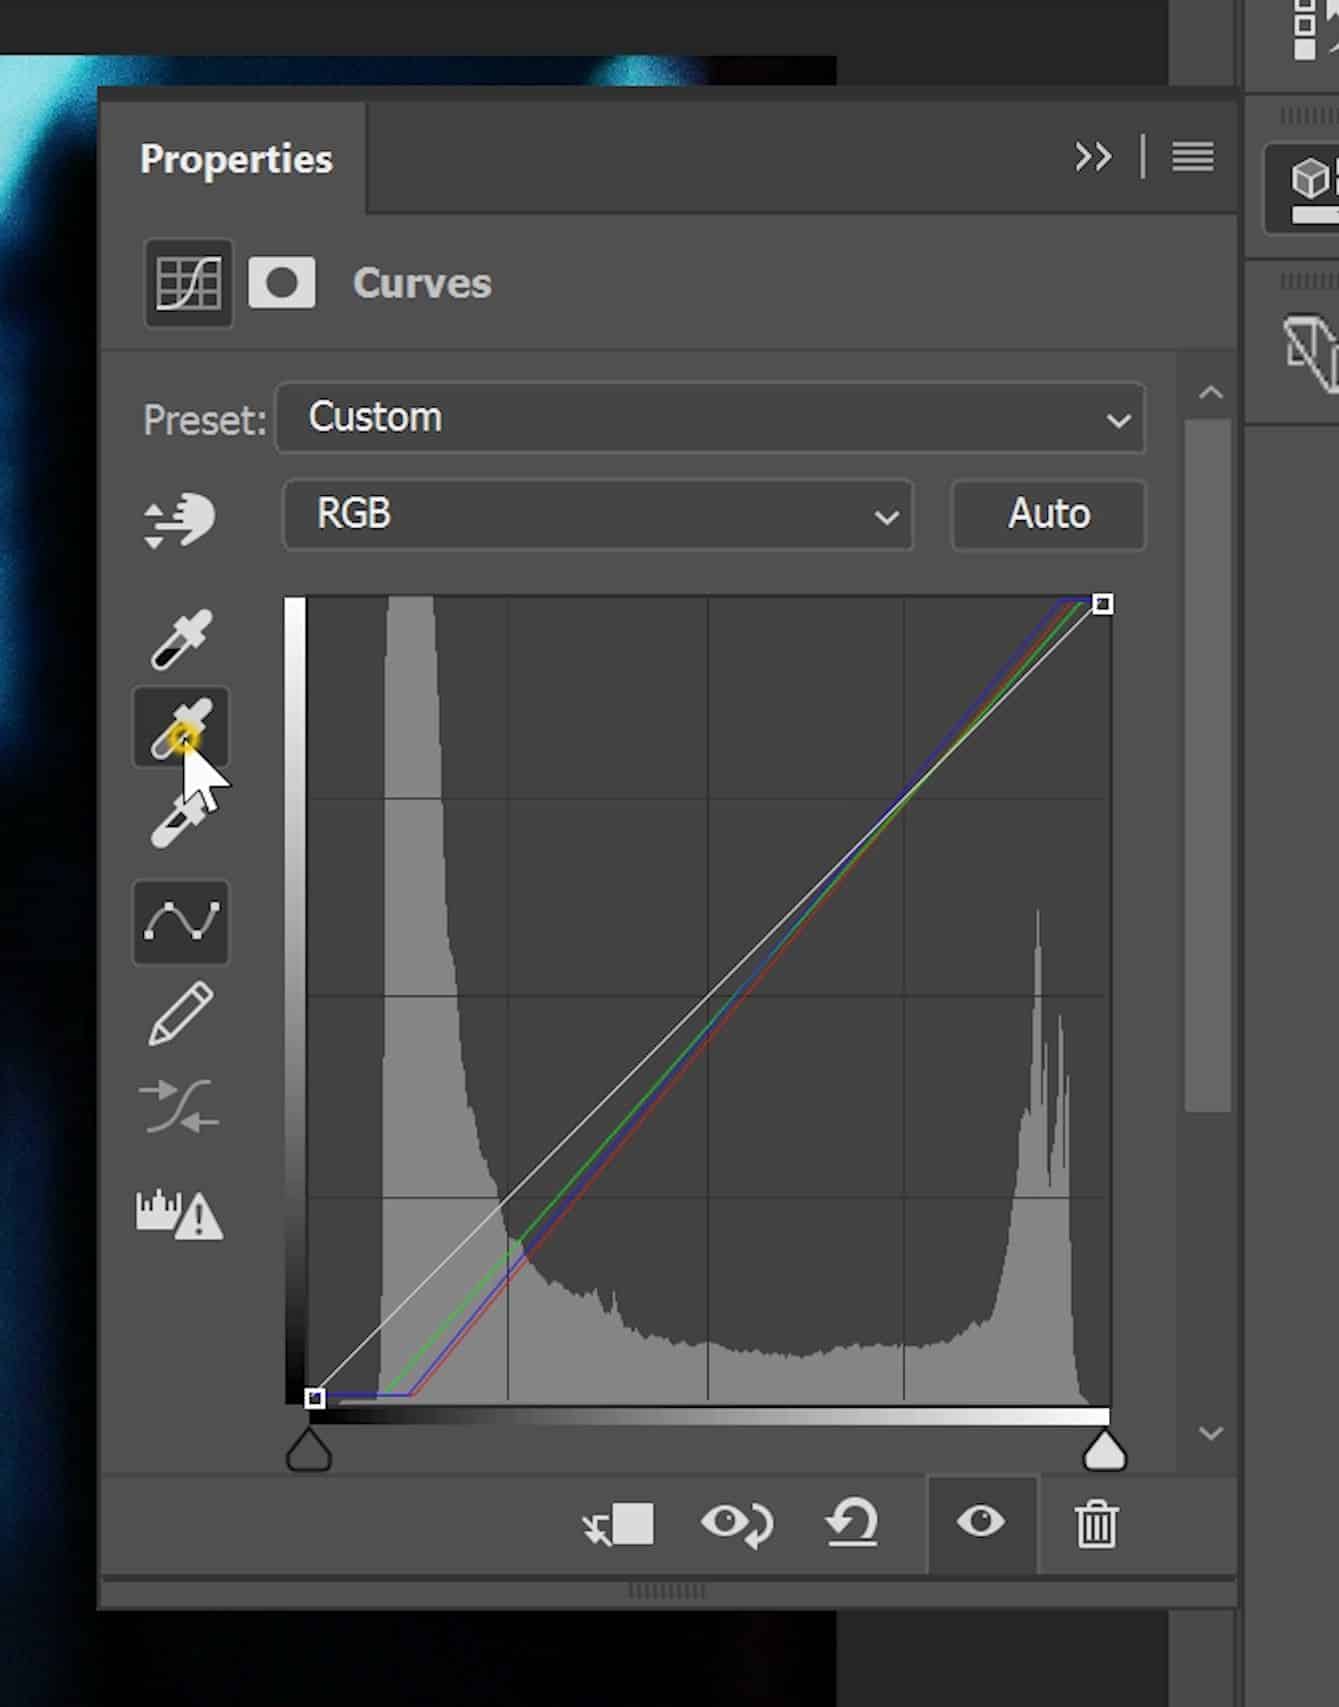
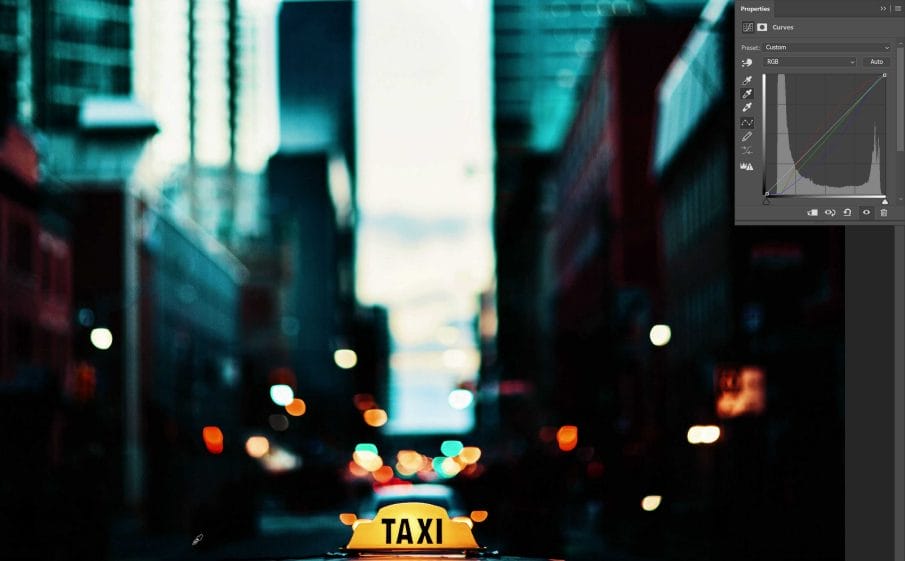
Step 7
The last thing to do is to adjust the brightness and contrast. Just like with the gray point, if you don’t want the color grading to change the brightness or contrast, then you can skip this part. But if you want it to do that, then you can either do this with the current curves adjustment layer or add a new Brightness/Contrast adjustment layer.
I’m just going to use the existing curves adjustment and create an inverted S shape like this. This will reduce the contrast and make it closer to what the before picture looks like.
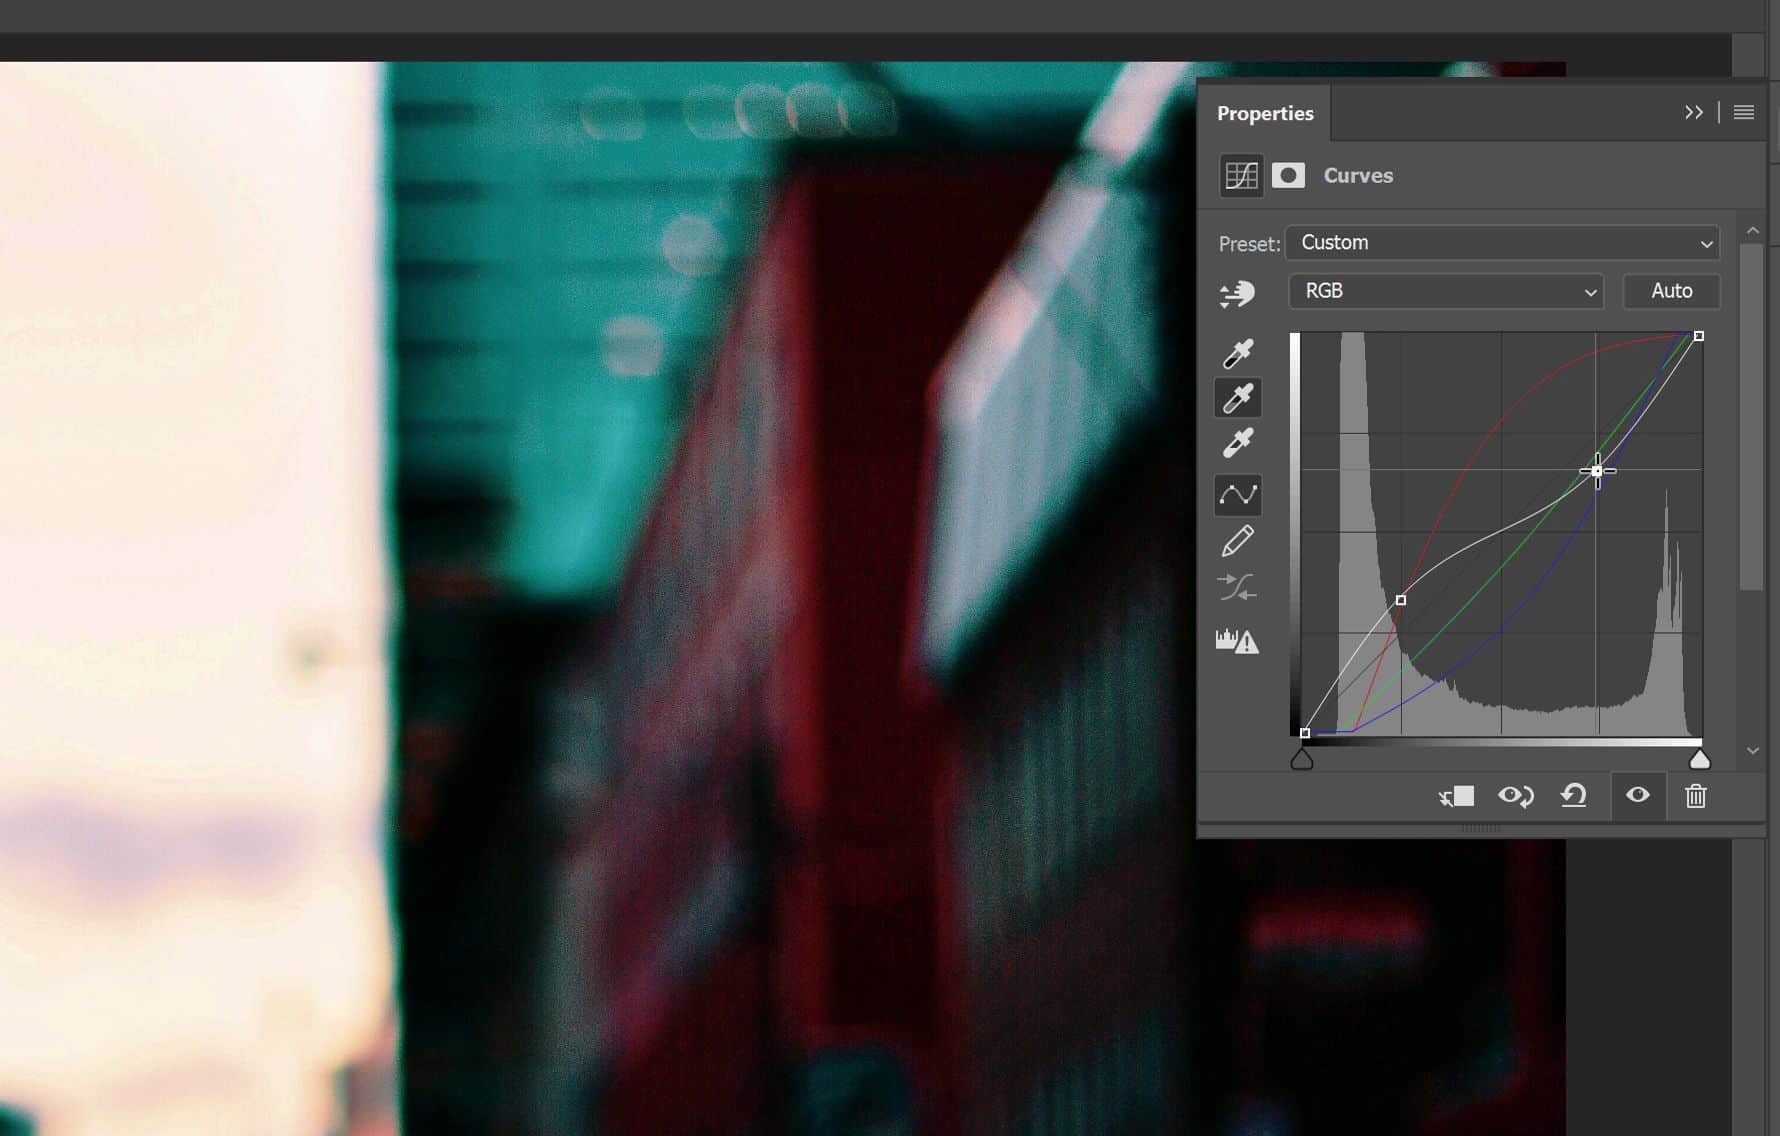
We’re done and we now have a before photo that we can use as a reference. The colors could use some improvement but don’t worry about that yet because that is for part 2 of this series. In this part 1 video, we’re only focusing on the tones.
Replicating Tones – Creating the Tone Curve
Here’s the awesome part. And this is where you should pay attention. I’m not going to explain exactly how everything works… just follow along and you’ll see what’s happening.
Step 1
First, select all of the layers except for the Background layer then right-click and choose Convert to Smart Object. This is just a simple nondestructive way of merging layers.

Step 2
Next, change the blending mode to Difference. This is one of those blending modes that almost nobody ever uses. But it has a very useful purpose. This blending mode will show you the differences between your current layer and the layers below. So the bright areas are the areas where your before layer differs from your after layer.
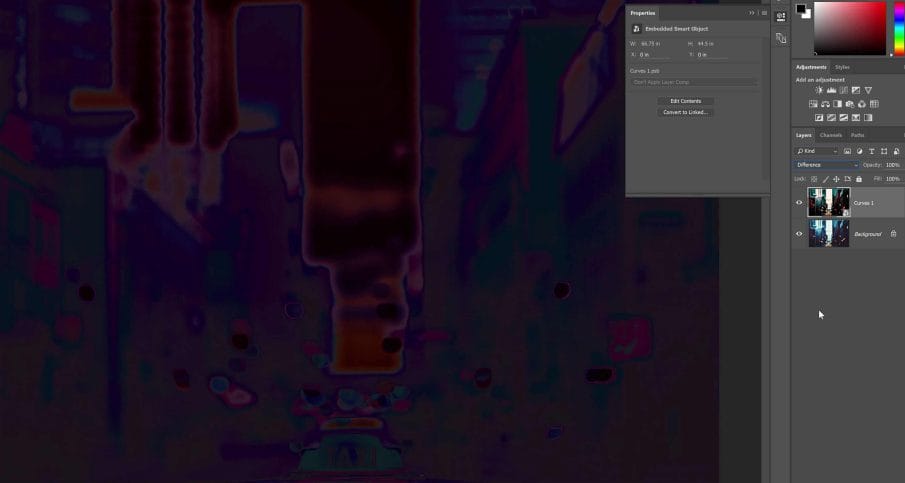
Our goal is to create a curves adjustment that will make your before layer, match the after layer. And if it matches, it should become a solid black meaning that there’s no differences between the two layers.


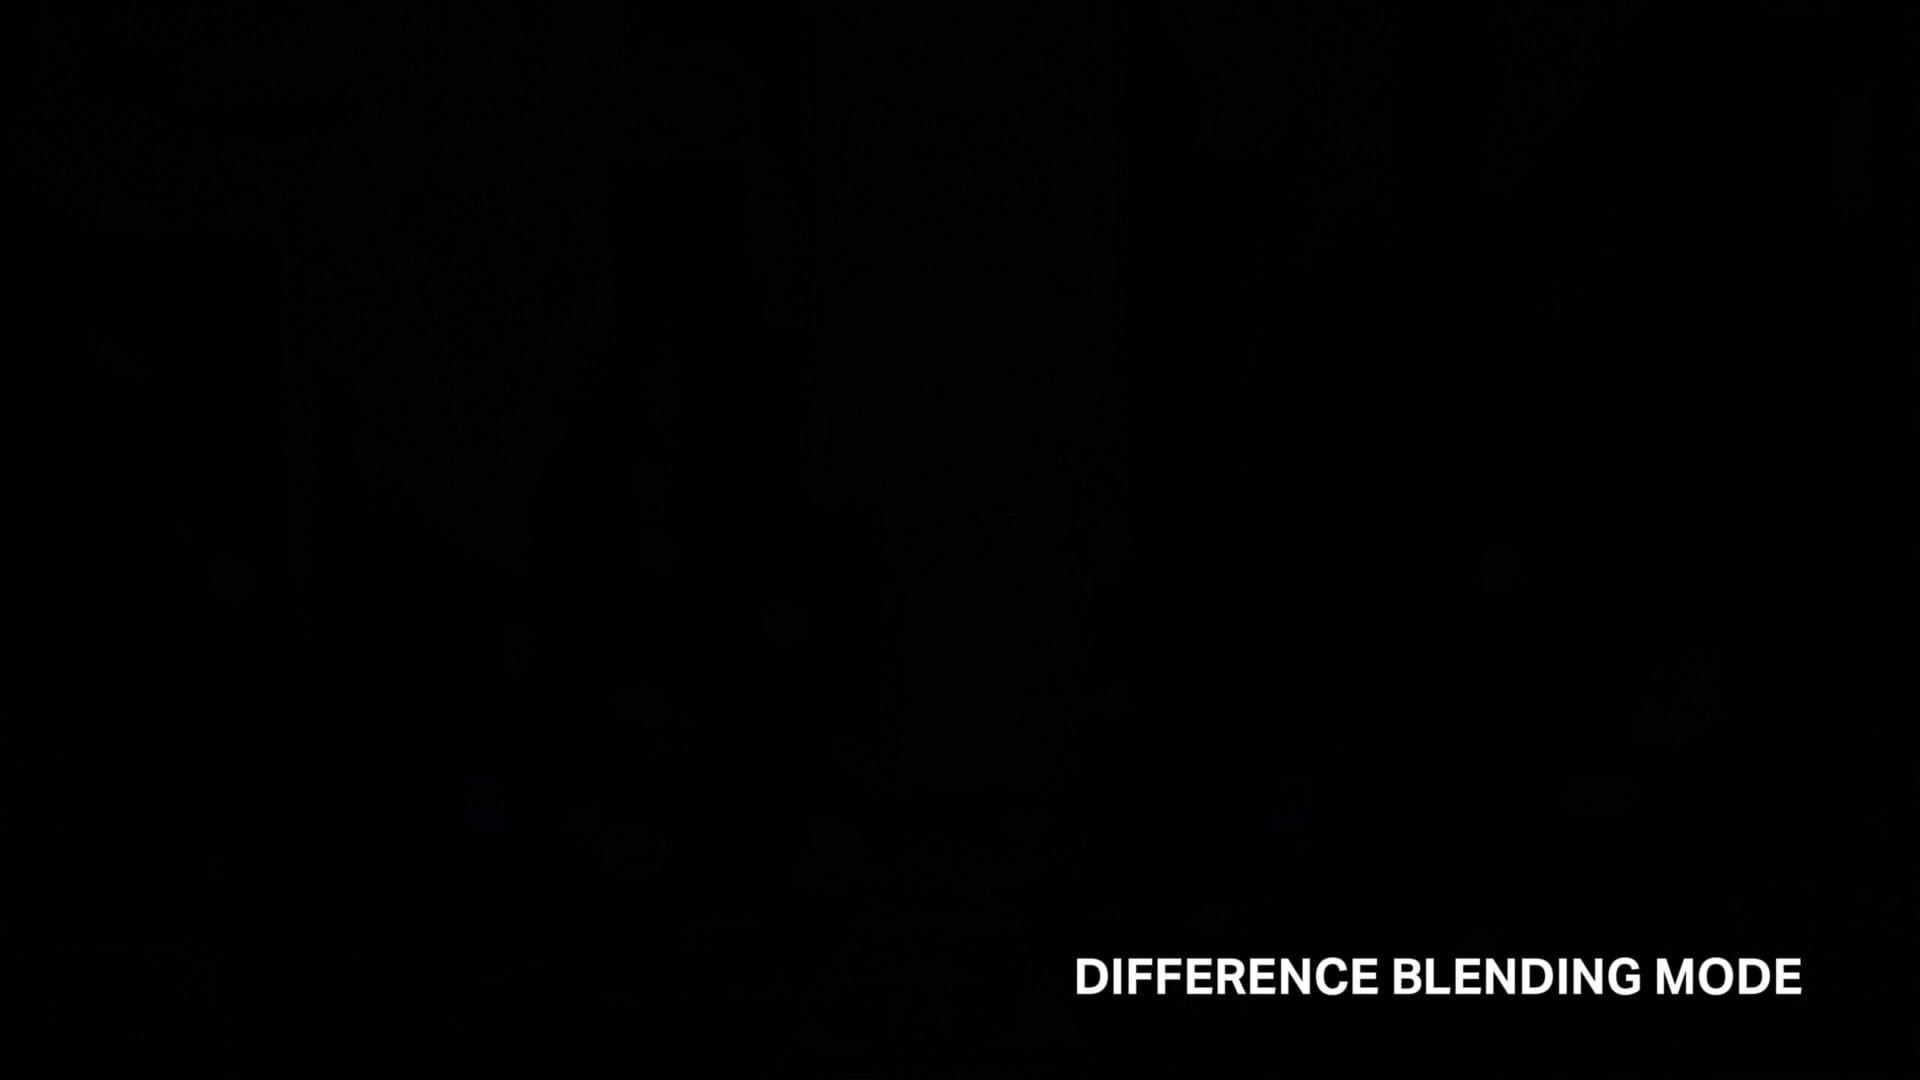
Step 3
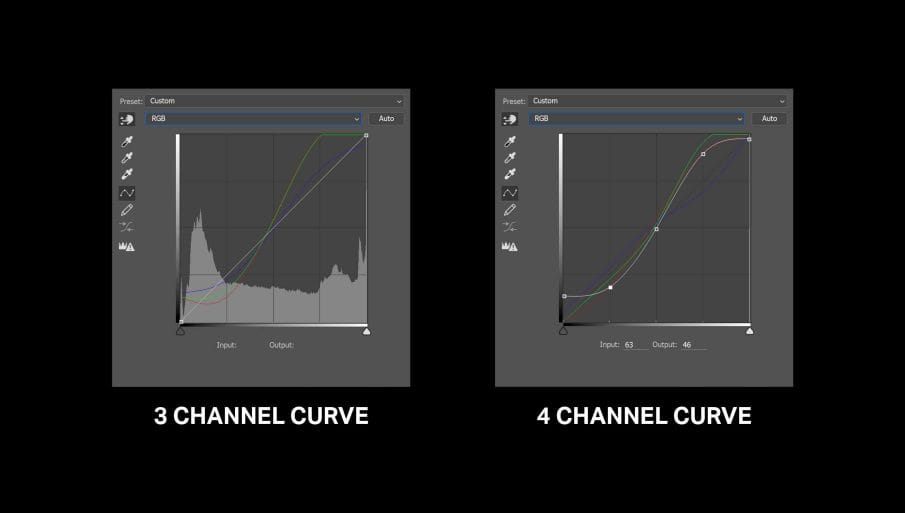
To do this, go to the Adjustments panel and add a Curves adjustment layer. You’re not going to be using the RGB channel. Instead, all of your adjustments will be inside the red, green and blue channels. This is called a 3 channel tone curve. Unlike a 4 channel tone curve, it’s less proper and harder to read but you can get the exact same results.
Step 4
And now we’re going to start adjusting the tone curve. First, in the Properties panel, click on this icon here… and that will make your curves adjustment layer only affect the layer below it.

Step 5
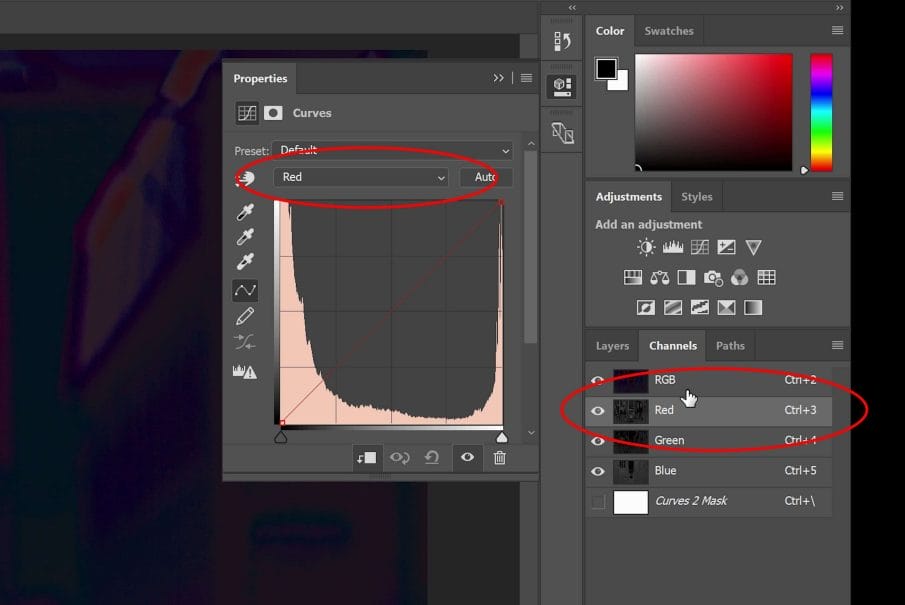
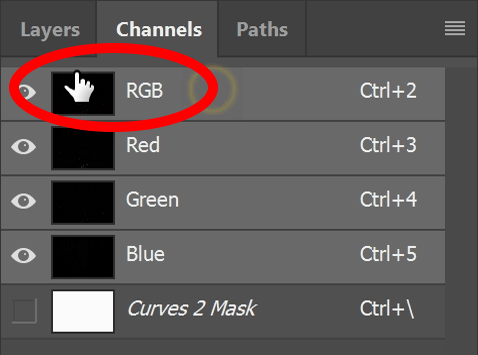
Open the Channels panel. If you don’t see this you can open it by going to Window > Channels. Select Red from the Curves dropdown menu…. And then select the Red channel in the Channels panel. You are now seeing and editing the red channel.
Step 6
Select the targeted adjustment tool. This tool will let you click anywhere on the image to add a point to the tone curve.

Your goal is to make the image black. So start by dragging on a bright area and try to make it turn black. Keep doing this until you get a completely black image. When you’re dragging, make sure that you’re looking at the area that you clicked on and trying to get that point black. The other areas will change but don’t worry about those.
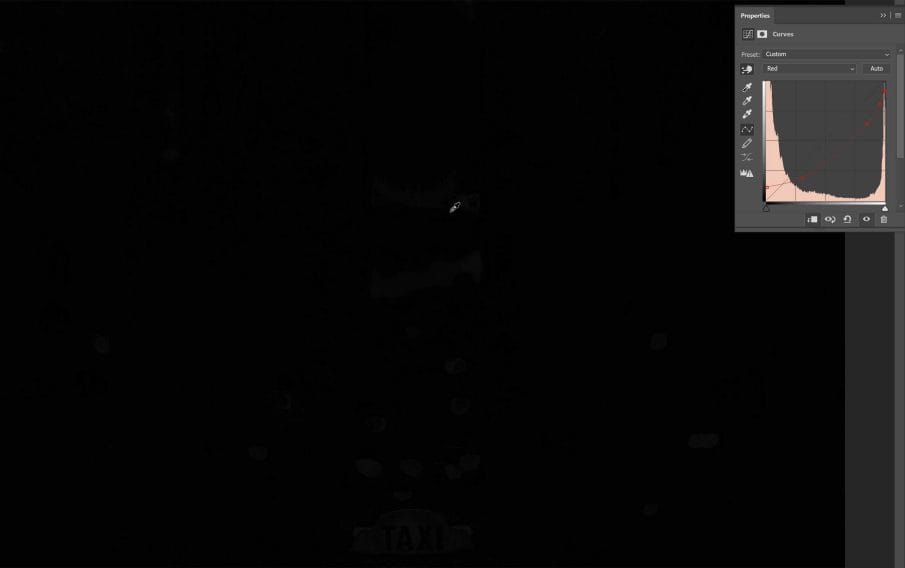
Another tip is to frequently check your tone curve. Sometimes you can add too many points that are too close to each other… and that’s going to cause some errors. You want your tone curve to be a nice simple line.

Step 7
When you’re done, switch to the Green channel and do the same thing. Make sure that you’ve switched the channel on both your Curves Properties panel and the Channels panel.
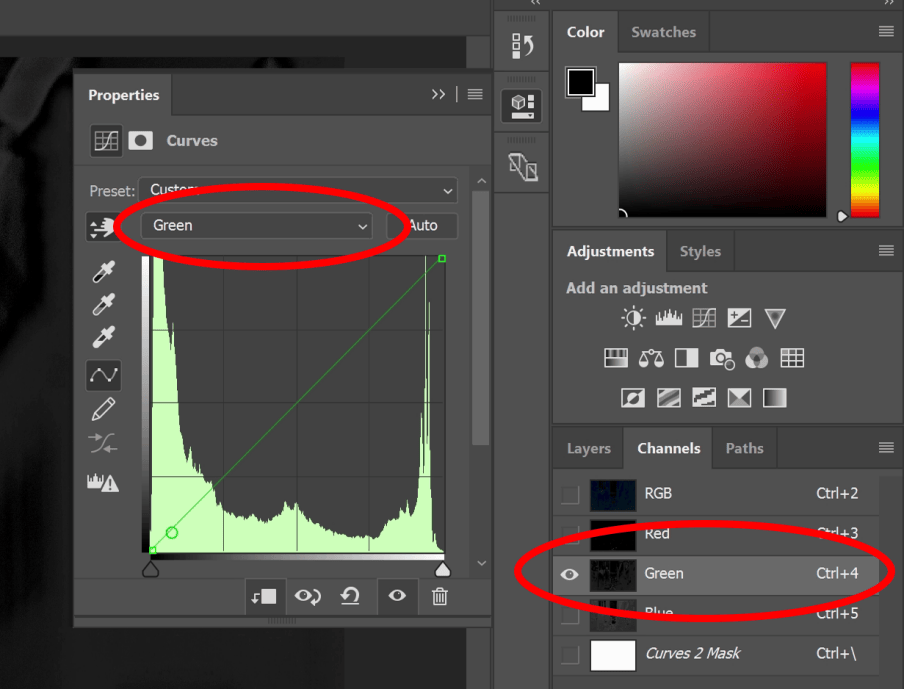
Sometimes, the targeted adjustment tool won’t work the way you want it to, and you might need to adjust the points directly in the tone curve. But keep practicing and you’ll get the hang of.
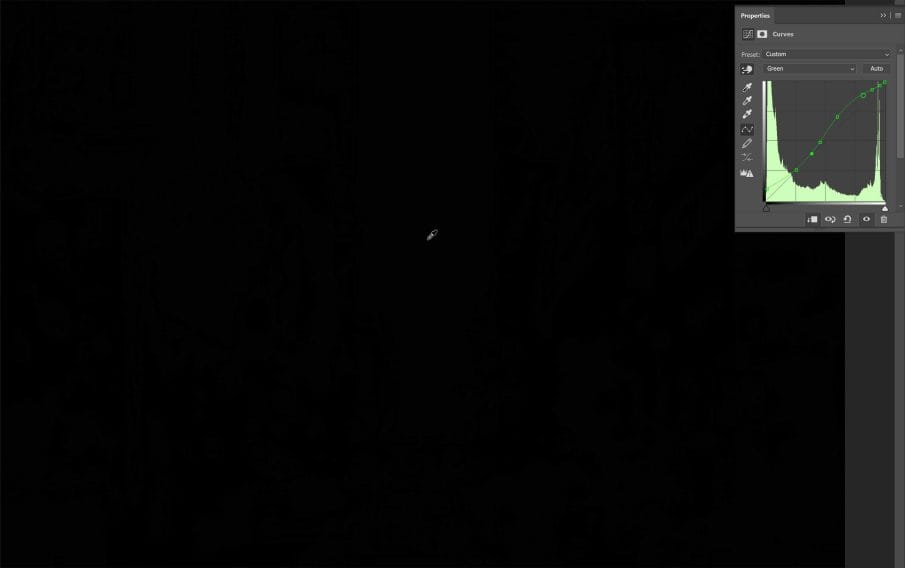
Step 8
When you’re done with the Green channel, do the same with the Blue channel.
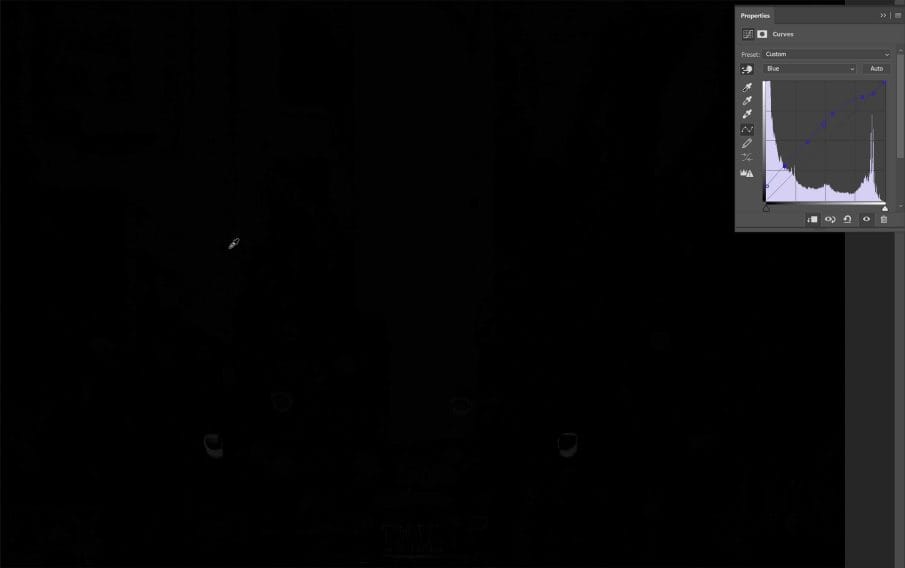
Step 9
Switch back to view the RGB channel. Then in the Layers panel, change the blending mode back to normal. Your before photo should now look like your after photo and you can test it out by turning on and off the Curves adjustment layer.

Step 10
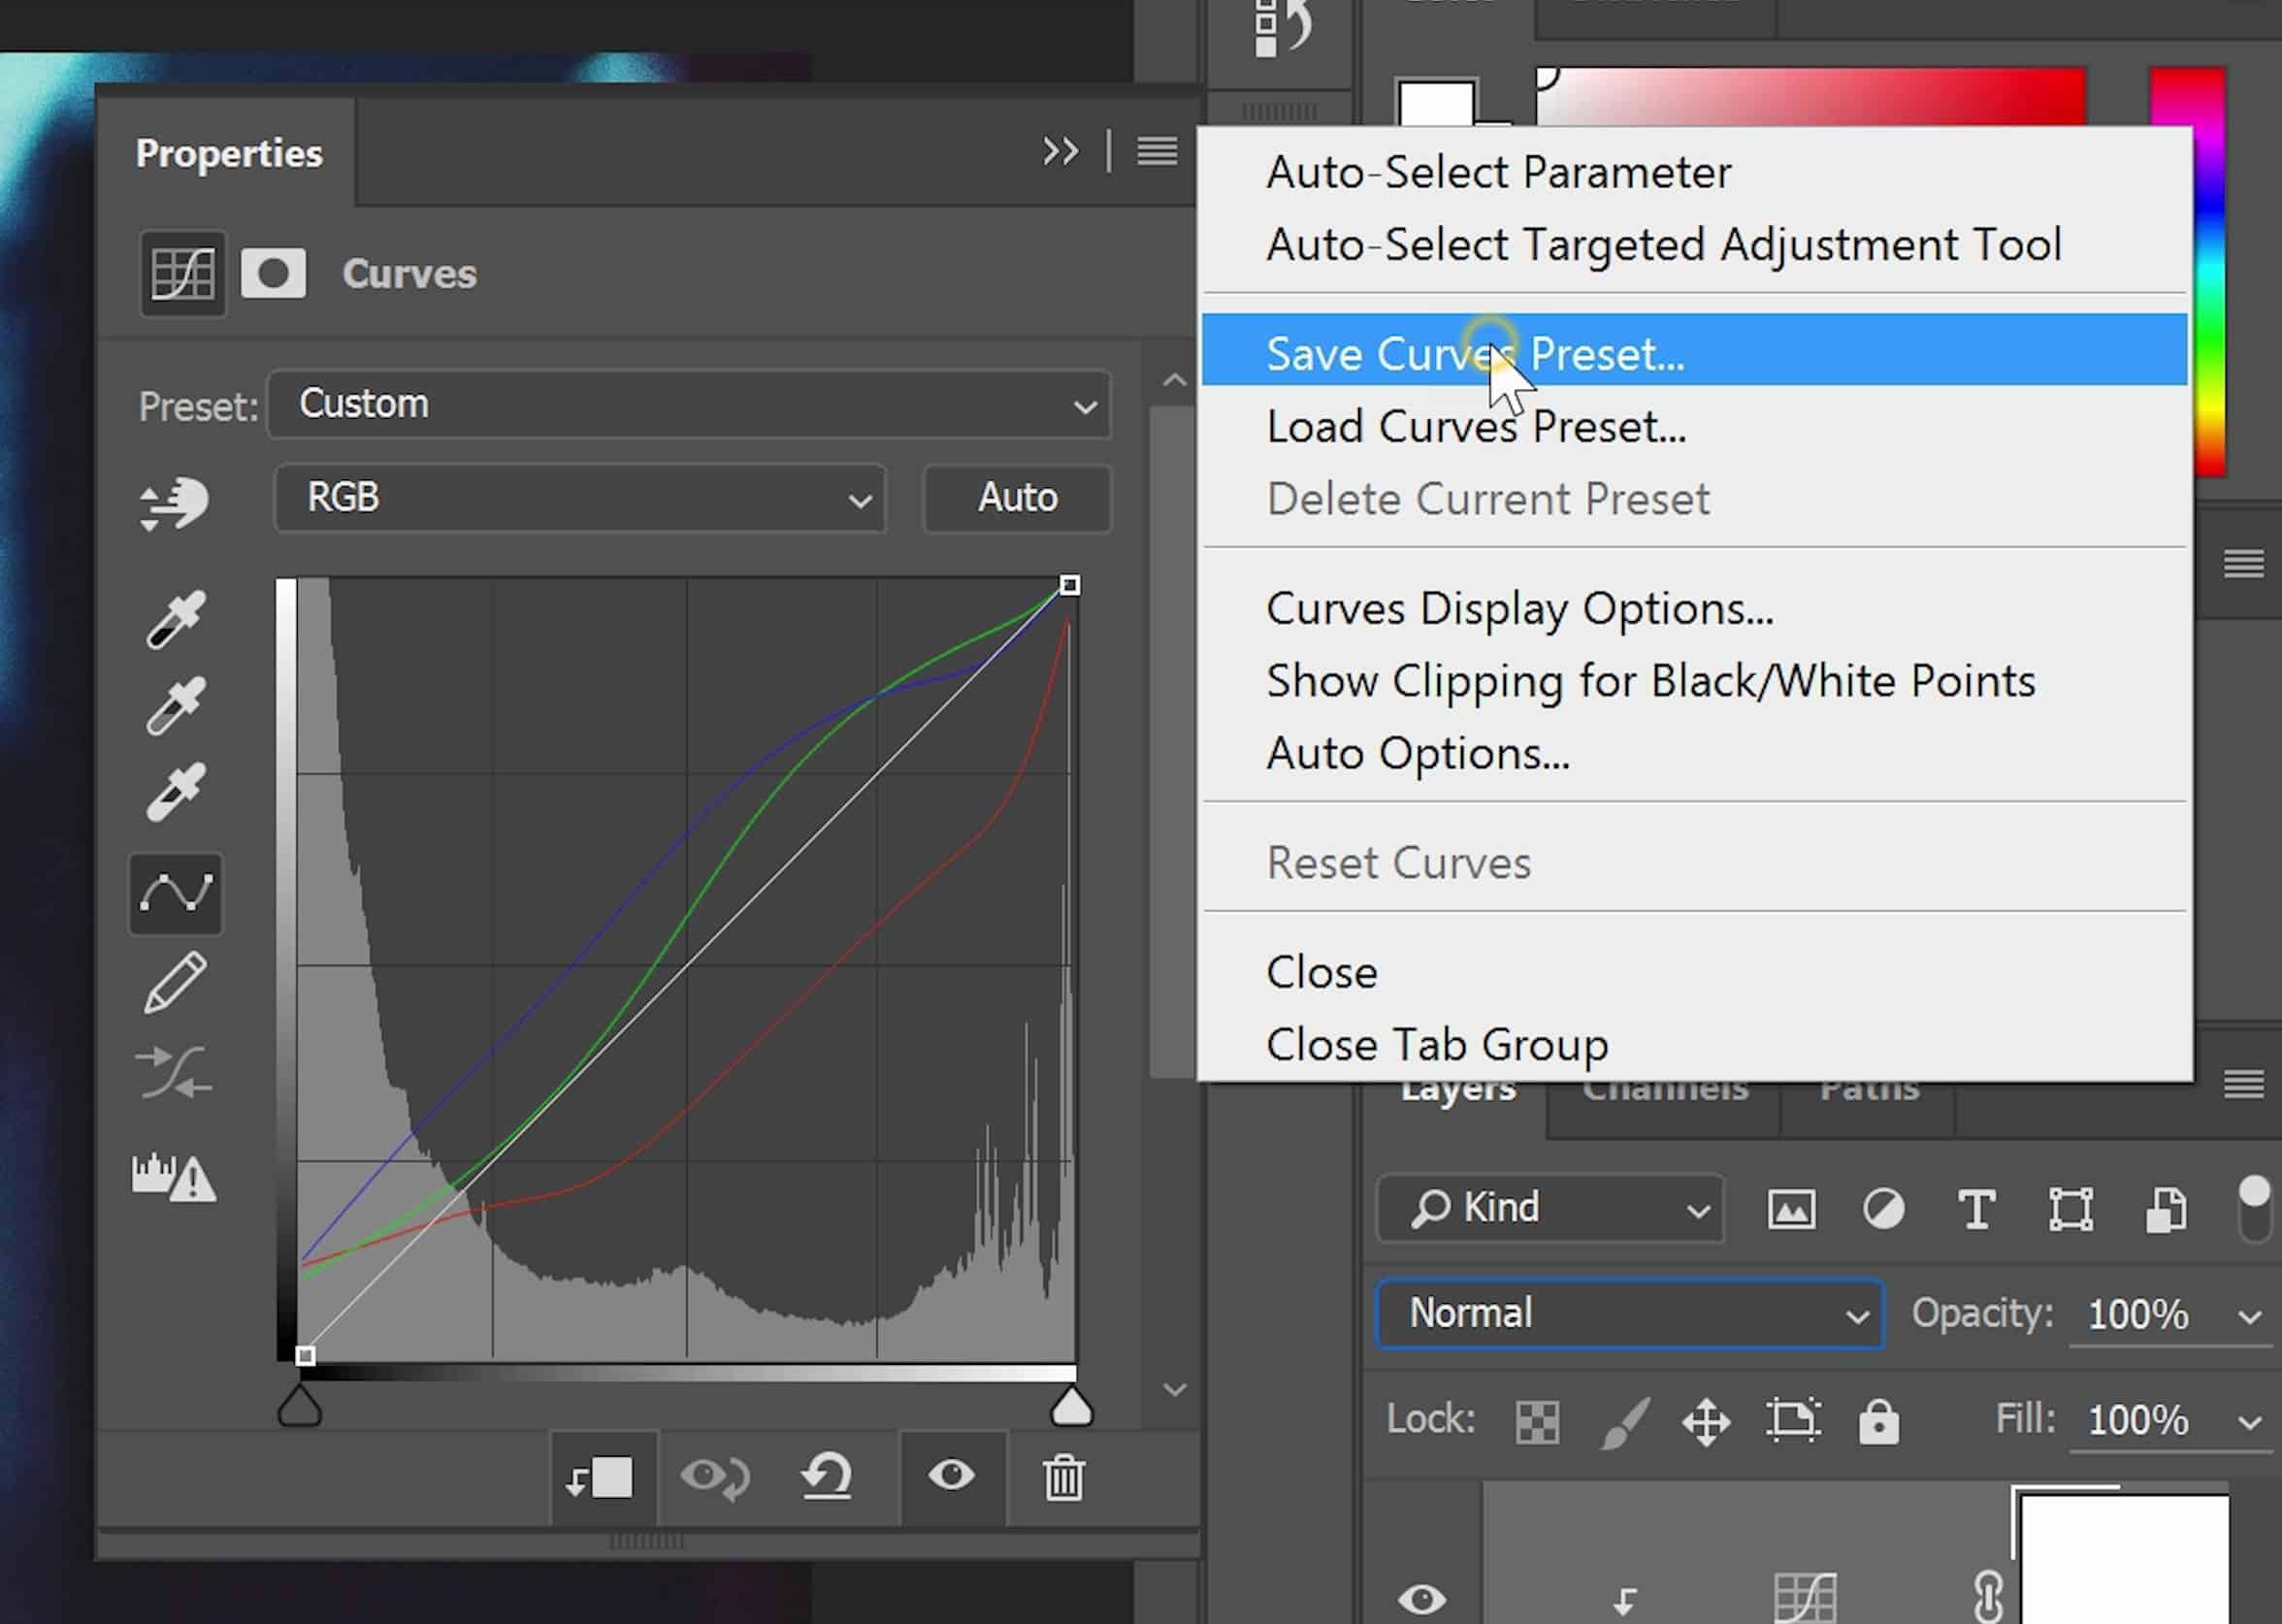
This tone curve here is now complete and you’ve just replicated the tones of this photo. To save it and use it in other photos, click on the Properties panel menu and then select “Save Curves Preset”. After saving, you can access the preset from the dropdown menu.
Try it Out on Other Photos
Try it out on other photos. Sometimes it looks fine on one photo but not on others. So in that case, you might need to tweak the curves a bit.
But if there’s nothing wrong with your curves, congratulations because you’ve just learned how to replicate tones in Photoshop. This method of creating a fake before photo and then using the Difference mode to adjust the tones is the easiest way to decode and replicate effects for beginners.
One final tip, the more accurate your before photo looks, the better your results will be. And if you can somehow find the before photo, then use that because you’ll get the best results.
In fact, this is the same technique that I used for my Cinematic FX Photoshop actions and Lightroom presets. Those presets emulate the color grading of popular films like Alice in Wonderland, 300, Life of Pie, 007 Skyfall and more. And for many of them, I simply did a Google image search for the before and after photos which was what made it possible to recreate the identical effects.

Good Morning:
Is it permissible to print the Denny Tips or do you have them available in printed format (i.e.-a booklet)? If so, let me know how I can acquire a copy.
And Thank you so much. I am more comfortable with being able to reference the written material. Think it goes back to my time on submarines and the tech manuals to run the equipment there-on.
All the Best, Lyndon