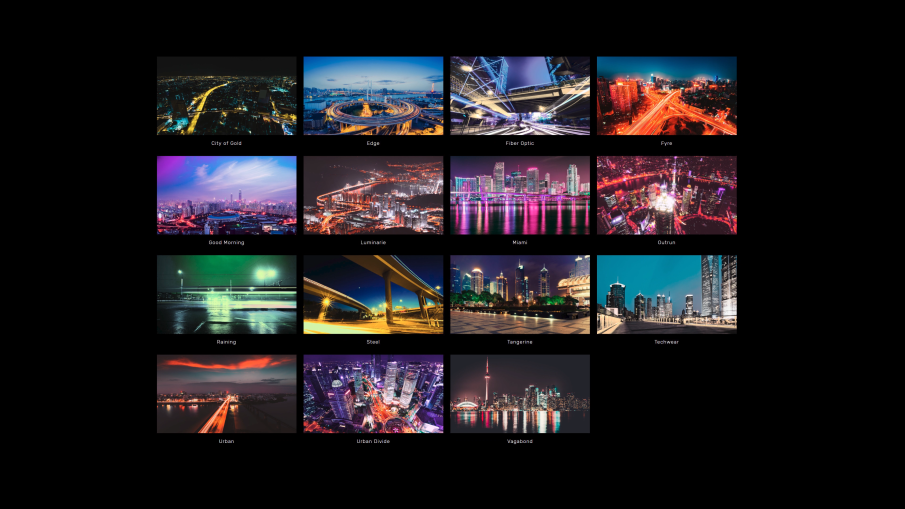
In this tutorial, you’ll learn how to create your own surreal nighttime color grading from scratch. With this one simple technique, you can create an unlimited amount of effects. I’ll be using the desktop version of Lightroom CC, but you can also follow along using Lightroom CC for your phone or tablet, Lightroom Classic CC, or Photoshop via the Camera Raw filter.
Shifting the Hue
First, we’re going to shift the hue towards two colors.
In the Color Section, click on the Color Mixer button. This tool lets you shift the colors

Start by picking two colors. I’ll pick Aqua and Magneta. We’re going to shift everything towards those two colors.

I’ll start with my first color, Aqua. Select the colors beside
Aqua and move the hue of those colors towards Aqua. For blue, I’ll shift the hue all the way towards the left.

For green and yellow, I’ll shift those hues towards the right.


Next, I’ll shift the rest of the colors towards magenta. For purple, I’ll drag it all the way to the right


Depending on your photo, you might have more of one color than the other. To change the balance, you can use the white balance slider.
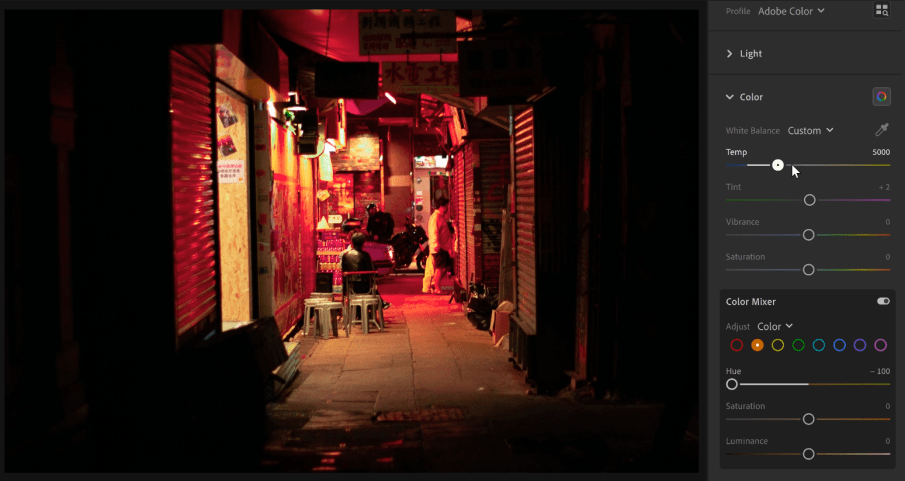
Here’s what the image looks like so far.
Tinting the Shadows & Highlights
Next, we’re going to use the RGB tone curves to tint the shadows and highlights. In the Light section, click on the Tone Curve button.

If you’re not familiar with the tone curves, watch my tutorial on the tone chart technique. That will help you understand how it works. But for now, just follow along.

I want to give my photo a purple tint. So to do so, I’ll go into the green channel and drag the top-right point downwards. This will tint the highlights purple.
By the way, if you don’t see this gradient background, just imagine it. It’s currently only available in Lightroom CC. If you’re using Lightroom Classic CC or Photoshop, you won’t see it. My best advice is to memorize this background and imagine it whenever you’re using the RGB curves.

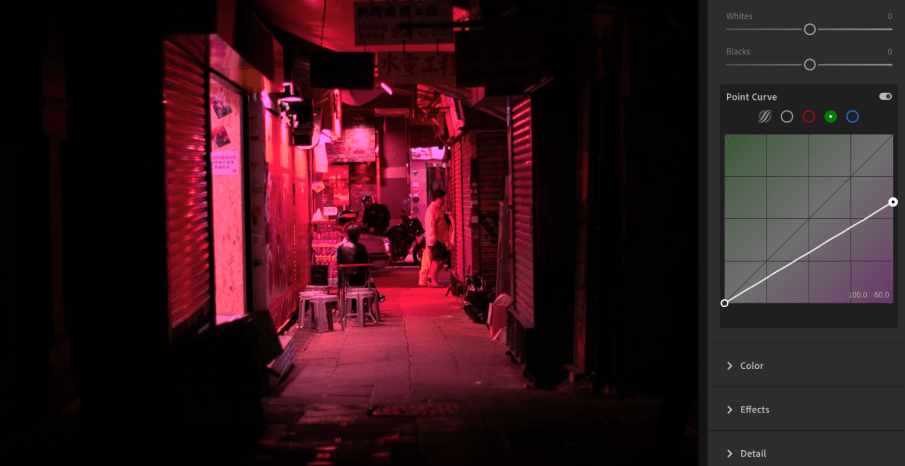
To tint the shadows purple, I’ll go into the blue channel and lift the bottom-left point.
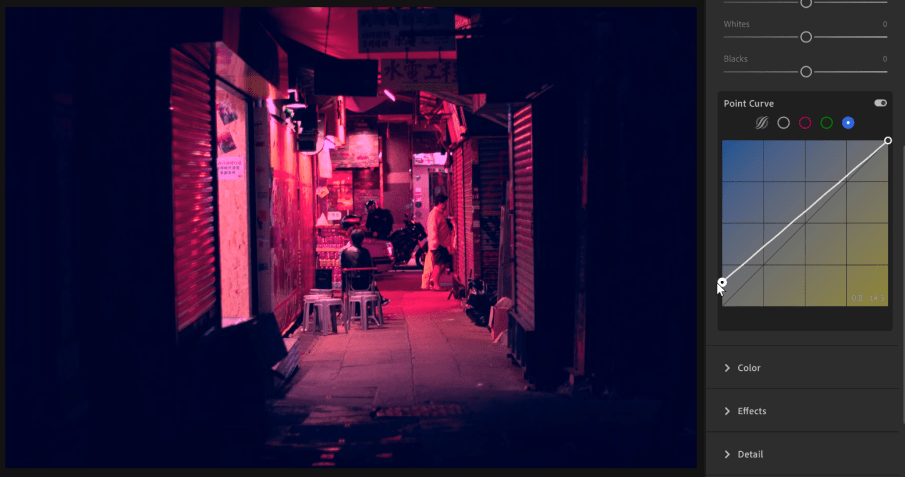
To get purple, I need to combine blue with red. So I’ll go to the red channel and drag the bottom-left point upwards as well until I get the purple that I like.
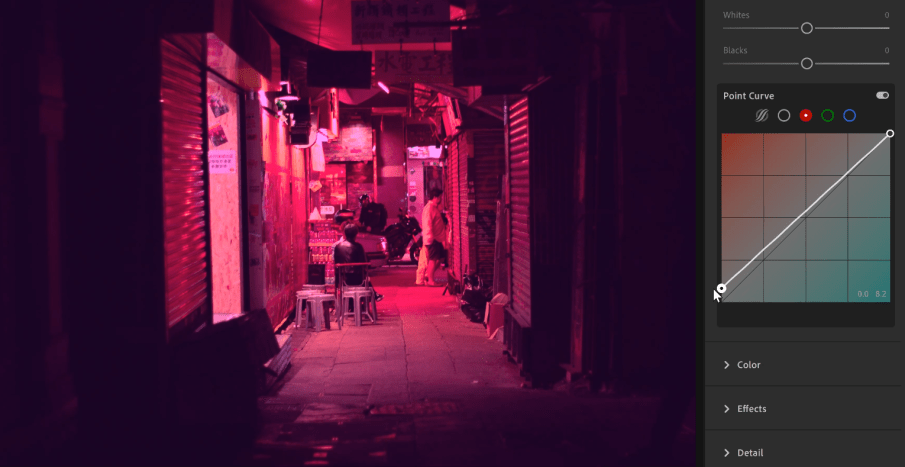
Go back into the channels and fine-tune the results to get the colors you like. You can also experiment with different color combinations but if you’re not that familiar with with the curves, don’t add any points. Keep it simple and stick to these straight lines with two points.
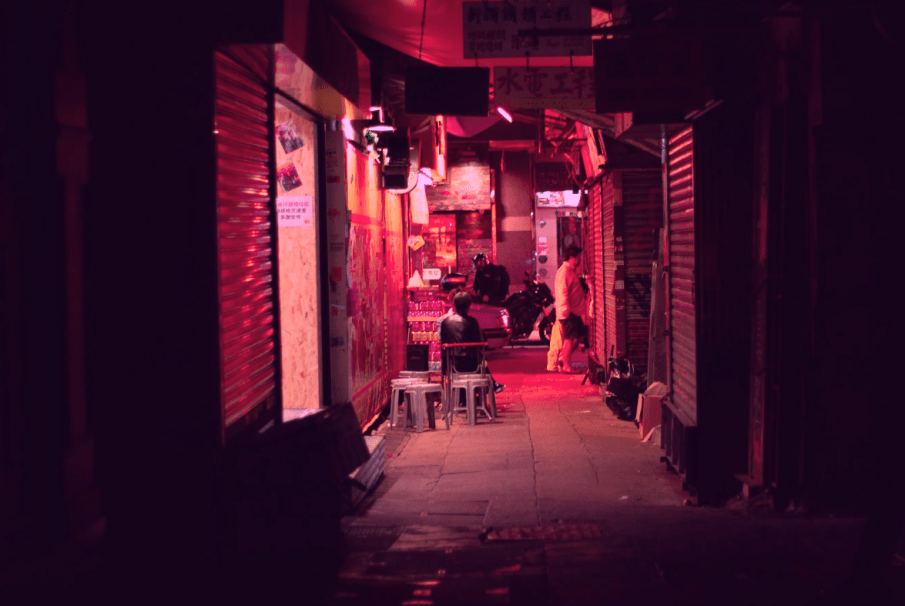
Final Results
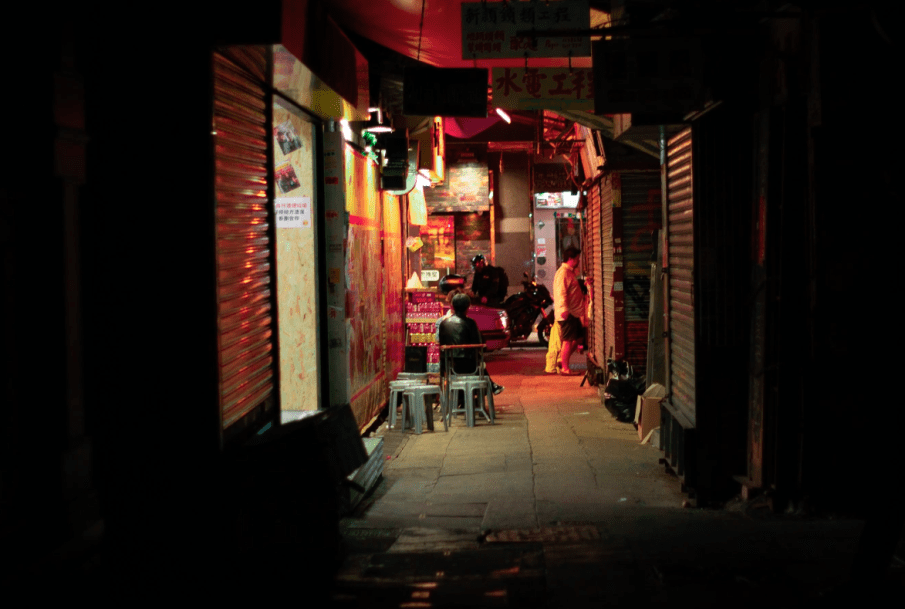
Here’s what our photo looks like before and after.


There are a lot of color combinations you can use – play around and see what you can get.


Need Some Inspiration?
If you need some inspiration, check out masashi_wakui on Instagram. He has a lot of amazing photos with a similar post-processing style.

Free Night Lightroom Presets
By the way, if you’re looking for a new way to post process your photos, check out my Night Shift presets over at VOXCOLOR. They give your photos really cool effects that are made specifically for nighttime cityscapes. There are 3 presets that you can download for free.
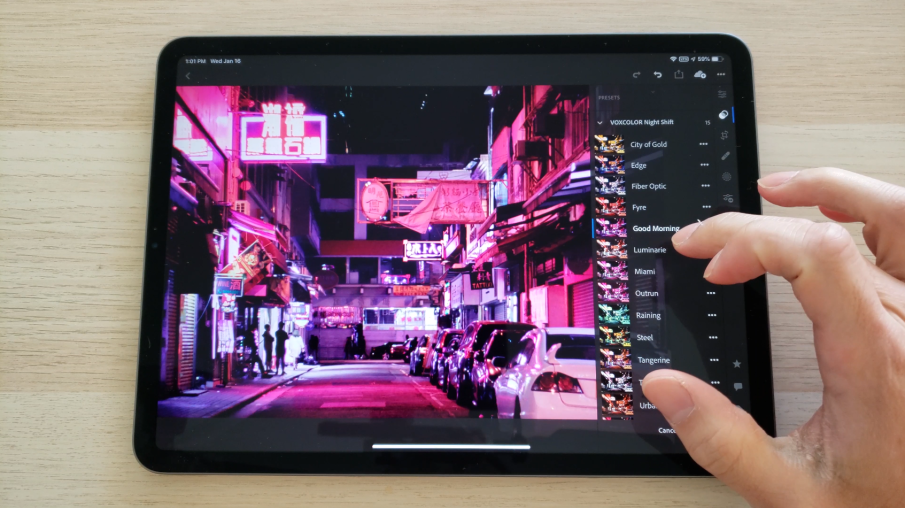
They are natively compatible with Lightroom Mobile so you can edit wherever you are and you can use the built-in opacity slider – so if you need something lighter or stronger, you have full control over that.

If you like it and want more, upgrade to the Pro or Studio versions. If you do, thank you so much – It helps out a lot and I’m very grateful for your support
The Pro version will give you 12 Lightroom presets that you can choose from. The best one is the Studio version will give you 14 Lightroom presets and LUTs that you can use in other software such as Premiere, Affinity Photo, After Effects and more.
