Here’s a list of the best keyboards and mouses for Photoshop or other productivity and creative work. People tend to use the free keyboard and mouse that their computer came with. But those are usually not the best. For a software like Photoshop where you need precise mouse movements, a high-quality mouse is a must-have – especially if you’re working on a high-res display. Photoshop also has a lot of tools and commands so a keyboard with extra macro keys will improve your productivity significantly. In this article, you’ll learn how to pick the best keyboard and mouse for your workflow.
Gaming Hardware are Not Just for Gamers
Now just to be clear, this video isn’t about buying peripherals that will make you look like a professional. If you need to impress your clients when they visit your office, you can buy an expensive color control surface. That will make you look like a pro even if you’re not.
But if you care about being productive, then this video is for you. The stuff I’m going to recommend to you is based on how practical they are – not how professional they look. Most of the products are designed for gamers. But don’t be fooled into thinking that gaming products aren’t good enough for professional work.
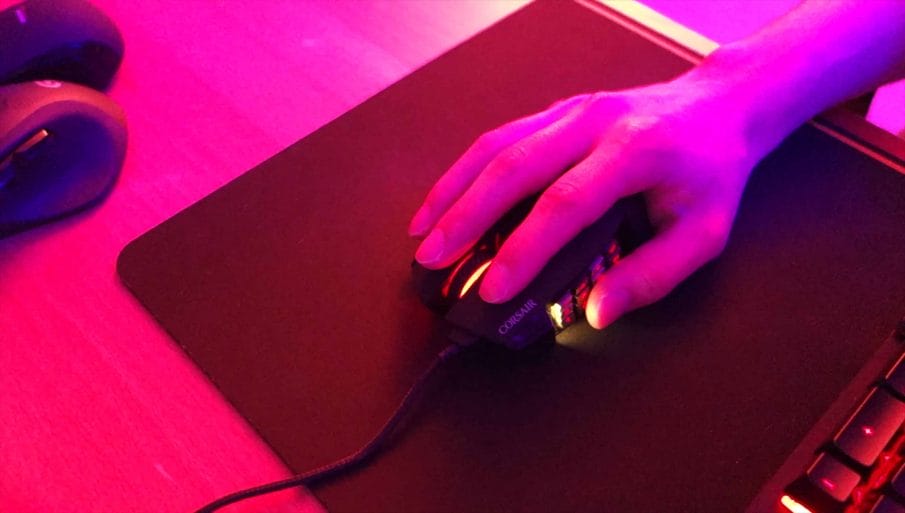
Manufactures market their products for gamers simply because there are way more gamers than photographers and digital artists. Gaming keyboards and mouse are some of the best performing and well-built products you can buy and they make using Photoshop so much better. So don’t worry if the products make you look like a gamer, it’s all about being more productive.

Things to Look for in a Keyboard
Let’s start off by talking about your keyboard. A good keyboard isn’t 100% necessary for Photoshop. Most of the features are for your own comfort and personal preference. But there are practical features that make these keyboards a good investment.
Macros
One of the biggest features that might make you more money (via better productivity) are macro keys. These are extra keys on your keyboard that you can program to any hotkey, keystroke combinations and more. It’s incredibly useful. Your productivity will improve so much once you start using macros. If you want to add a hot key in Photoshop, you can do it by going to Edit > Keyboard Shortcuts. But you’re going to have a tough time finding a hot key that’s not already taken.
A better solution is to use macros. For example, I have a macro for converting a layer into a Smart Object. What this macro does is it presses Alt+L, S, S which basically loads a command from the menu. On Macs, it’s more complicated but still possible. I don’t use Macs anymore but from what I remember, you had to press something like Cmd+F2 and then use the arrow keys on your keyboard to navigate around the menus. It sounds like a lot of keystrokes but you can record your macro with no delays and it’ll play so fast that it feels like you’re pressing a hot key.
I use macros all the time. And I have it set so that the macro keys will change depending on which software I’m currently using. Time is money. If you’re not using macros yet, I highly recommend you try it out. Once you get into the habit of using it and build your own profiles, you’ll get things done so much faster.

RGB Lighting
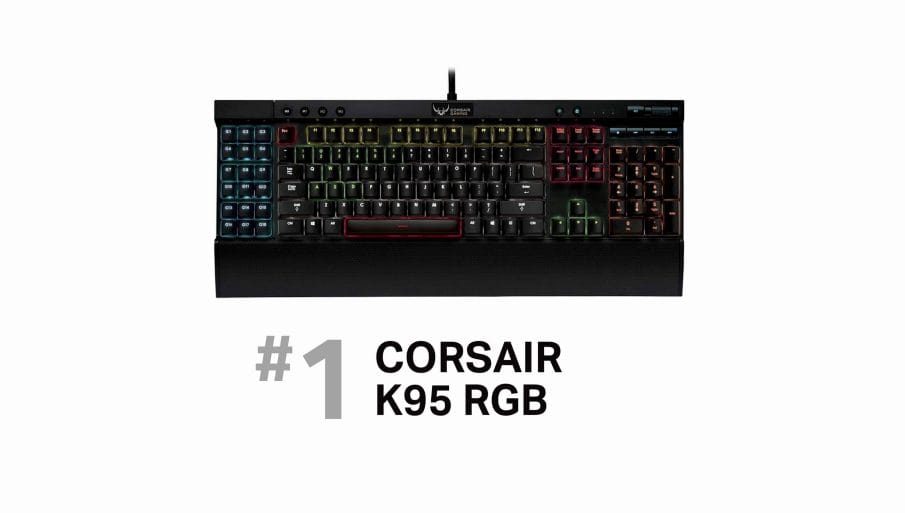
Once you start using macros, you’re going to run into another problem. When you have so many macros set, it’s hard to remember which one does what. And this is where RGB lighting comes in. Look for keyboards that let you set the colors for every individual key like this Corsair K95 keyboard. Some keyboards will say they have RGB lighting, but they only let you have one color for your entire keyboard or for a couple zones on your keyboard and not the individual keys. Make sure that the keyboard you buy has per-key RGB lighting.
A cheaper alternative would be to get a non-RGB keyboard and stick some stickers, but if you use multiple macro profiles and have it set so that it changes based on which software you’re currently using, your stickers won’t be useful anymore. With an RGB keyboard, you can tell it to light up your macro keys different based on which software you’re currently using.

Keyboard Recommendations
I’m currently using a Corsair K95 keyboard. It has 18 macro keys and I use all of them. In fact, it’s not enough for me so I have a second macro pad, the Logitech G13. I recommend this if you need more macro keys or if you’re using a laptop and don’t want to carry a gigantic keyboard around.
5. Razer Orbweaver Chroma
The Razer Orbweaver is a macro pad with 20 keys in the main area and an additional 10 around it. It has per-key RGB lighting, great build quality, and software that lets you set customizable macros with unlimited profiles. I recommend this if you are using a laptop or if you need a lot of macro keys.

4. Logitech G13
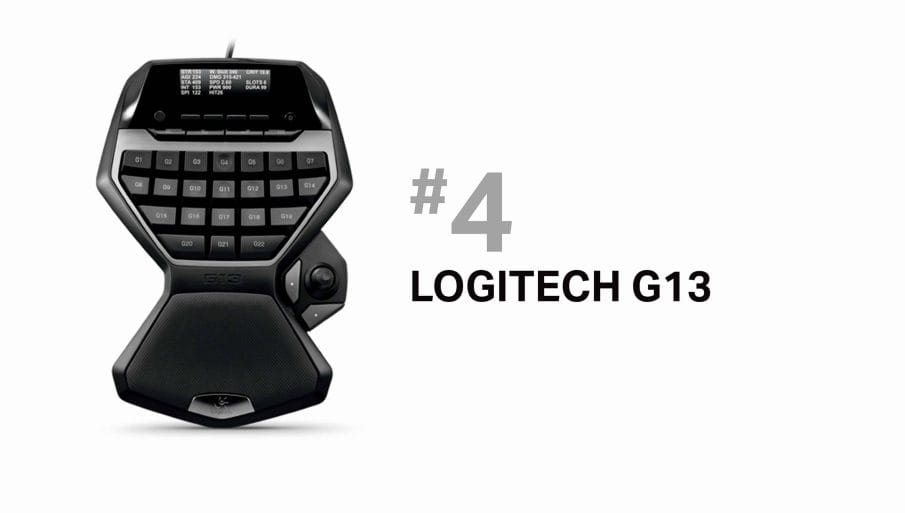
If you don’t need the per-key RGB lighting, the Logitech G13 is a better choice. It’s priced lower and has some of its own unique benefits. It gives you 22 macro keys, three dedicated profile switching buttons, and a dedicated on-the-fly macro recording button. It doesn’t have per-key RGB lighting like the Razer Orbweaver Chroma, but it has a LCD which is useful for displaying your CPU and RAM usage.
3. Steelseries Apex 350
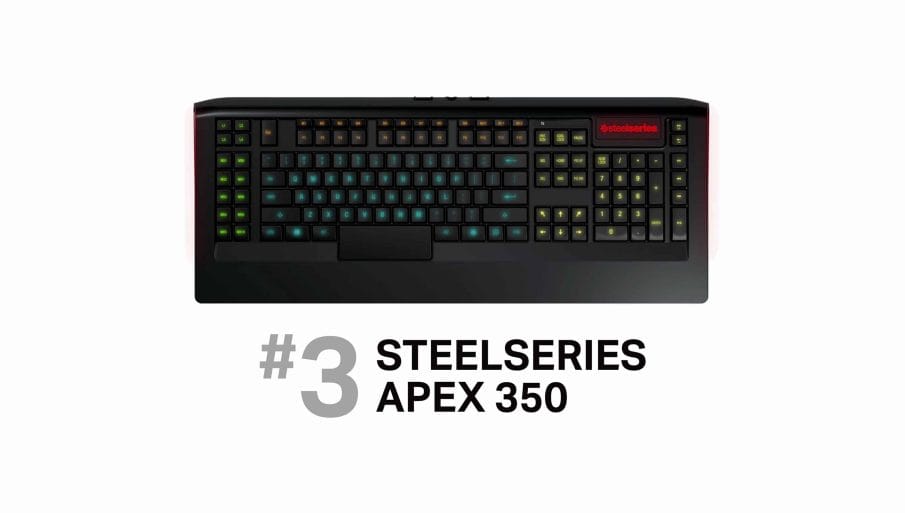
If you use a lot of Photoshop actions, the Steelseries Apex 350 is a great keyboard that’s not too expensive. It has plenty of macro keys but what I like the most about it are the macro keys above the F1 – 12 buttons. They’re great for mapping your favorite Photoshop actions. The cons for this keyboard is that the keys aren’t mechanical and you can only set the color based on a couple zones – not the individual keys.
2. Logitech G910
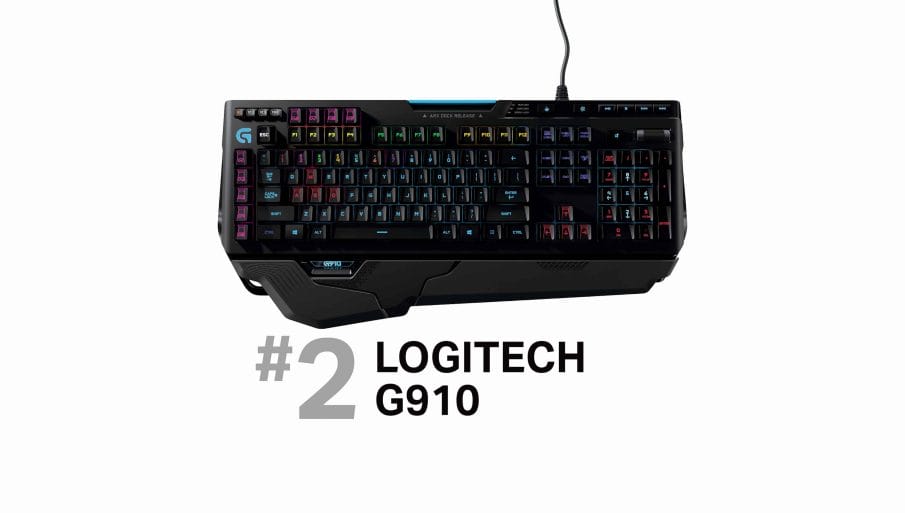
The Logitech G910 is great mechanical keyboard with per-key RGB lighting. It has 9 macro keys, which isn’t many but they’re located on the left and top sides which is useful if you like to have two sets of macro keys. For example, you can use the top macro keys for your favorite Photoshop actions and the side macro keys for common Photoshop commands like rearranging your layers.
1. Corsair K95 RGB
My top recommendation which is also the keyboard I’m using is the Corsair K95 RGB. It has a whopping 18 macro keys, a dedicated on-the-fly macro recording button, three dedicated profile switching buttons, and per-key RGB lighting. It’s also has the best build quality I’ve ever seen in a keyboard and the software is very very customizable. Anything you can think of, you can probably do with the Corsair software. It’s not as user friendly as other software like Logitech but if you can use Photoshop, then you’ll have no troubles learning how to use Corsair’s software. The only downside is that once in a while, the macros will just stop working. But once you open the Corsair Utility software, it fixes itself immediately. Asides from the software issues, this is the best keyboard you can get for Photoshop.
What to Look for in a Mouse
Now, let’s talk about something even more important – your mouse. I see people doing professional work that requires precise mouse movements… and they’re using a cheap mouse – usually the free mouse that came with their computer. A good mouse makes a huge difference especially if you’re working on a high-res display. If you’re using a low-res display, anything lower than 1920×1080 pixels, you probably won’t notice much of a difference. But on a 4k or 5k monitor, not only can you feel the difference a good mouse has over a cheap mouse, you can even see it.
Sensor Position
Have you ever switched to a new mouse and found that you’re not used to it? You can tweak the DPI setting all you want but it never feels like your old mouse. It’s probably because of the sensor position.
On this G700s mouse, the sensor is located near the front of the mouse while on this Corsair Scimitar RGB mouse, it’s located at the center. Look at the bottom of your mouse and notice where the sensor is positioned.

I realized that the sensor position changes the way I hold a mouse. On the G700s, my palm would be resting on the mouse which makes it very comfortable to use. But on my Corsair mouse, I tend to hold it like a claw because I’m used to holding a mouse so that my fingers are positioned near the sensor. If you want something that feels like your old mouse, try to find a mouse where the sensor is in roughly the same position.

DPI
The main reason for getting a gaming mouse is the adjustable DPI setting and improved polling rate. DPI stands for dots per inch and it’s basically a measurement for how sensitive your mouse is. A higher DPI setting will move your cursors more pixels per inch. The quick gist is that all gaming mouse will have more DPI than you need even on a 4K display. Normal non-gaming mouse will typically have a fixed DPI between 800 and 1200 which is sufficient for low-res displays. If you have a 4k display, you should get a gaming mouse with at least 2000 DPI. Anything over 6000 DPI is excessive. There’s no harm getting a mouse with a very high DPI setting, but just make sure that you’re not specifically spending extra money for that feature.

On my 40” 4K monitor, I have my mouse set to 2000 DPI which will move it roughly half way across the screen for every 1 inch of movement. If you’re used to using a low DPI, it’ll take some time to adapt to higher DPI settings. And this is where the DPI buttons on your mouse will come in handy. Most gaming mouse will have buttons for you to increase or decrease the DPI. So if you need more precision, you can simply press a button to lower the DPI and make your mouse slower. If you want your mouse to move faster, you can press the button to increase the DPI. It’s a very handy feature.
Polling Rate
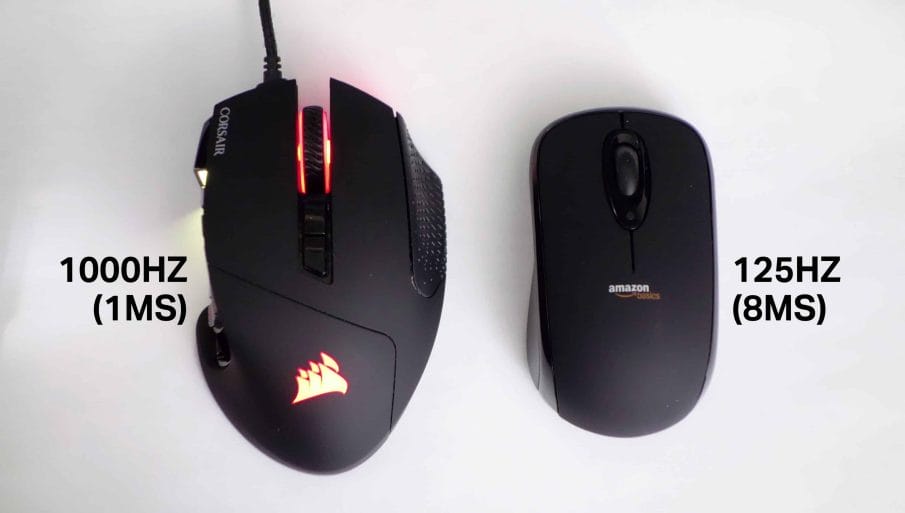
Finally, polling rate is the other reason to buy gaming mouse. Polling rate is a measurement of how often your mouse reports its position to your computer. A higher polling rate means that your mouse is more responsive. Normal non-gaming mouse will have a polling rate of 125hz which means that it reports its position to your computer 125 times a second or every 8 milliseconds. Gaming mouse will typically have higher polling rates such as 250hz, 500hz, and 1000hz. You will notice a difference going from a non-gaming mouse with a polling rate of 125hz to a gaming mouse of 500hz. The difference between 500hz and 1000hz however, is not very noticeable.
Macro Buttons
Just like how you can buy a keyboard with macro buttons, you can buy a mouse with macro buttons too. It’s a great way to improve your productivity. The benefit of macro buttons on your mouse compared to a keyboard is that you don’t need to let go of your mouse so often. I have my mouse set to switch tabs, zoom in and out, close a document, and also scroll up and down a panel. In Photoshop, for some reason the page up, down, home and end keys don’t work in the panels. Using the scroll wheel is also very slow. So I made a macro on my mouse to scroll at a more sensible speed.

Mousepad & Mouse Feet
By the way, don’t forget to use a mousepad. I used to use my mouse on the bare surface of my desk but I’ve been using a mousepad for a couple months now and it makes a huge difference. It’s a lot smoother and it also extends the life of the mouse feet.
Recommended Mouse
It’s hard to get a gaming mouse that isn’t good. Any gaming mouse will be a huge improvement over a non-gaming mouse. But here are my top picks.
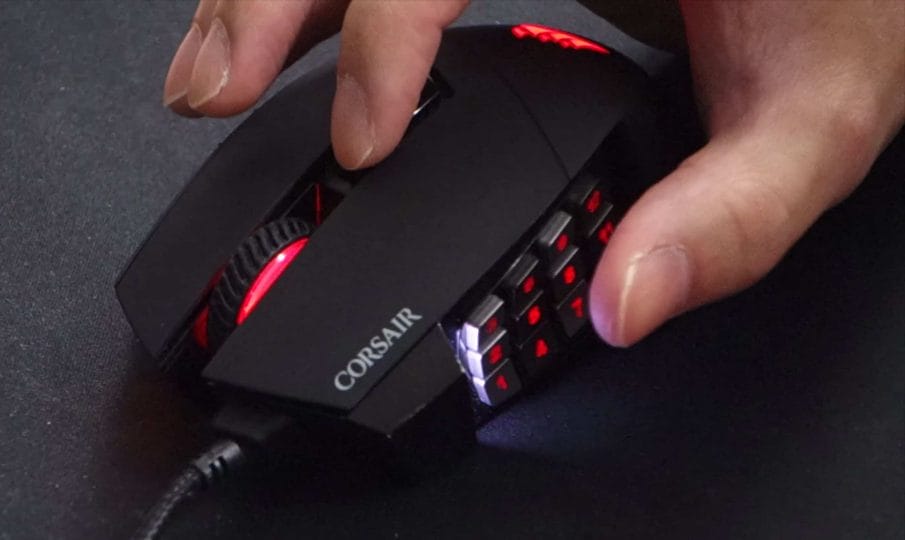
5. Corsair SCIMITAR RGB
This is the mouse that I’m currently using. It’s a wired mouse with 12 macro keys on the side and two DPI buttons on the top. The position of the side buttons can be adjusted and I have mine set to the very front. It’s a very comfortable mouse and just like with the Corsair keyboard, the build-quality is great. The downside is that the scroll wheel doesn’t tilt so you can’t scroll horizontally.

4. Razer Naga Epic Chroma
If you like the Corsair mouse but wish it was wireless, the Razer Naga Epic Chroma is a great alternative. The side buttons are fixed – you can’t adjust the position of it. But it has a tilt scrollwheel and comes with a charging base. It’s a great mouse but it’s also quite pricey at $130 USD.

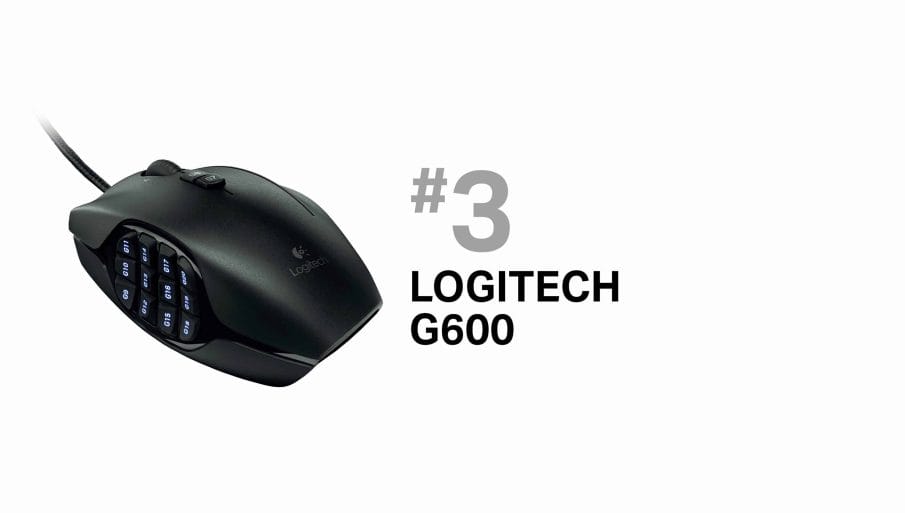
3. Logitech G600
The Logitech G600 is a wired mouse and just like the previous two mouse, it has 12 macro buttons on the side and two dpi buttons on the top. But it unlike the two, it has a third mouse button which is really cool. You can set this button so that if you hold on to it, it’ll lower the DPI and give you slower mouse movements. I personally haven’t gotten used to that and I find using the DPI buttons easier but if you can get used to it or you have ways of making use of the 3rd mouse button, this is a great choice. The best thing I like about this mouse is that the side buttons have an angle to them which makes it easy to feel which button you’re pressing.
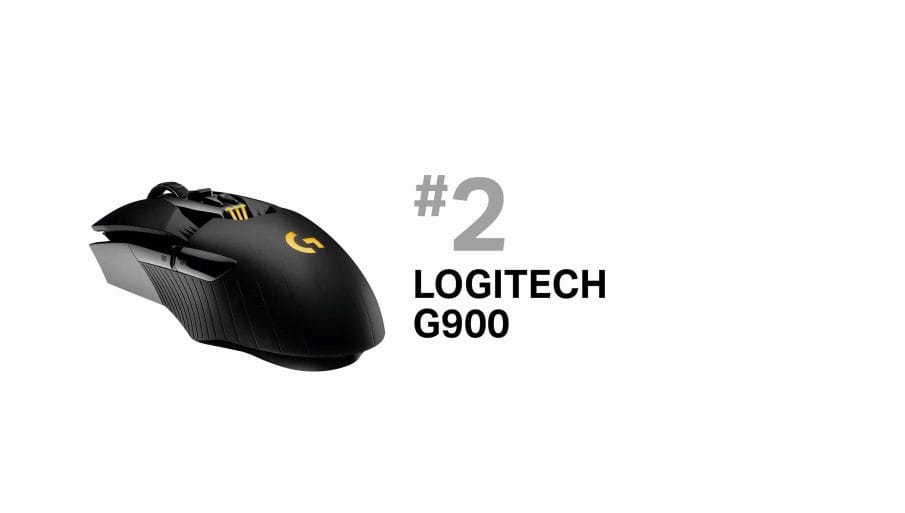
2. Logitech G900
Coming in in second place is the Logitech G900. It iss the best wireless mouse you can get. It’s super lightweight, has the most advanced optical sensor, the fastest response time for a wireless mouse, and it even has a built-in 32-bit ARM Cortex processor to control all of this. Essentially, it’s the best mouse you can get. But the reason why this doesn’t win the #1 spot is because it’s overkill for photography work and for $150 USD, it’s also not cheap. I recommend this mouse if you’re left-handed or if you just want the best mouse you can get. However, keep in mind that this doesn’t have as many macro buttons as the previous 3 mouse we mentioned.
1. Logitech G700s
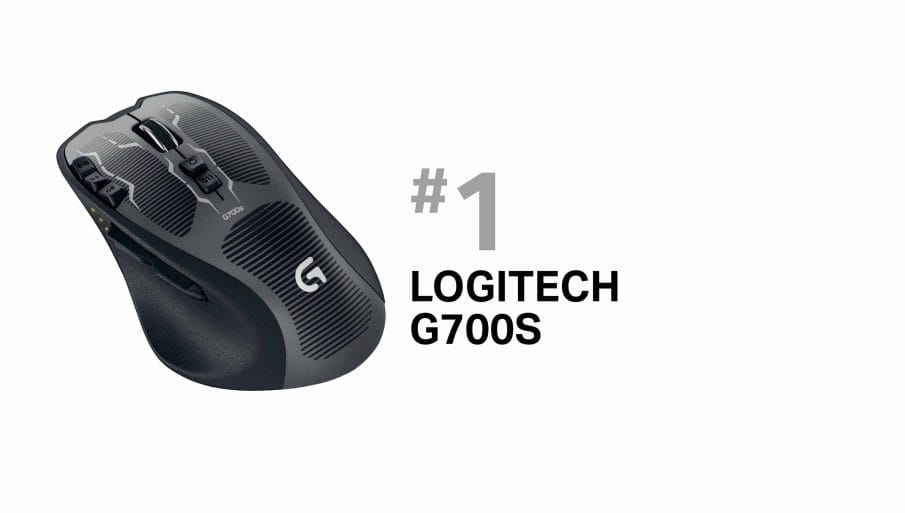
The #1 mouse is the Logitech G700s. I’ve been using this for a long time and although it doesn’t have as many buttons as the first three I mentioned, it has them positioned in better places. One of the issues with having so many buttons crammed on the side is that it’s easy to press the wrong one. This mouse has four on the side, three on the left mouse button, and one in the center. The other benefit of this is that it’s incredibly comfortable. I’ve used this mouse for over 5 years and I love it. The only reason I switched away from this mouse for productivity reasons – I simply needed a mouse with more buttons.
The downside with this mouse is that it’s not very durable. I went through 3 replacements. Twice because the scroll wheel broke and once because the left mouse button broke. However, Logitech’s customer service was awesome and they sent me replacements for free. Eventhough this mouse isn’t durable… and you can see that on mine it’s already showing signs of wear and tear, it’s still the most comfortable mouse. It’s also wireless, low-price, and still has lots of buttons. And that’s why the Logitech G700s is the best mouse for Photoshop.

Question – Will this work with Lightroom 6?
Question – Will the Corsair K95 work with Lightroom 6?
Yep!