Learn how to retouch skin with a technique called frequency separation. It is the most popular way to retouch skin and it does a lot with very little effort. In this tutorial, you’ll learn how to apply frequency separation with a fully editable and nondestructive layer setup. This will let you readjust the settings or even make changes to your original layer without having to redo every step.
What is Frequency Separation?
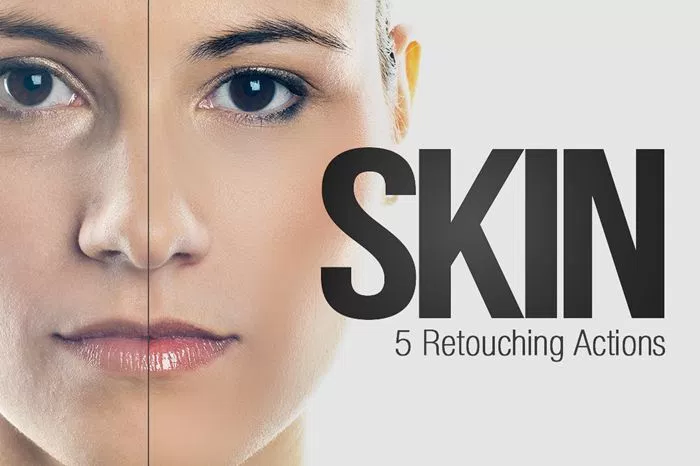
Frequency separation is a technique to give skin an airbrushed look. It does so by splitting your photo into two layers: a high and low frequency layer.
- A high frequency layer is made with the high-pass filter. It holds the sharp details of your photo.
- A low frequency layer is made with the gaussian-blur filter and holds the tones and colors of your photo.
When combined, these two layers form a normal-looking image. By adjusting the balance of these two layers, you can choose how much softening to apply in the low-pass layer and how much detail to restore in the high-pass layer.

Frequency Separation Myths
To clear up some myths, frequency separation is not going to do all the retouching for you. It’s not going to remove blemishes, it’s not going to mattify skin, remove redness, fix skin discolorations, etc. It’s just a single technique to quickly enhance the skin texture and tones. It doesn’t take a lot of time to do and when done properly, it can look very natural.
Free Skin Retouching Photoshop Actions
Before we start, if you’re just looking for something to do this for you, you can download my Skin retouching actions. The free version has an action to generate the layers you need to do frequency separation and they’re done using the same layer setup and nondestructive techniques as this tutorial. But whether you use the actions, I still recommend following this video so that you can understand how it works and how you can fine tune the settings for better results.
Frequency Separation Photoshop Tutorial
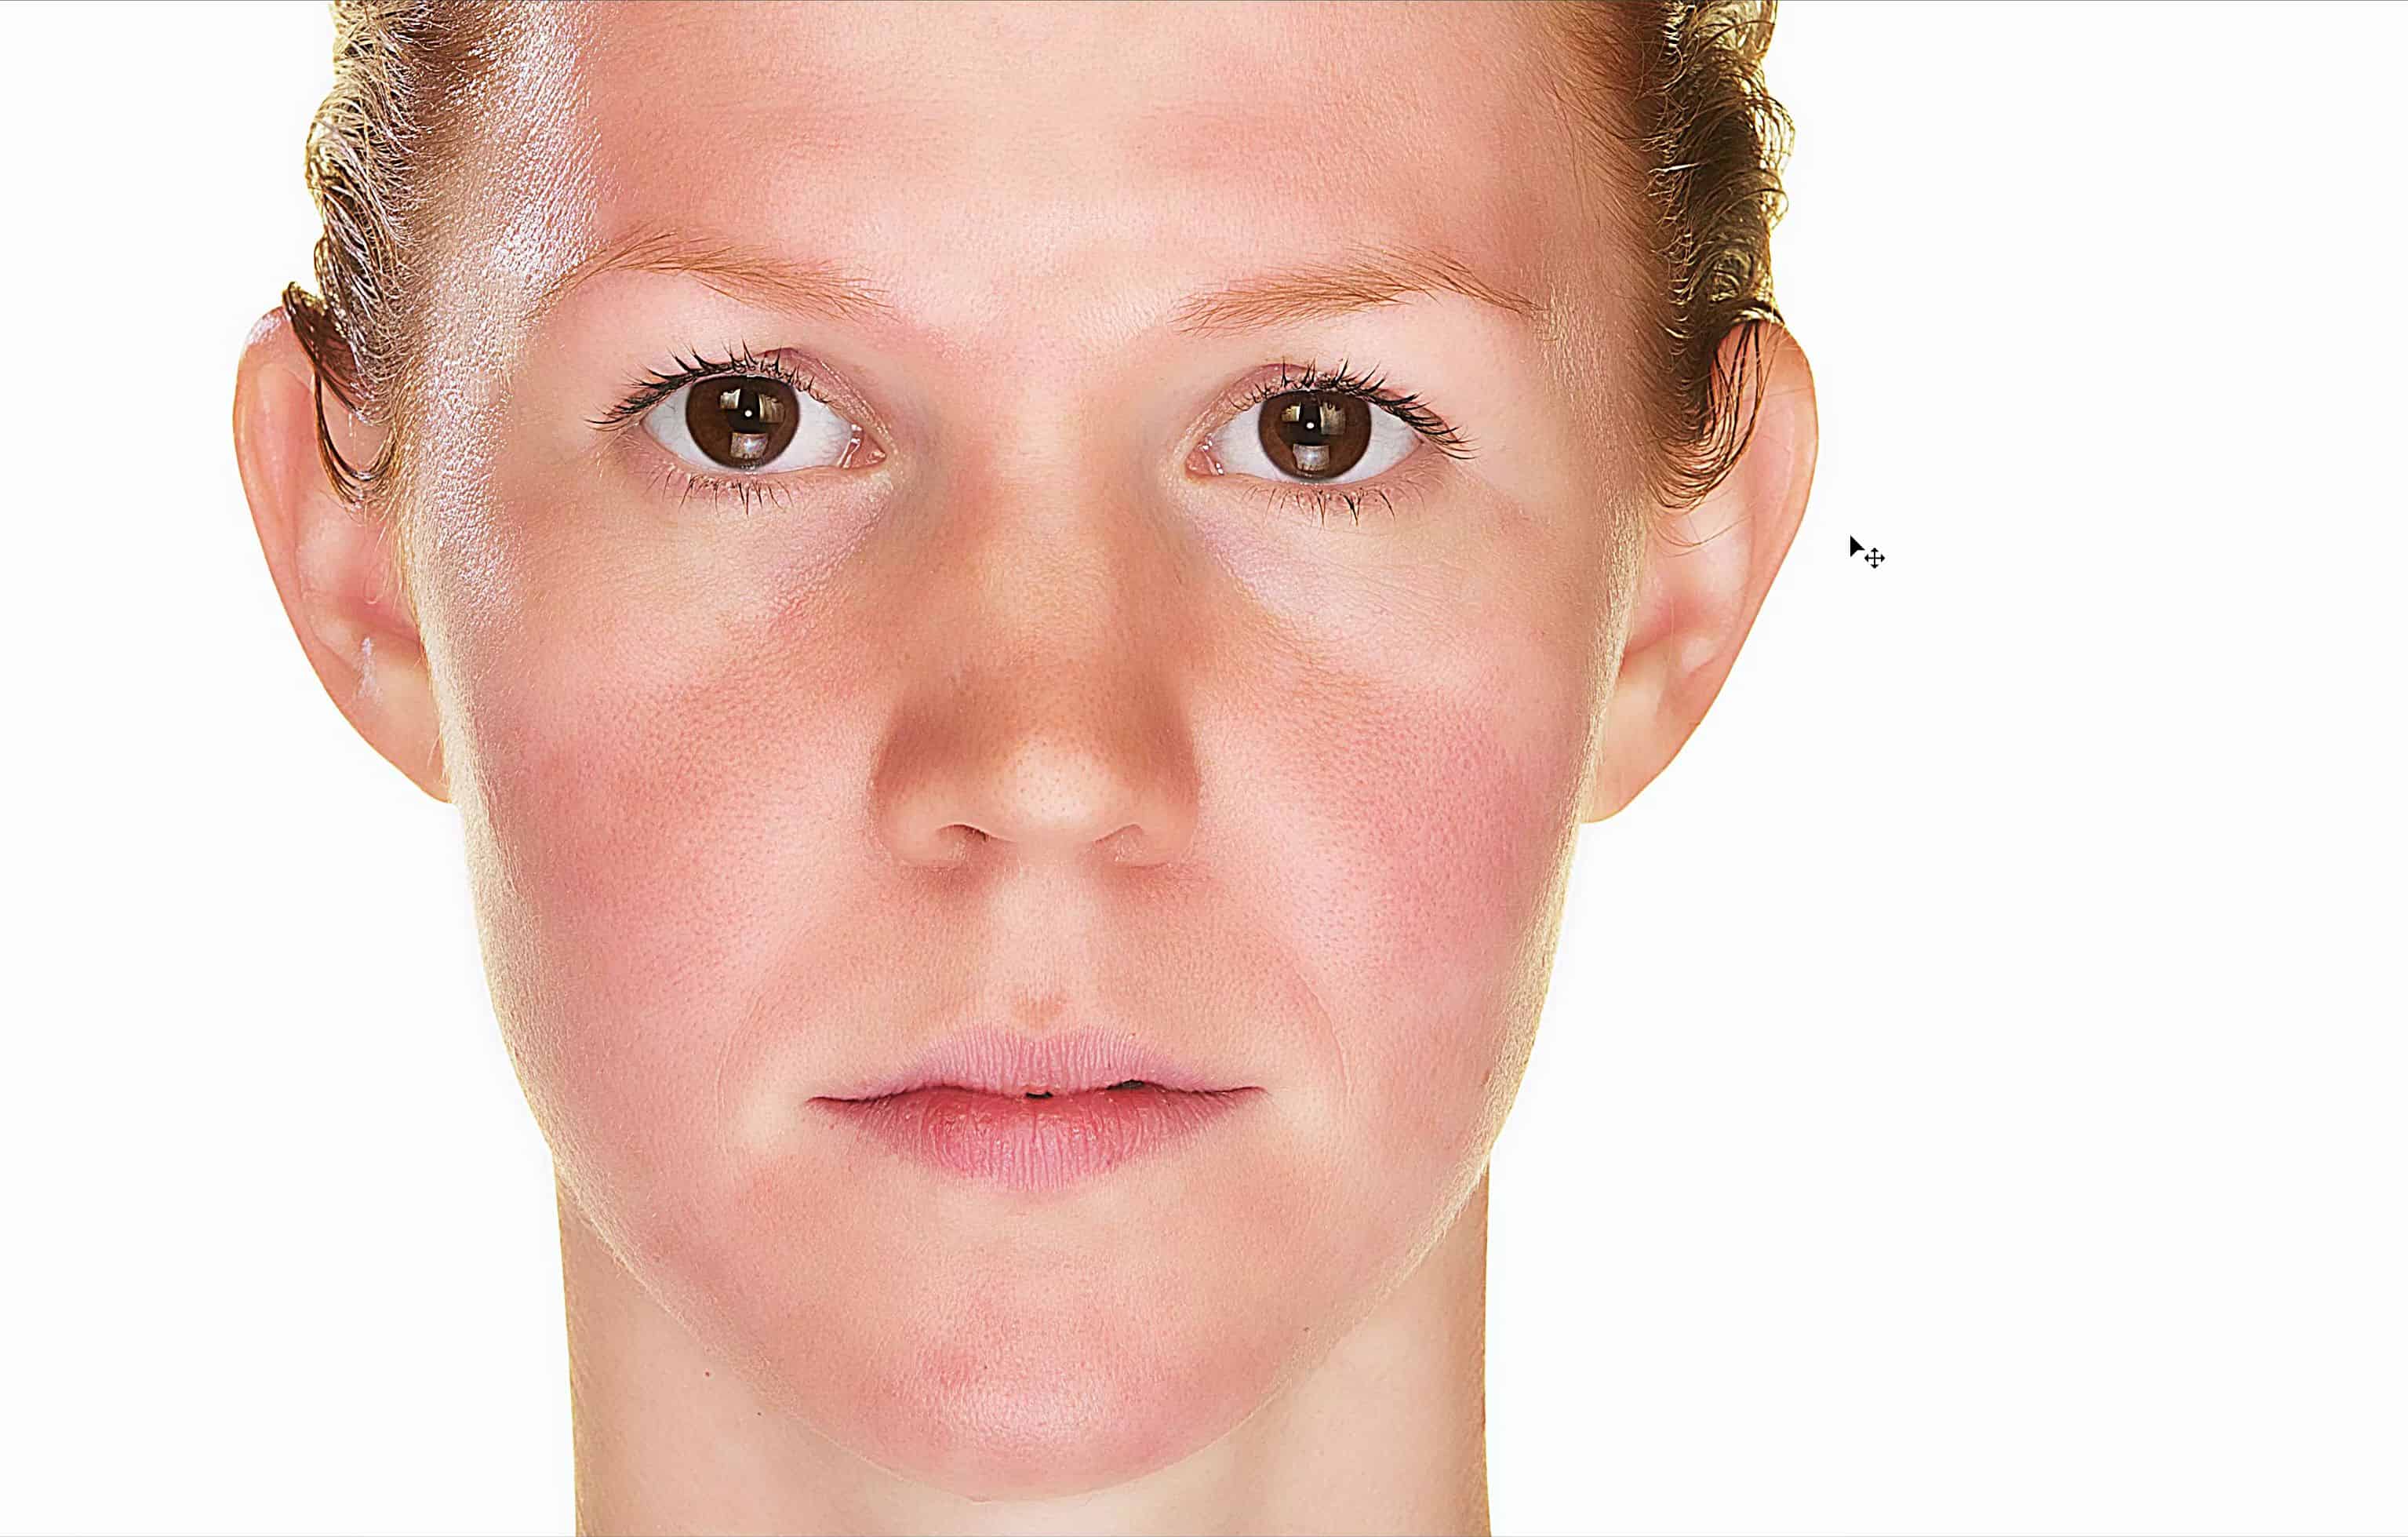
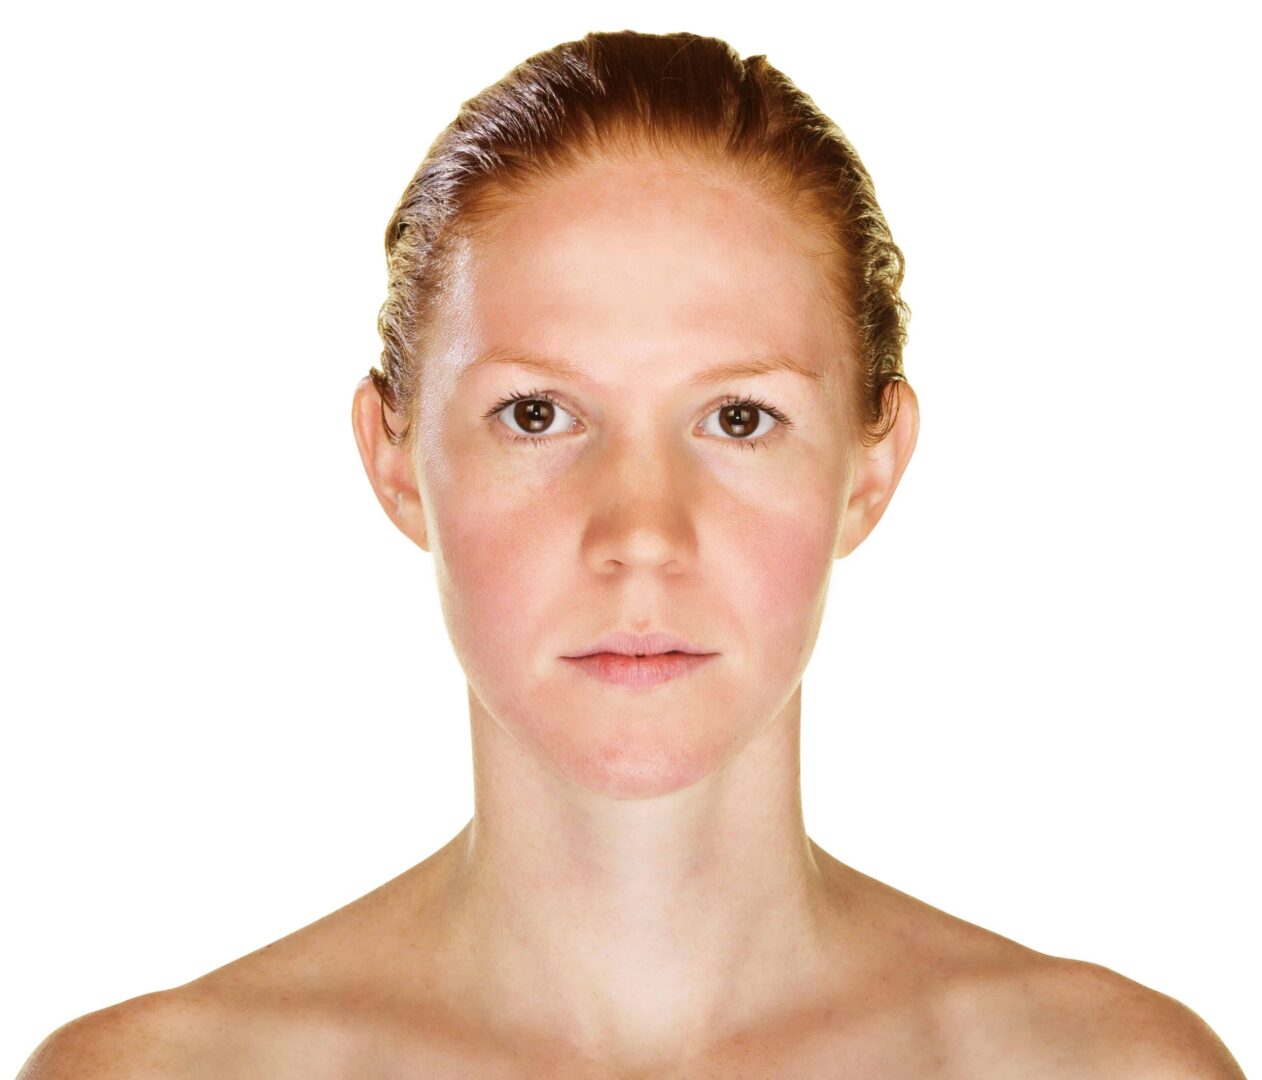
For this tutorial, instead of using a photo of someone who already looks great and was photographed with soft lighting, I’ll be using this image which isn’t the most flattering way to photograph someone so that you can see the limitations of frequency separation.
Step 1
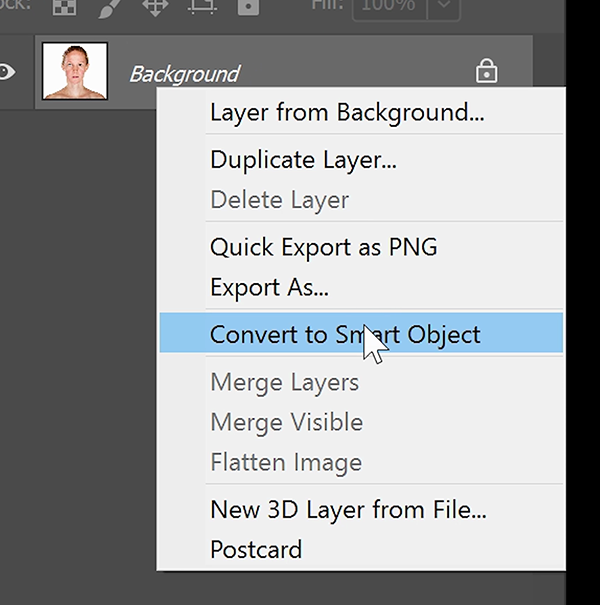
We need to create two layers – one for the high frequency filter and one for the low frequency filter. Start by right-clicking on the Background layer and choosing Convert to Smart Object. It’s very important that your layer is a Smart Object because you’re likely not going to get the perfect settings the first time. It’ll take some back and forth adjustments to get the best results and by using Smart Objects, you can always go back and edit the settings later. There’s also another significant benefit to this but I’ll explain more later.
Step 2
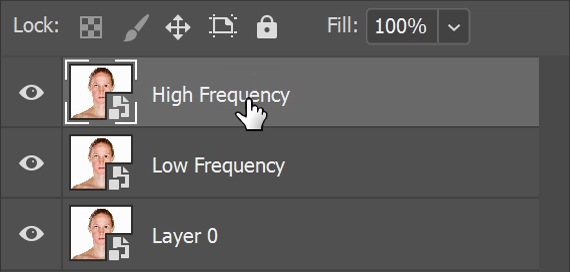
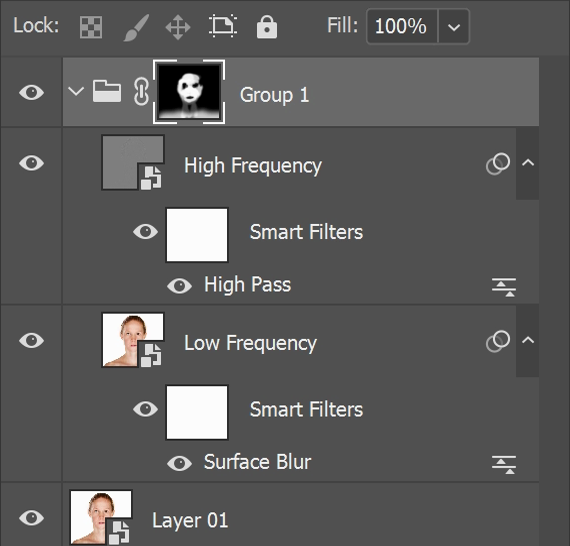
Press Ctrl or Cmd+J twice to duplicate this smart object. You should have three layers now. Rename the top layer to High Frequency and the second layer to Low Frequency.
Step 3
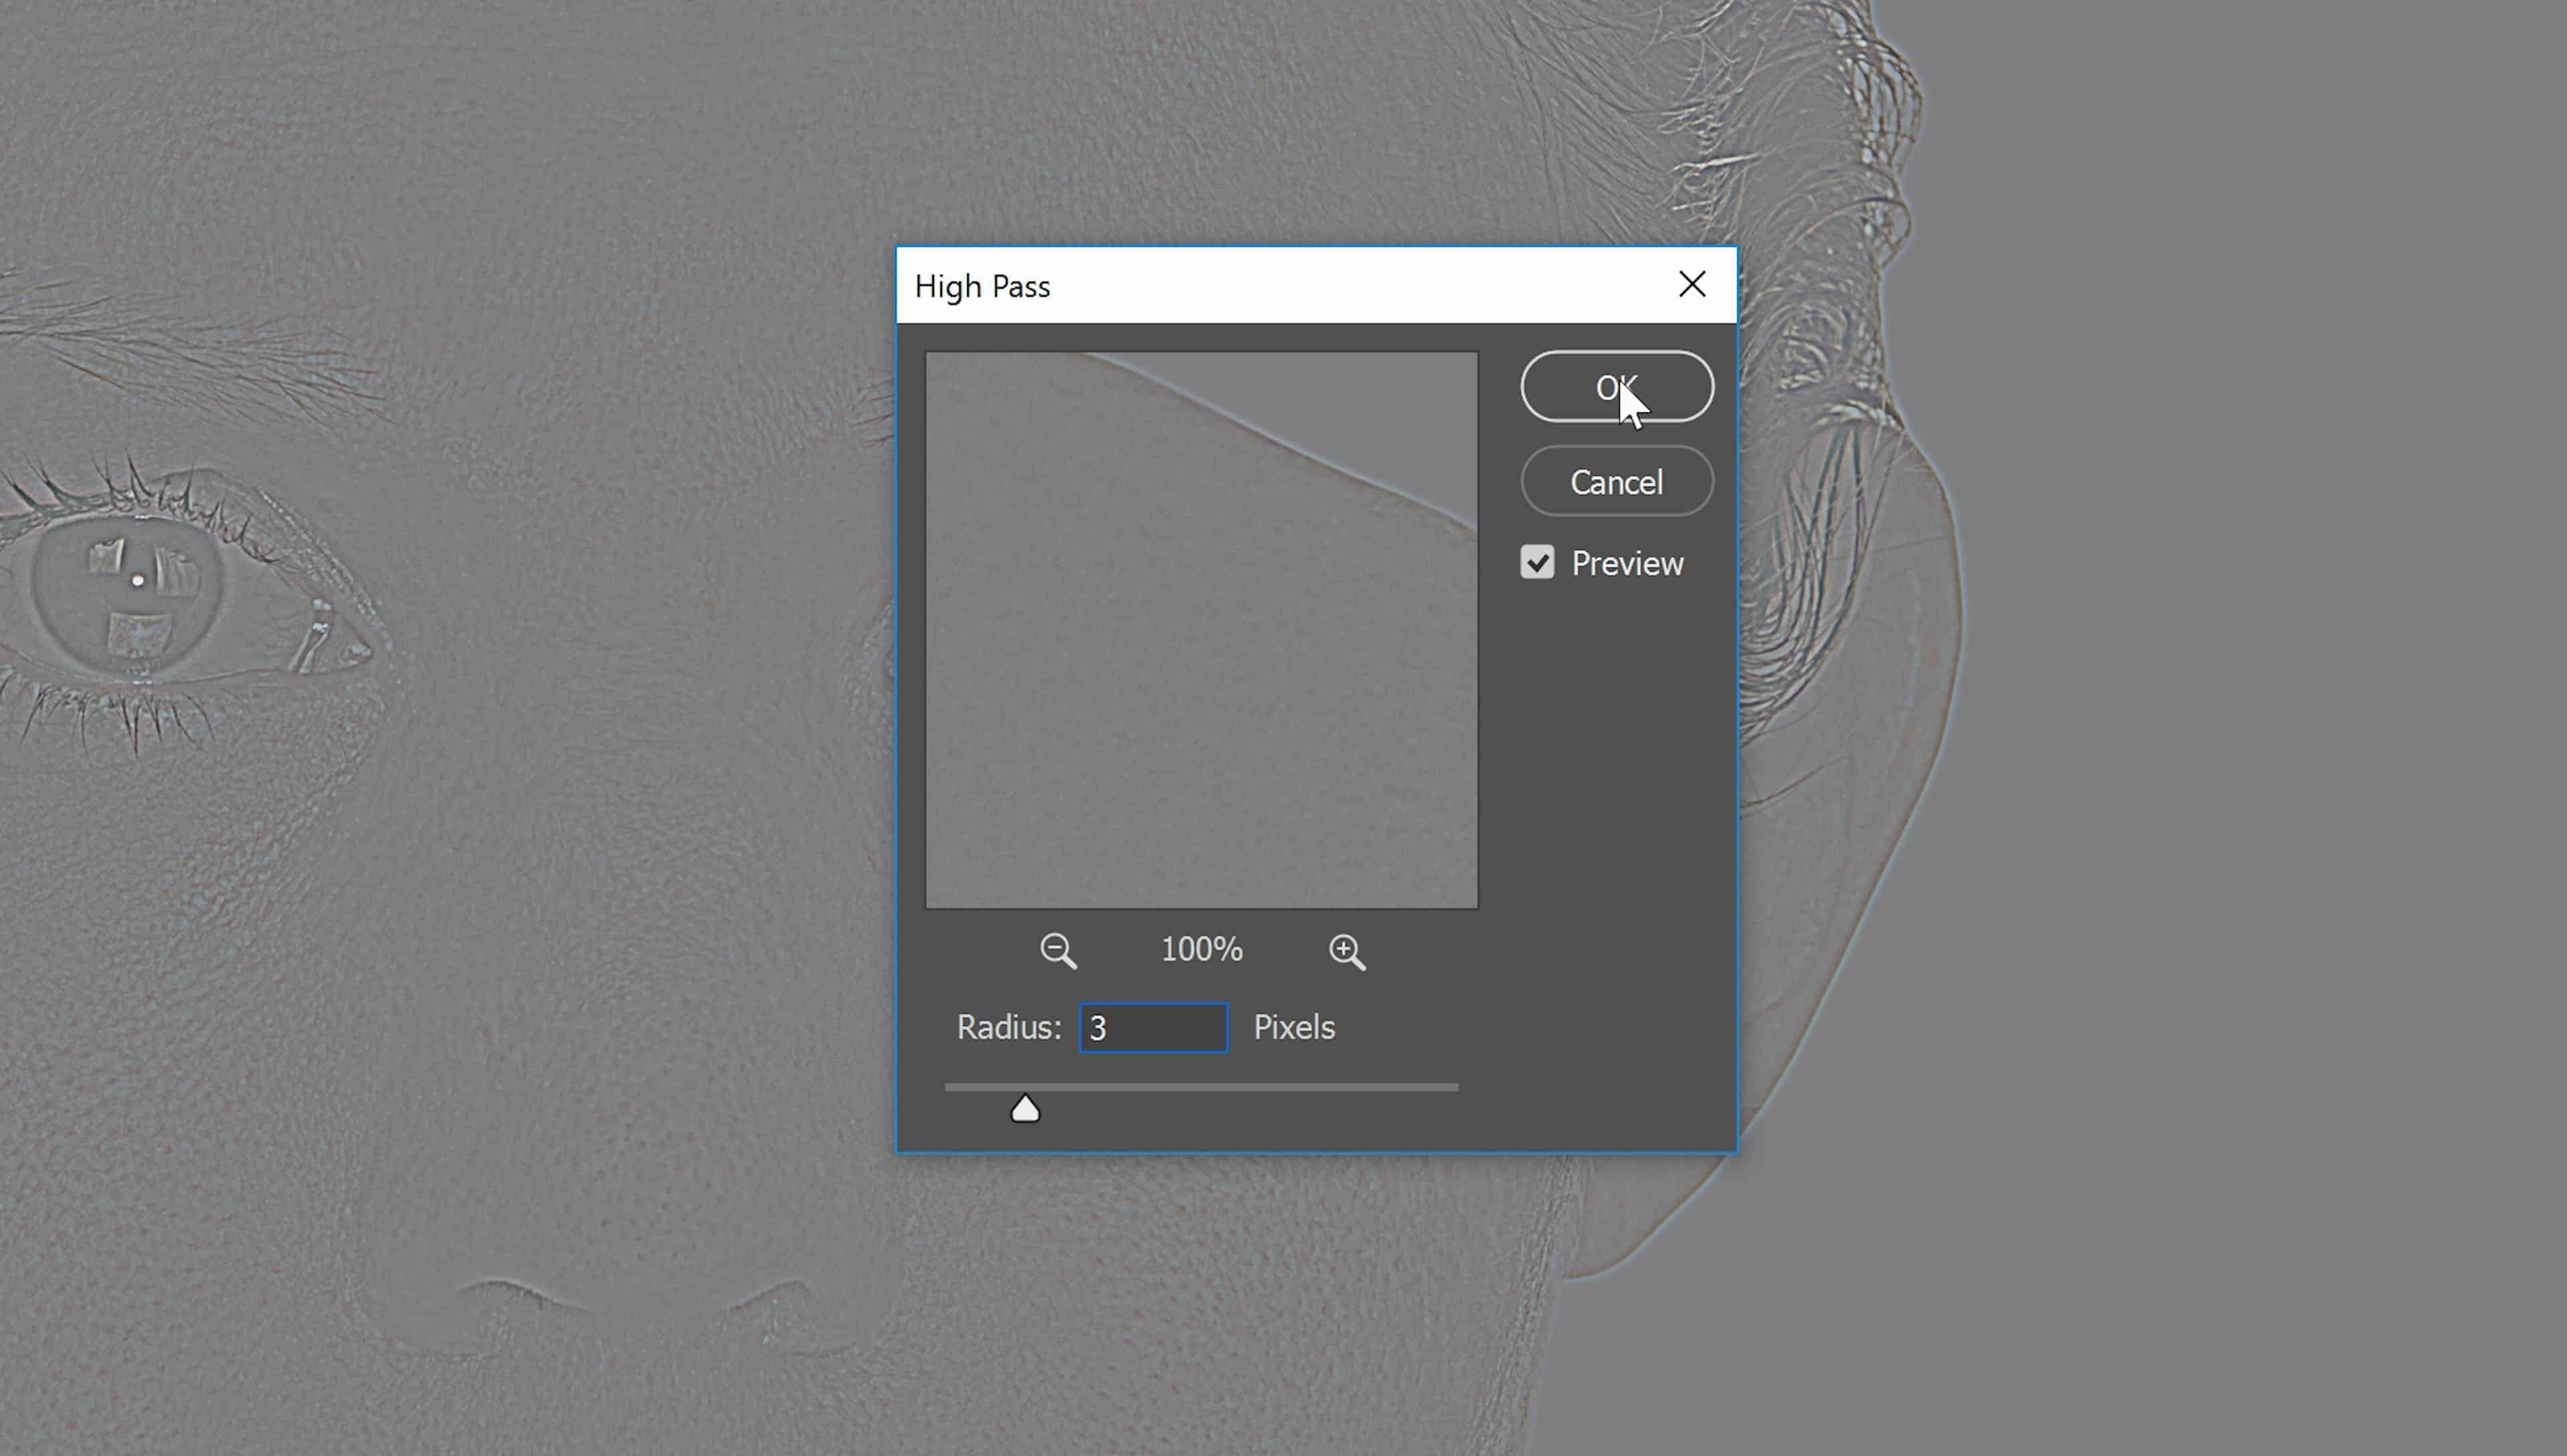
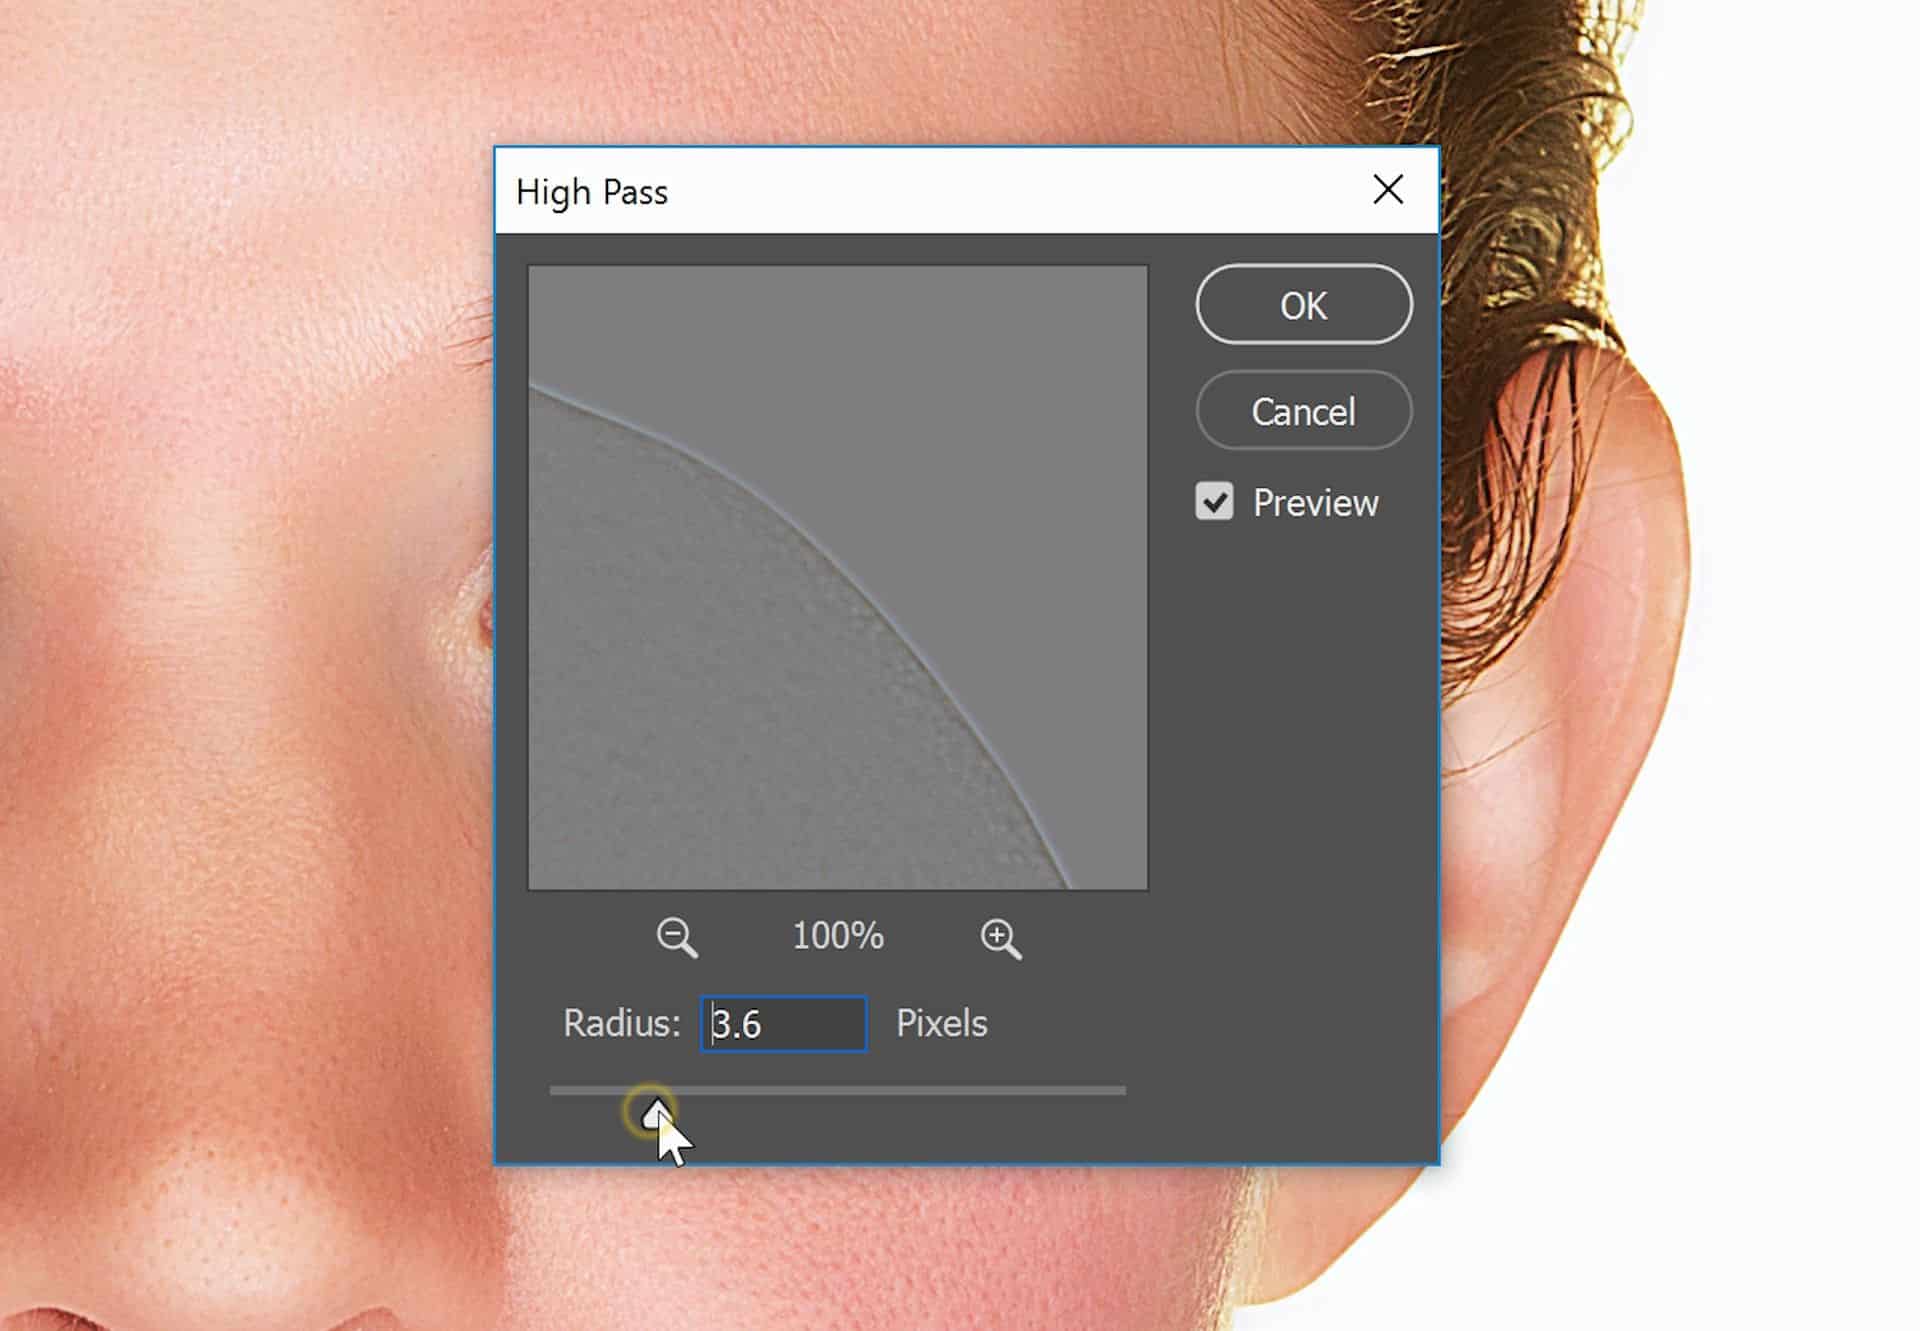
Let’s start with the High Frequency Layer. Select the High Frequency layer then go to Filter > Other > High Pass. This filter is used to create a gray layer with an embossed effect of the fine details. Set the Radius to 3 then click OK. It’s pointless to fine-tune the setting now because you can’t even see what it’s doing. We’ll readjust the settings later.
Step 4
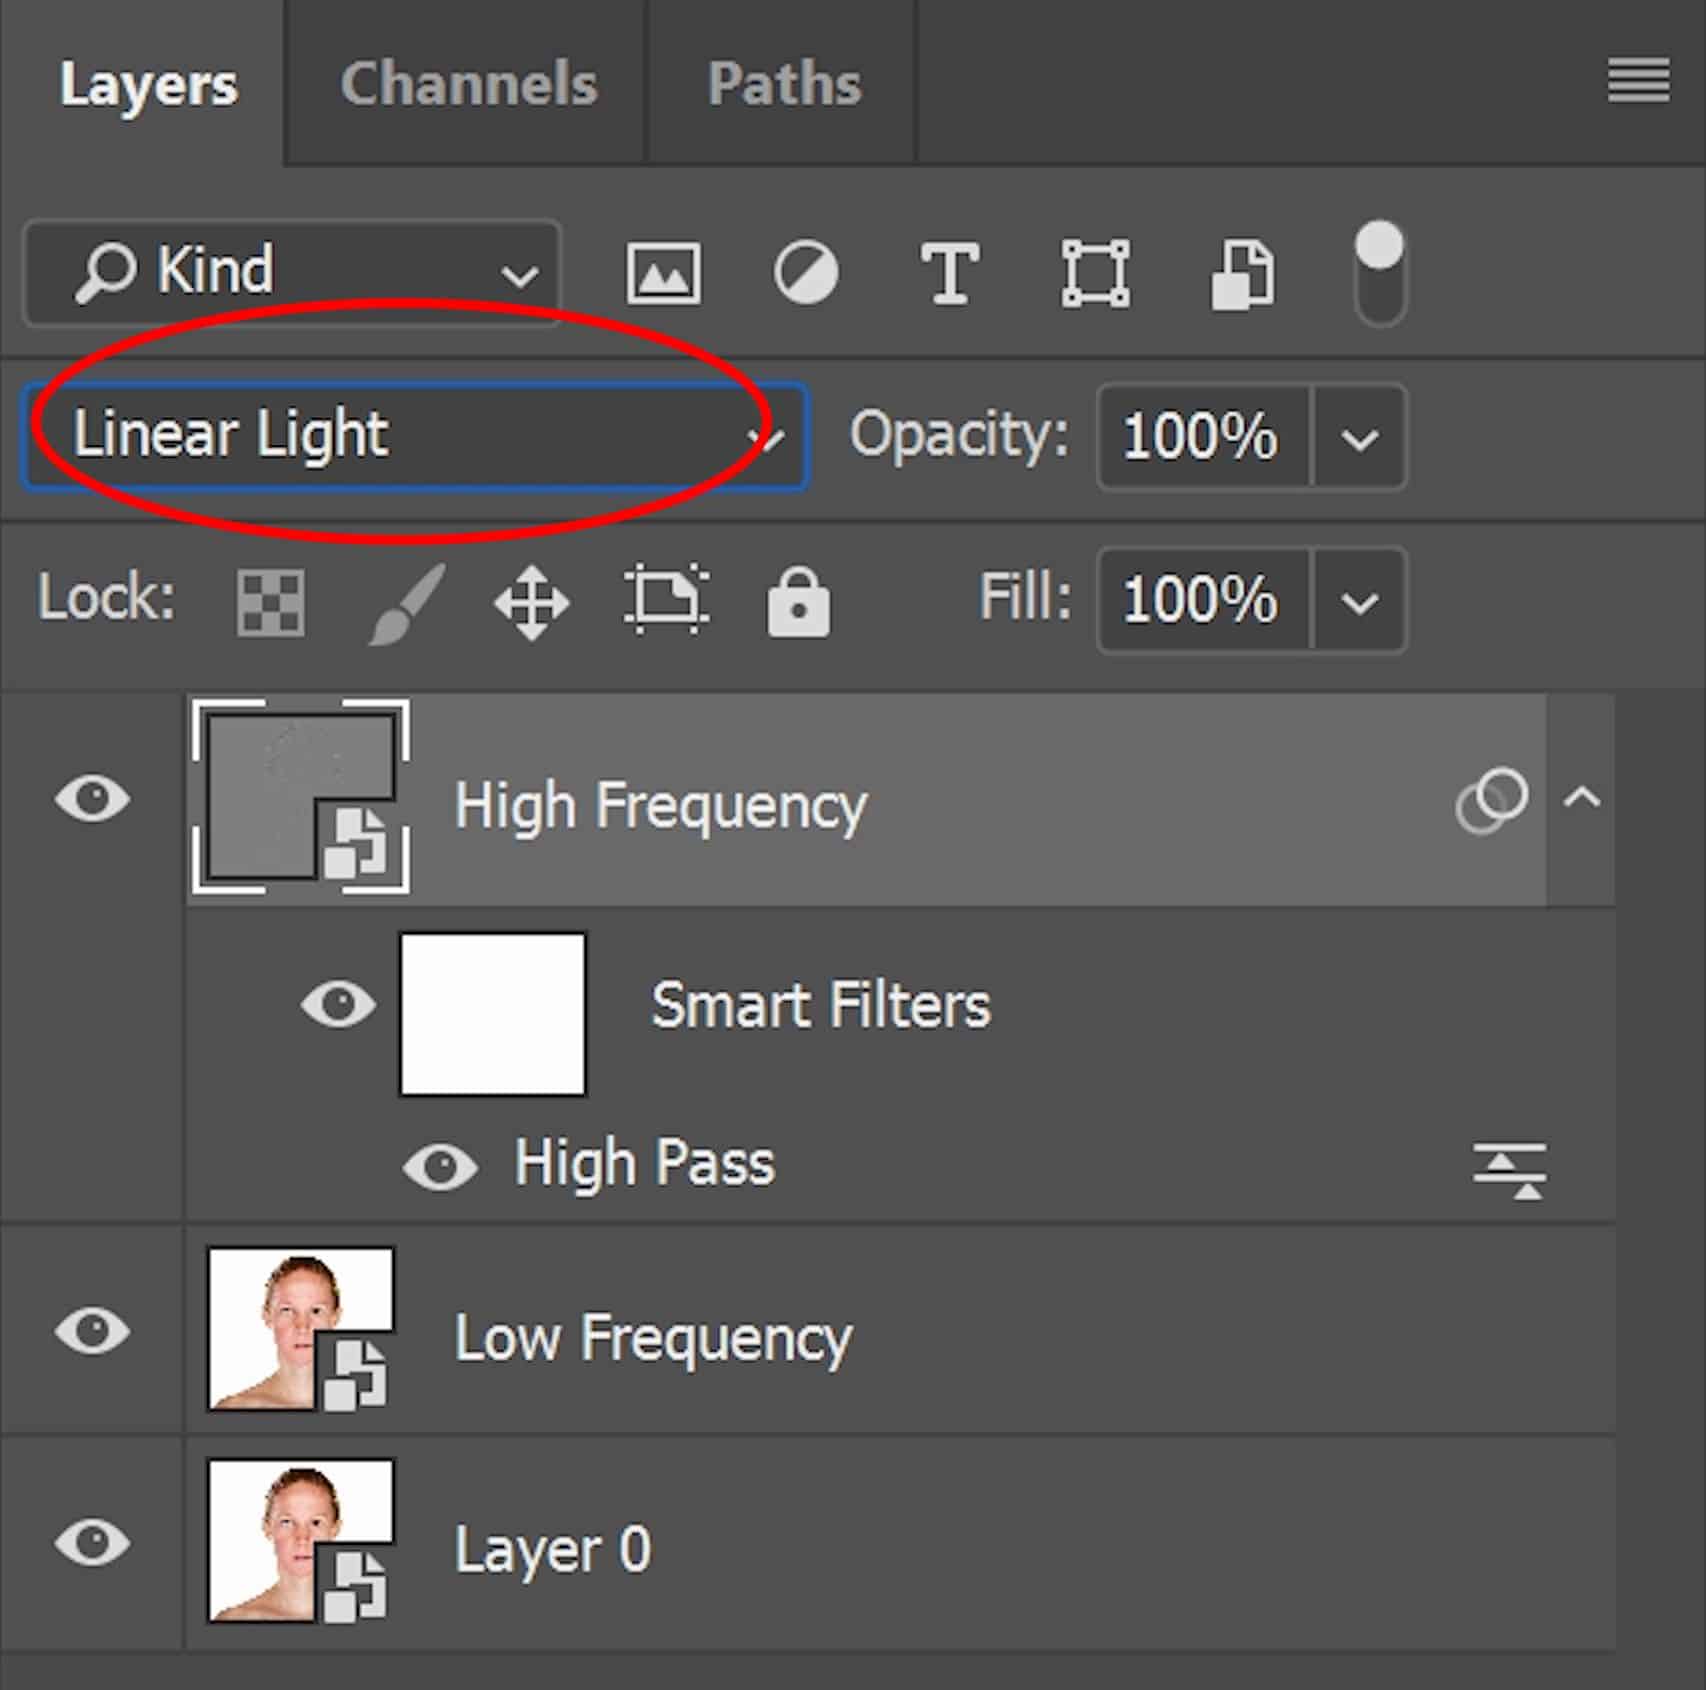
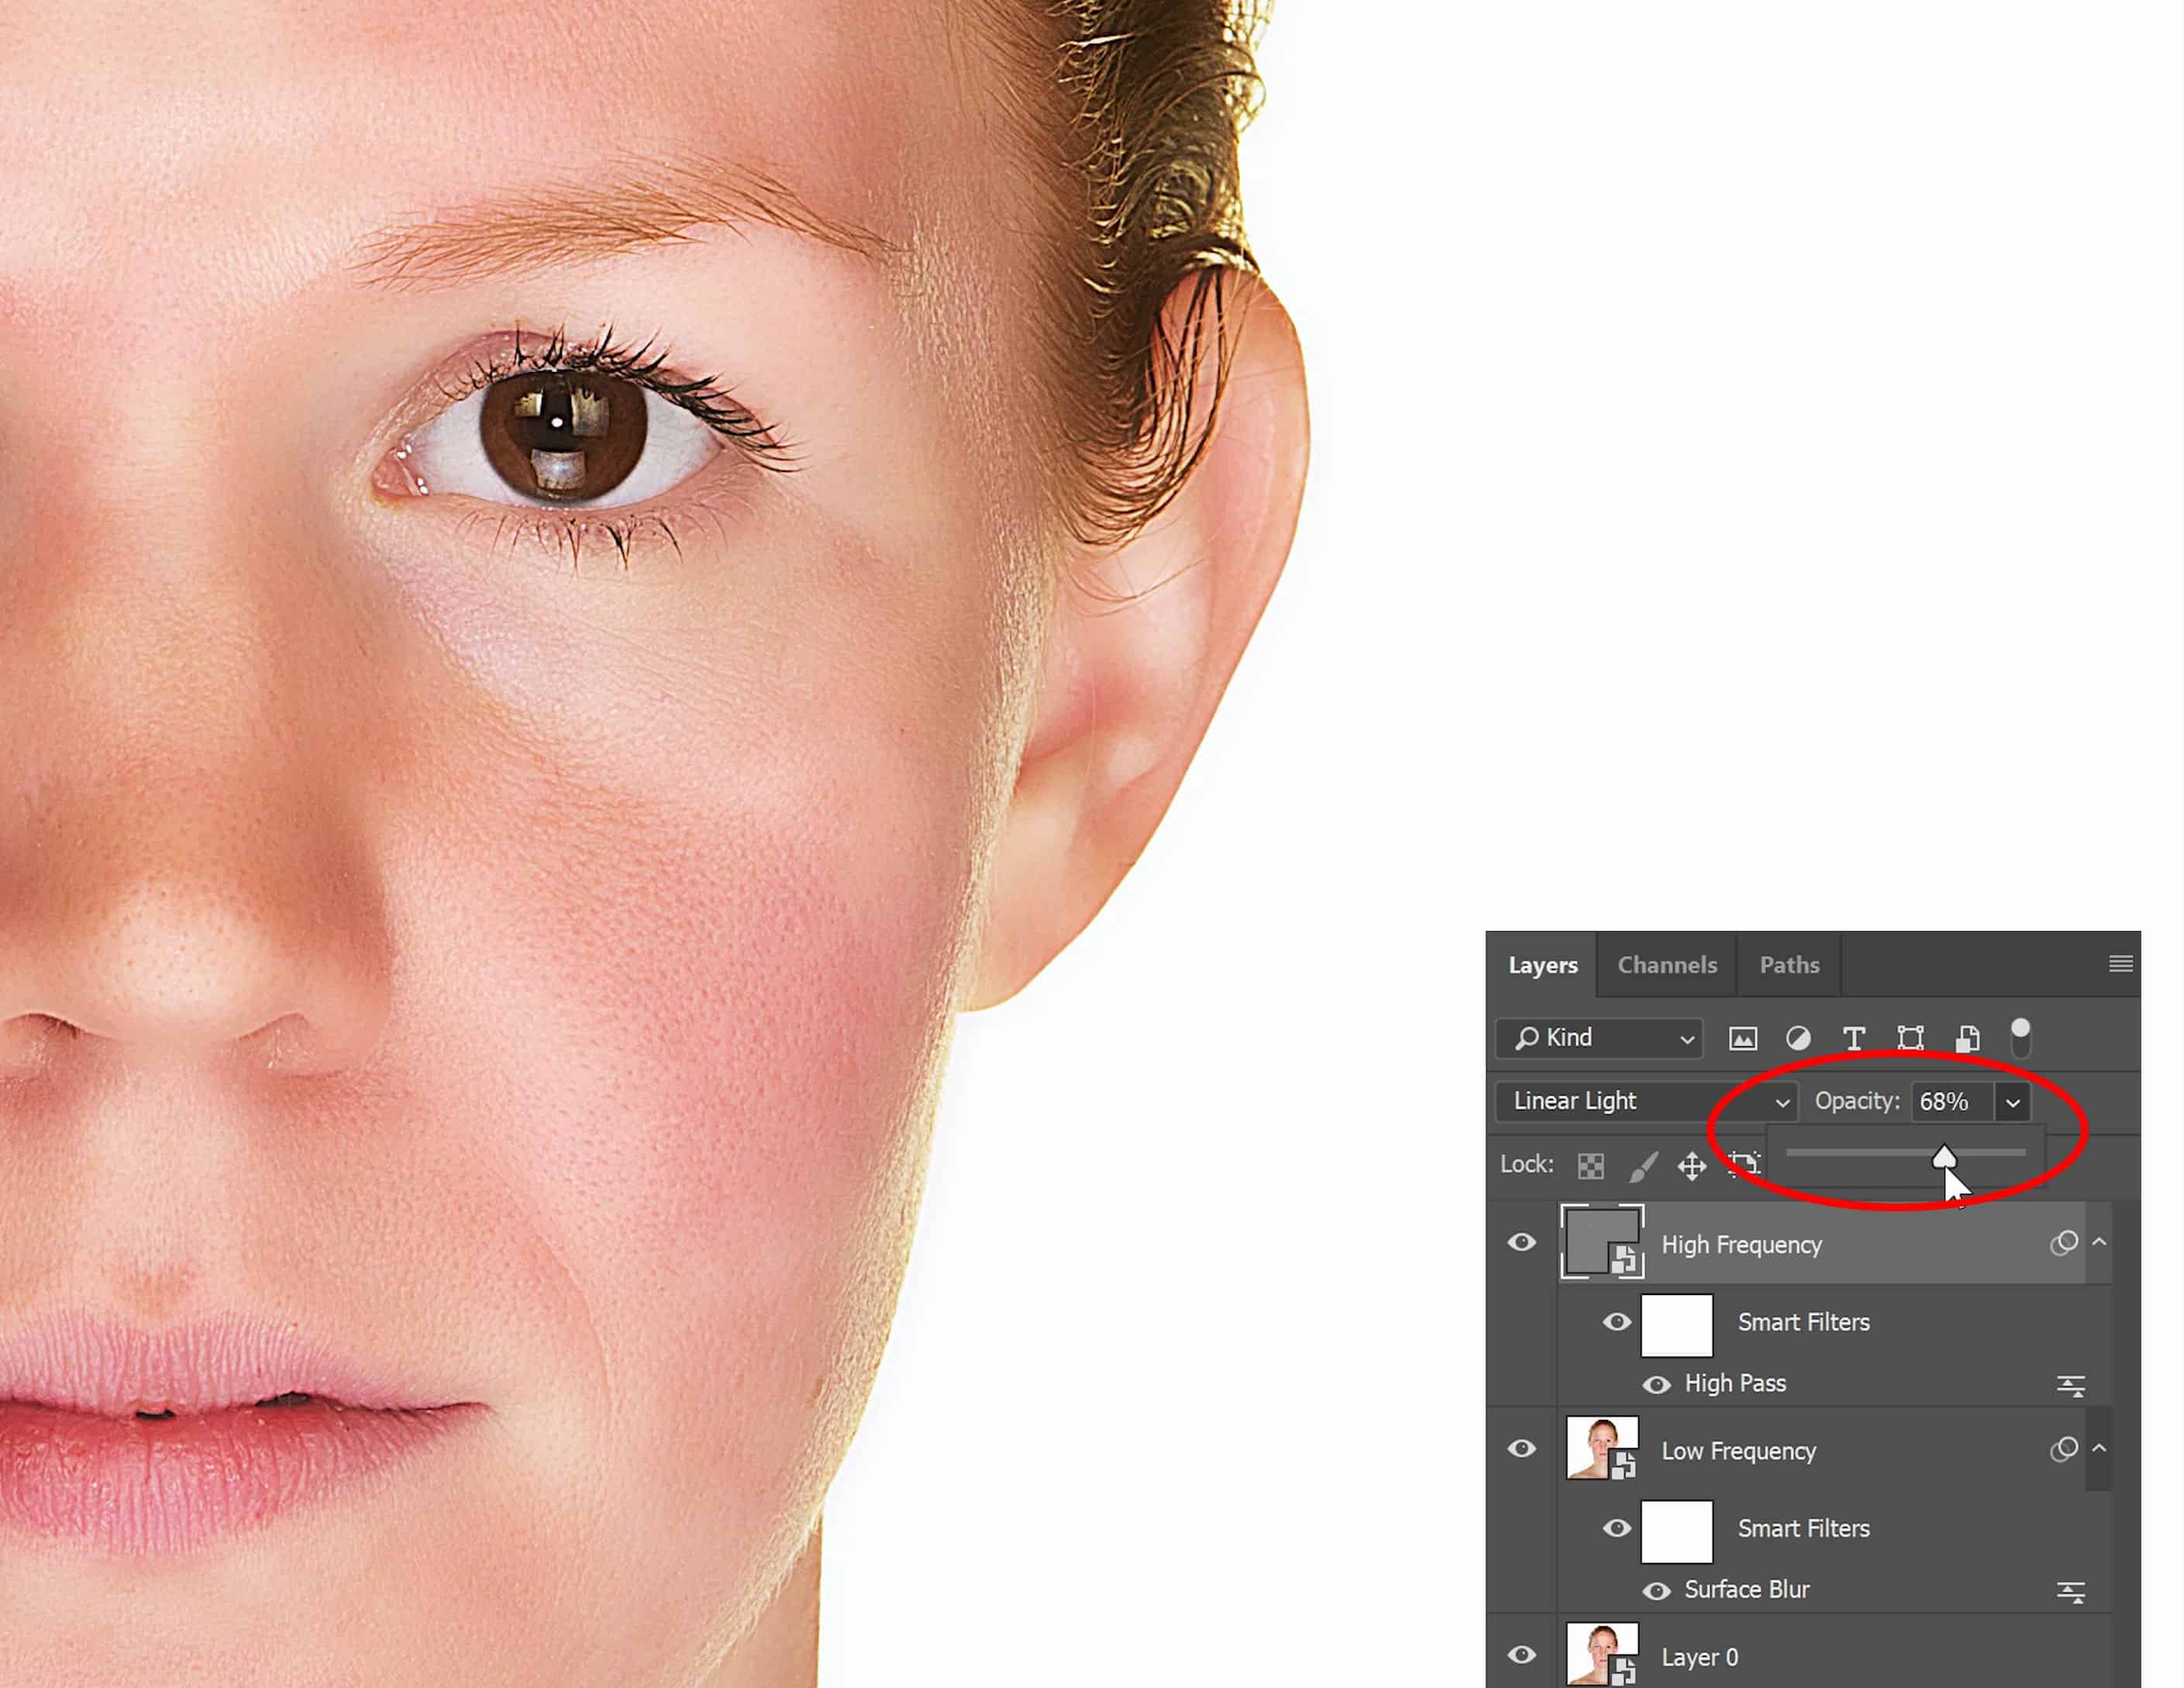
Change the blending mode to Linear Light. Once it’s changed, your image will look incredibly sharp. This layer helps restore the fine details in your photo.
Step 5
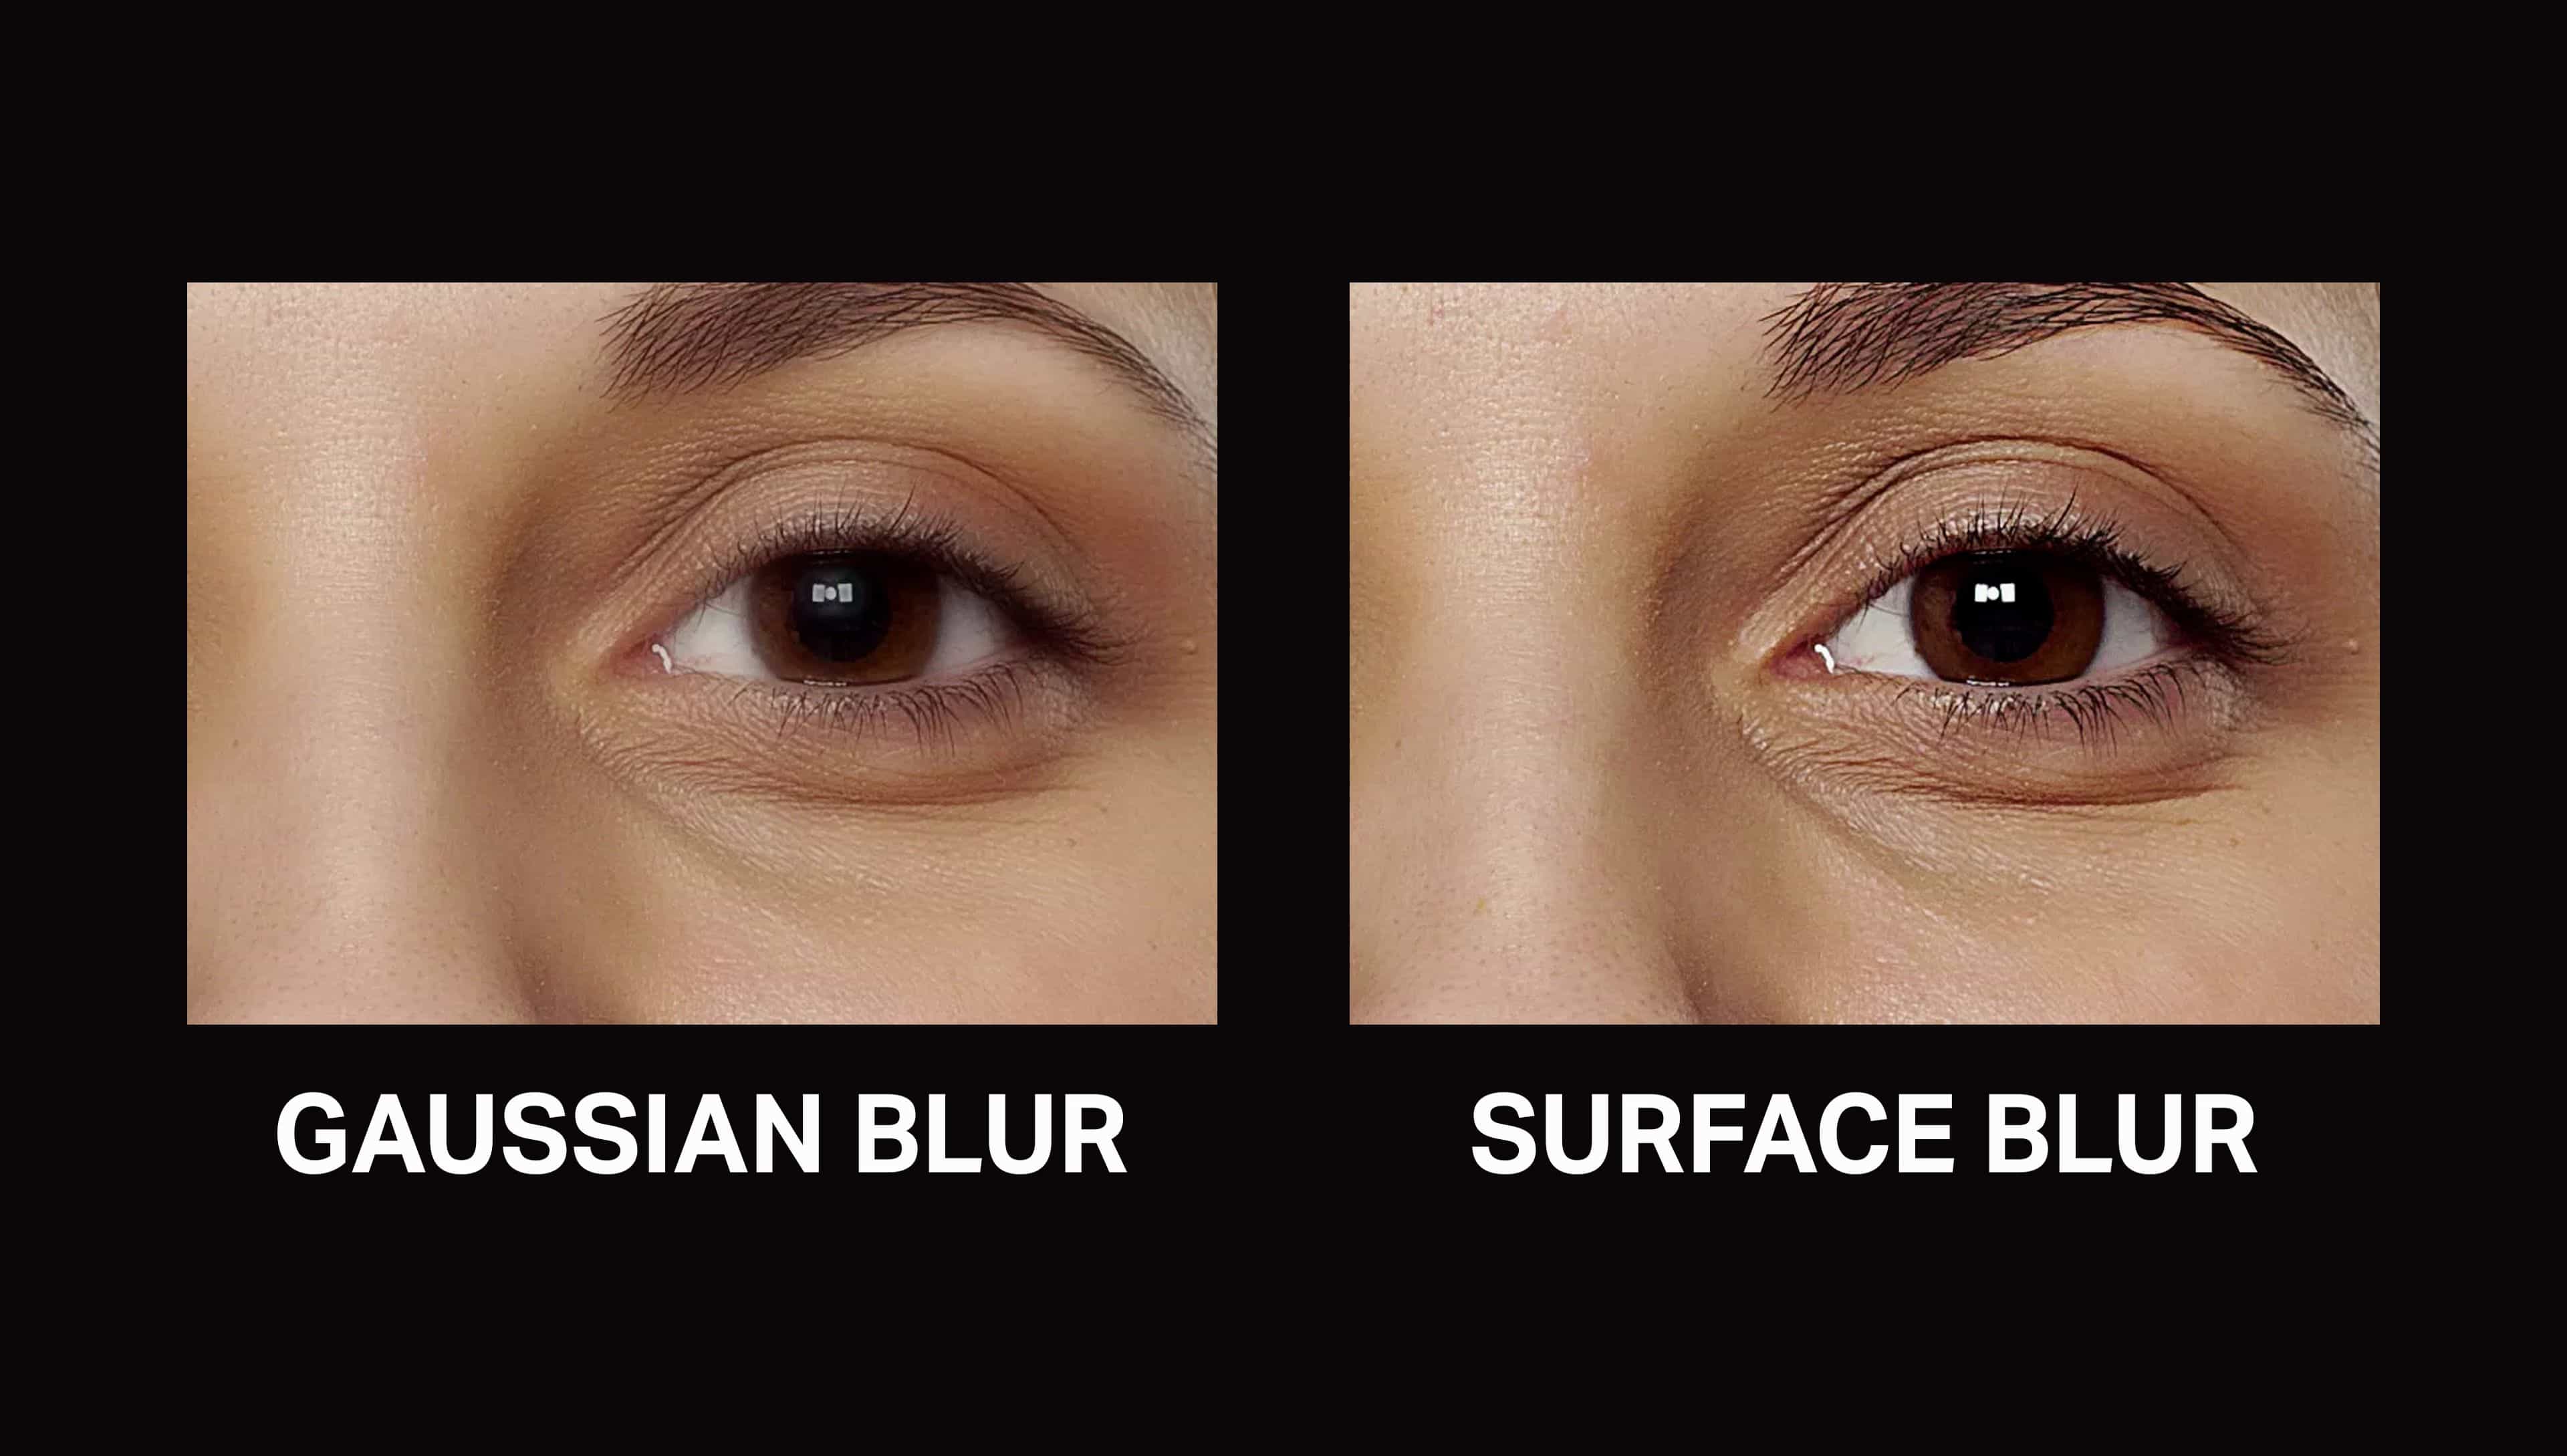
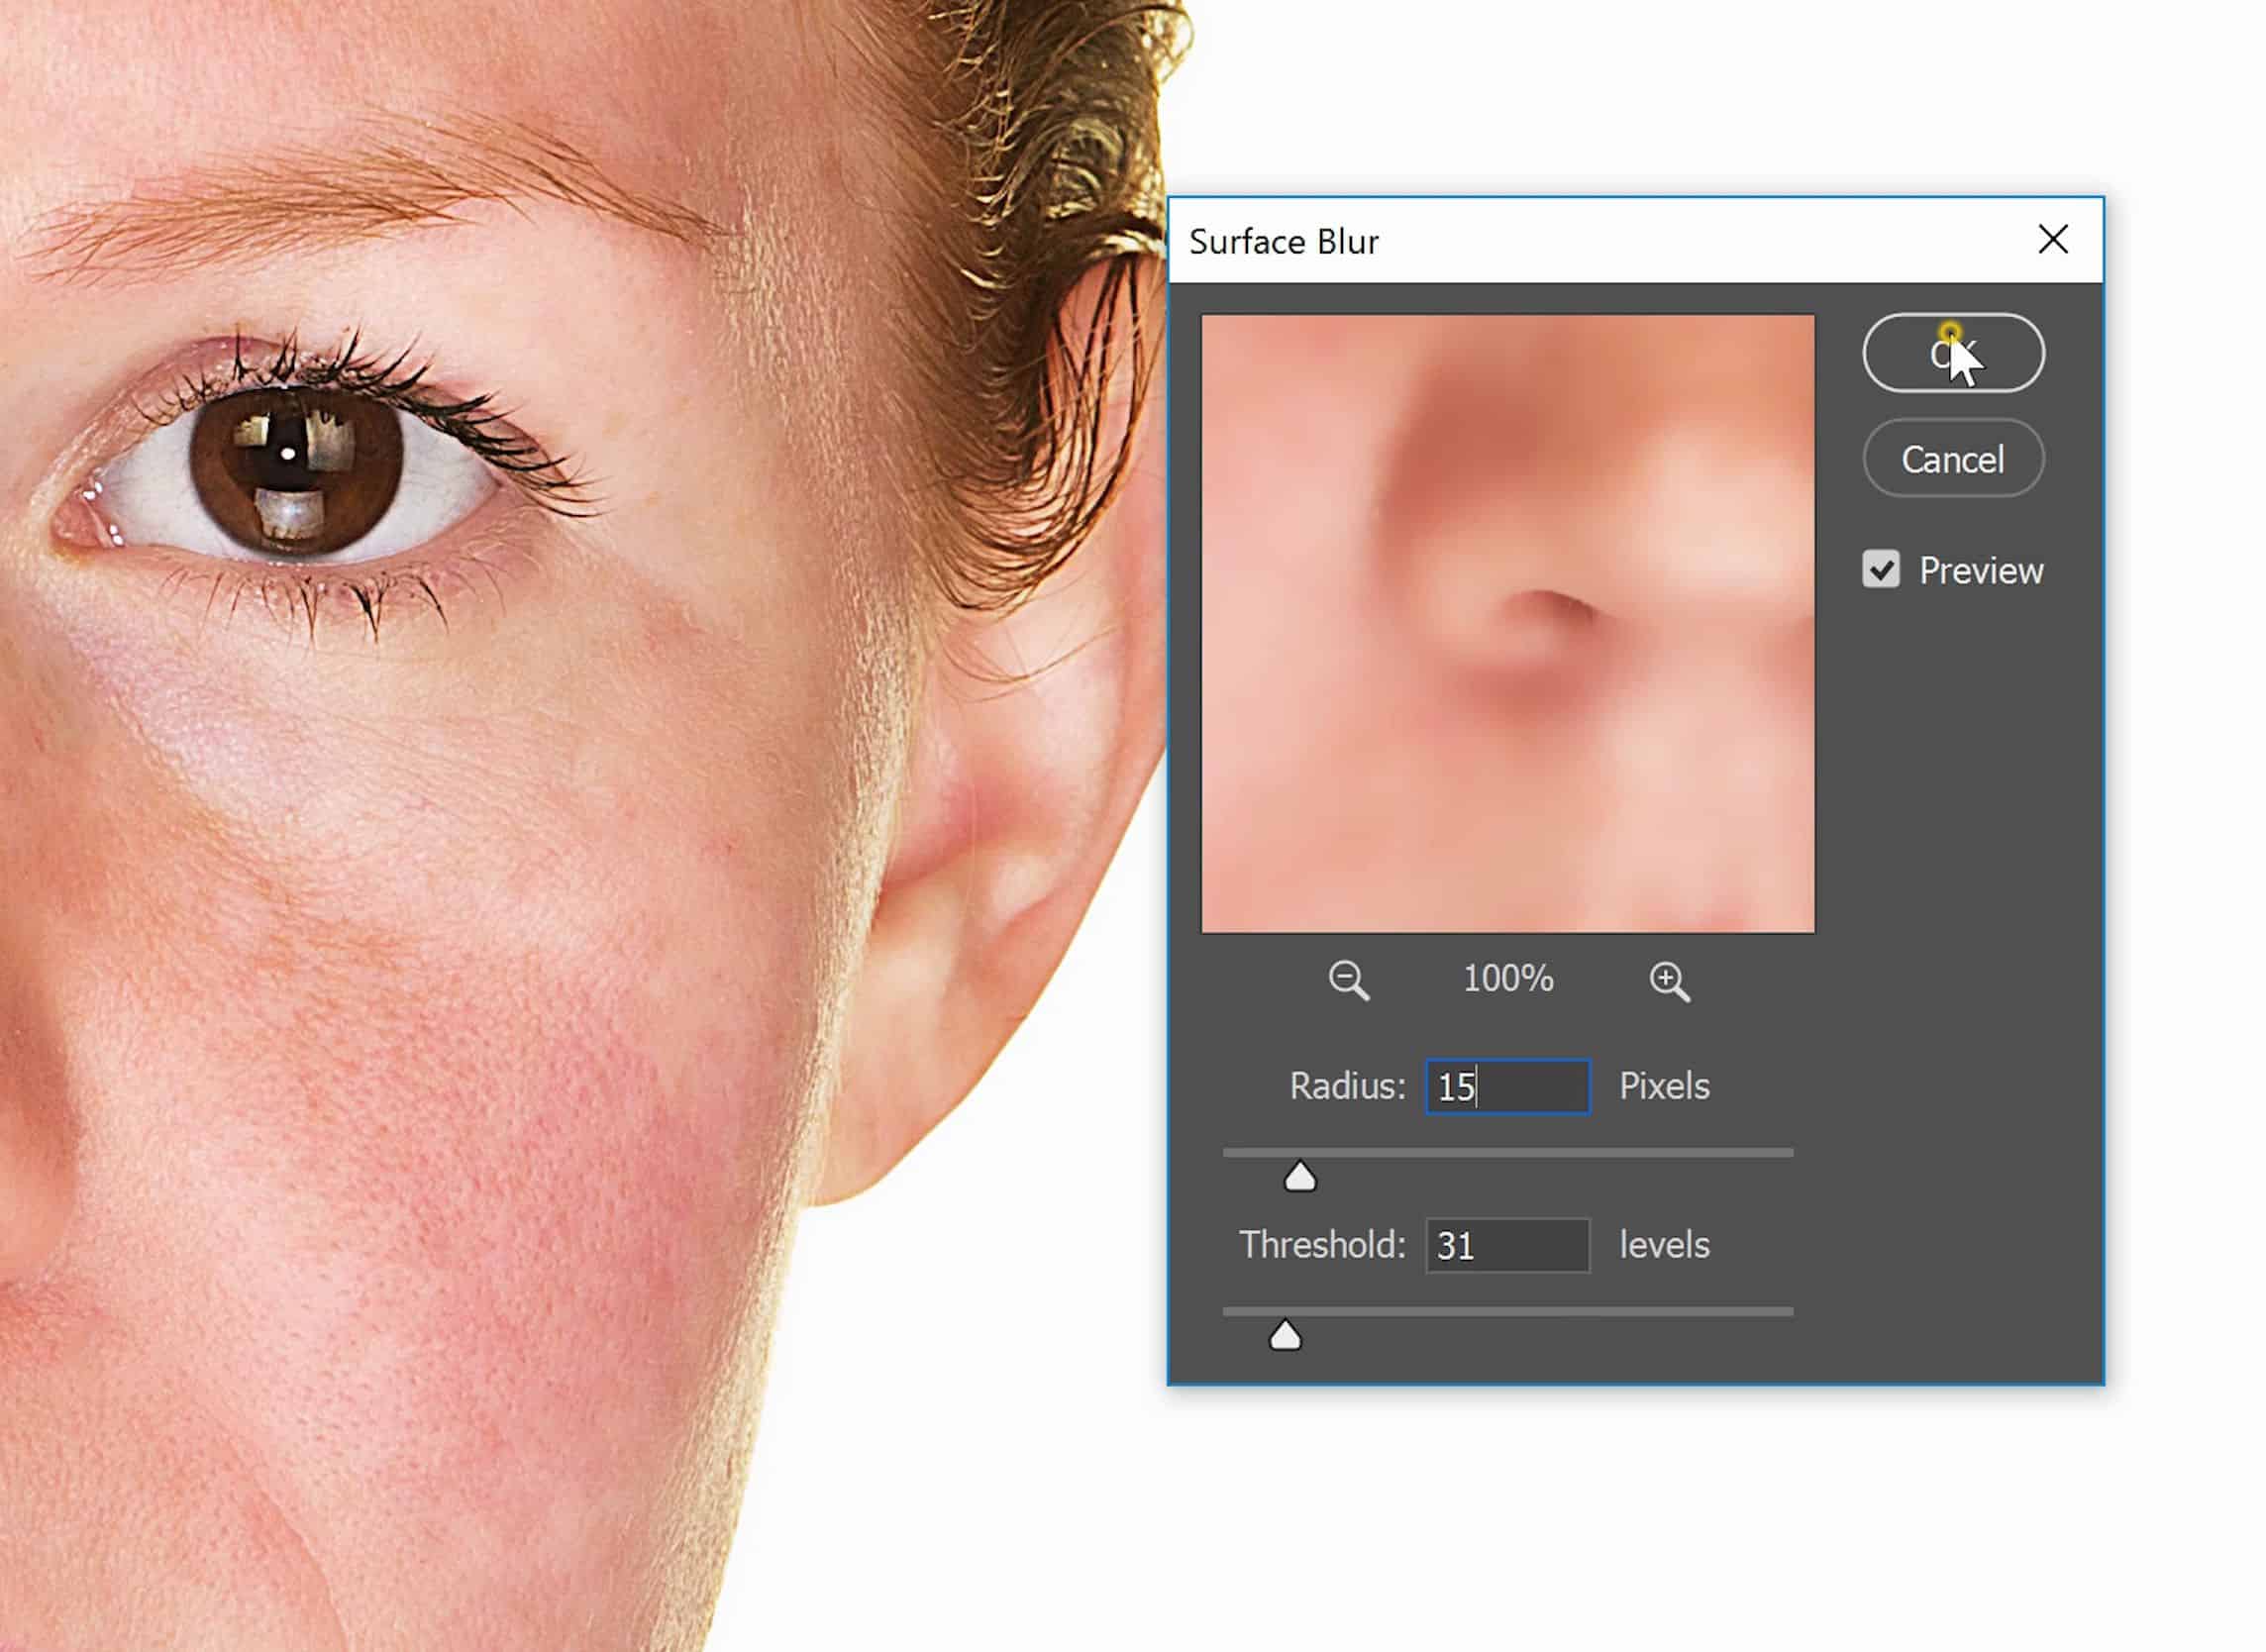
Now let’s work on the Low Frequency layer. In Photoshop, the low pass filter is called the Gaussian Blur filter. Traditionally, the low frequency layer was created with this filter but it tends to create a diffused effect that doesn’t look very natural. I recommend using the Surface Blur filter instead which will preserve the edge details.
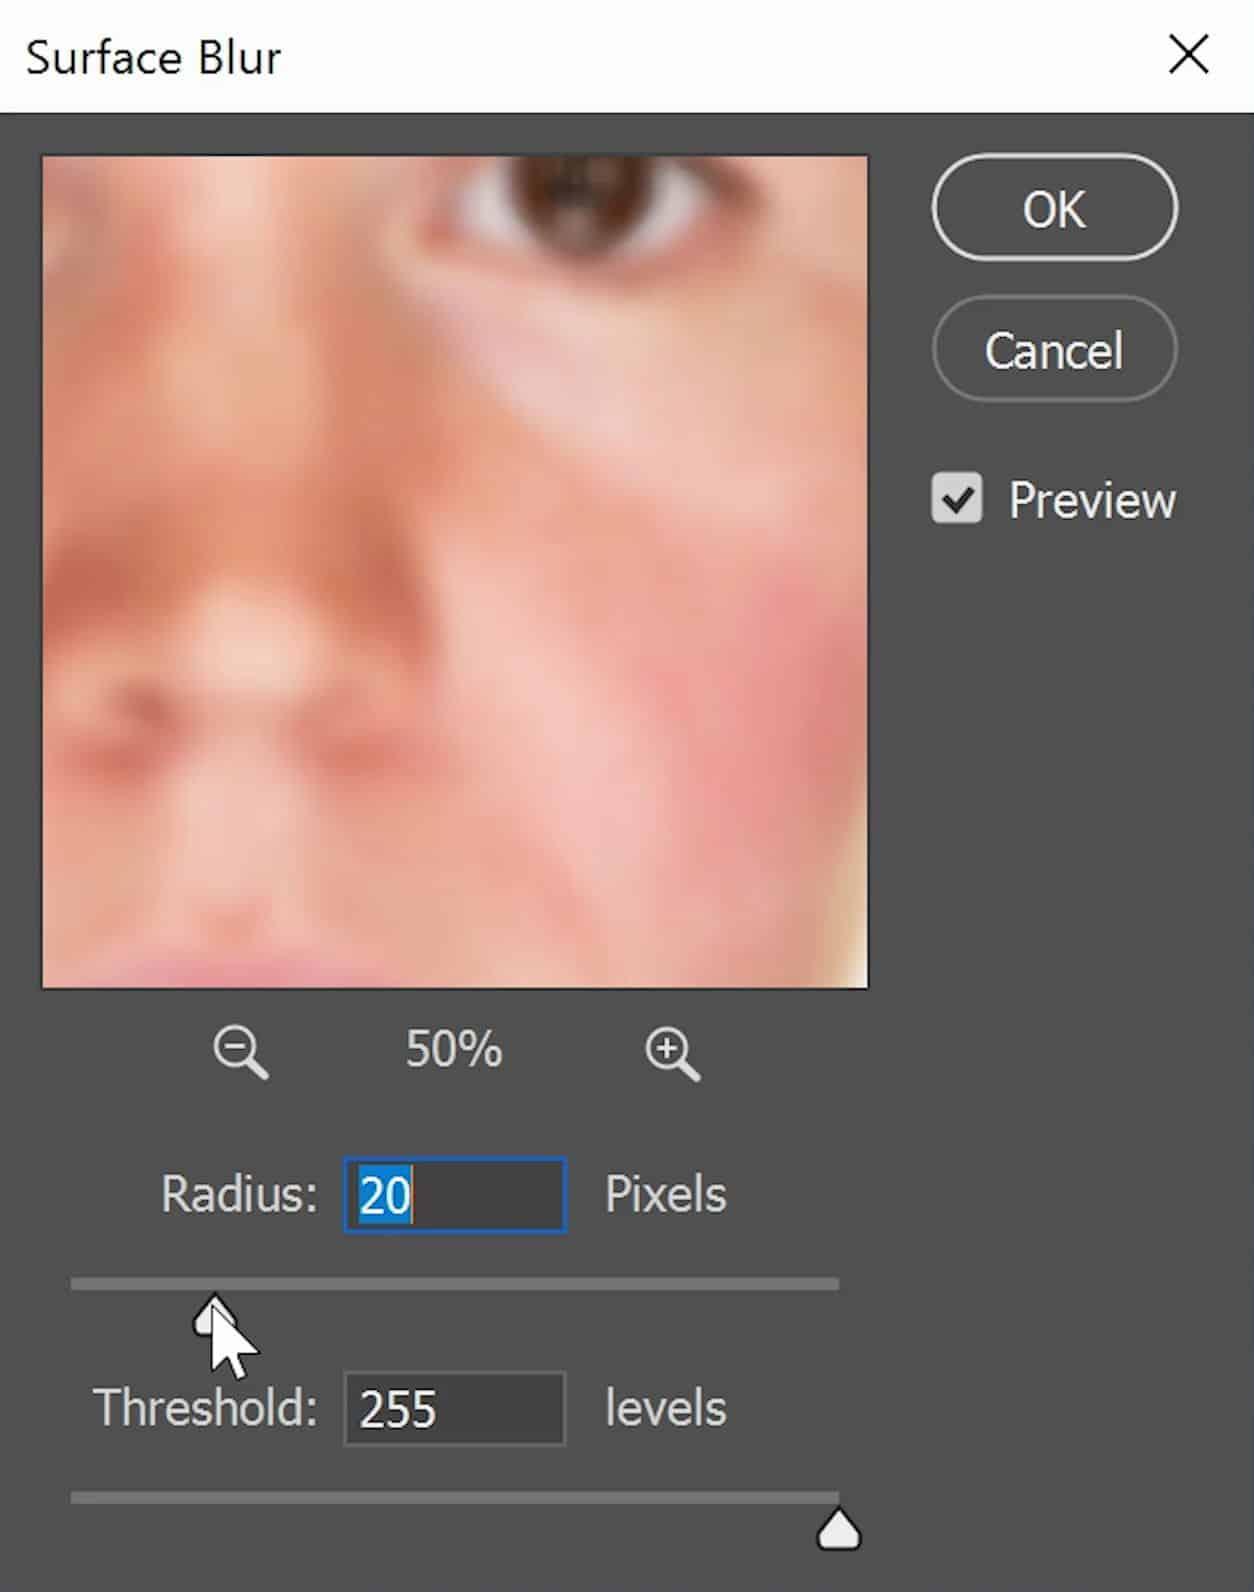
To do this, go to Filter > Blur > Surface Blur. Play around with the settings to get a soft skin look. I like to start off by maxing out the threshold and then picking a radius setting that will smooth out the skin without losing the contours.
Then reduce the threshold to bring back some details.
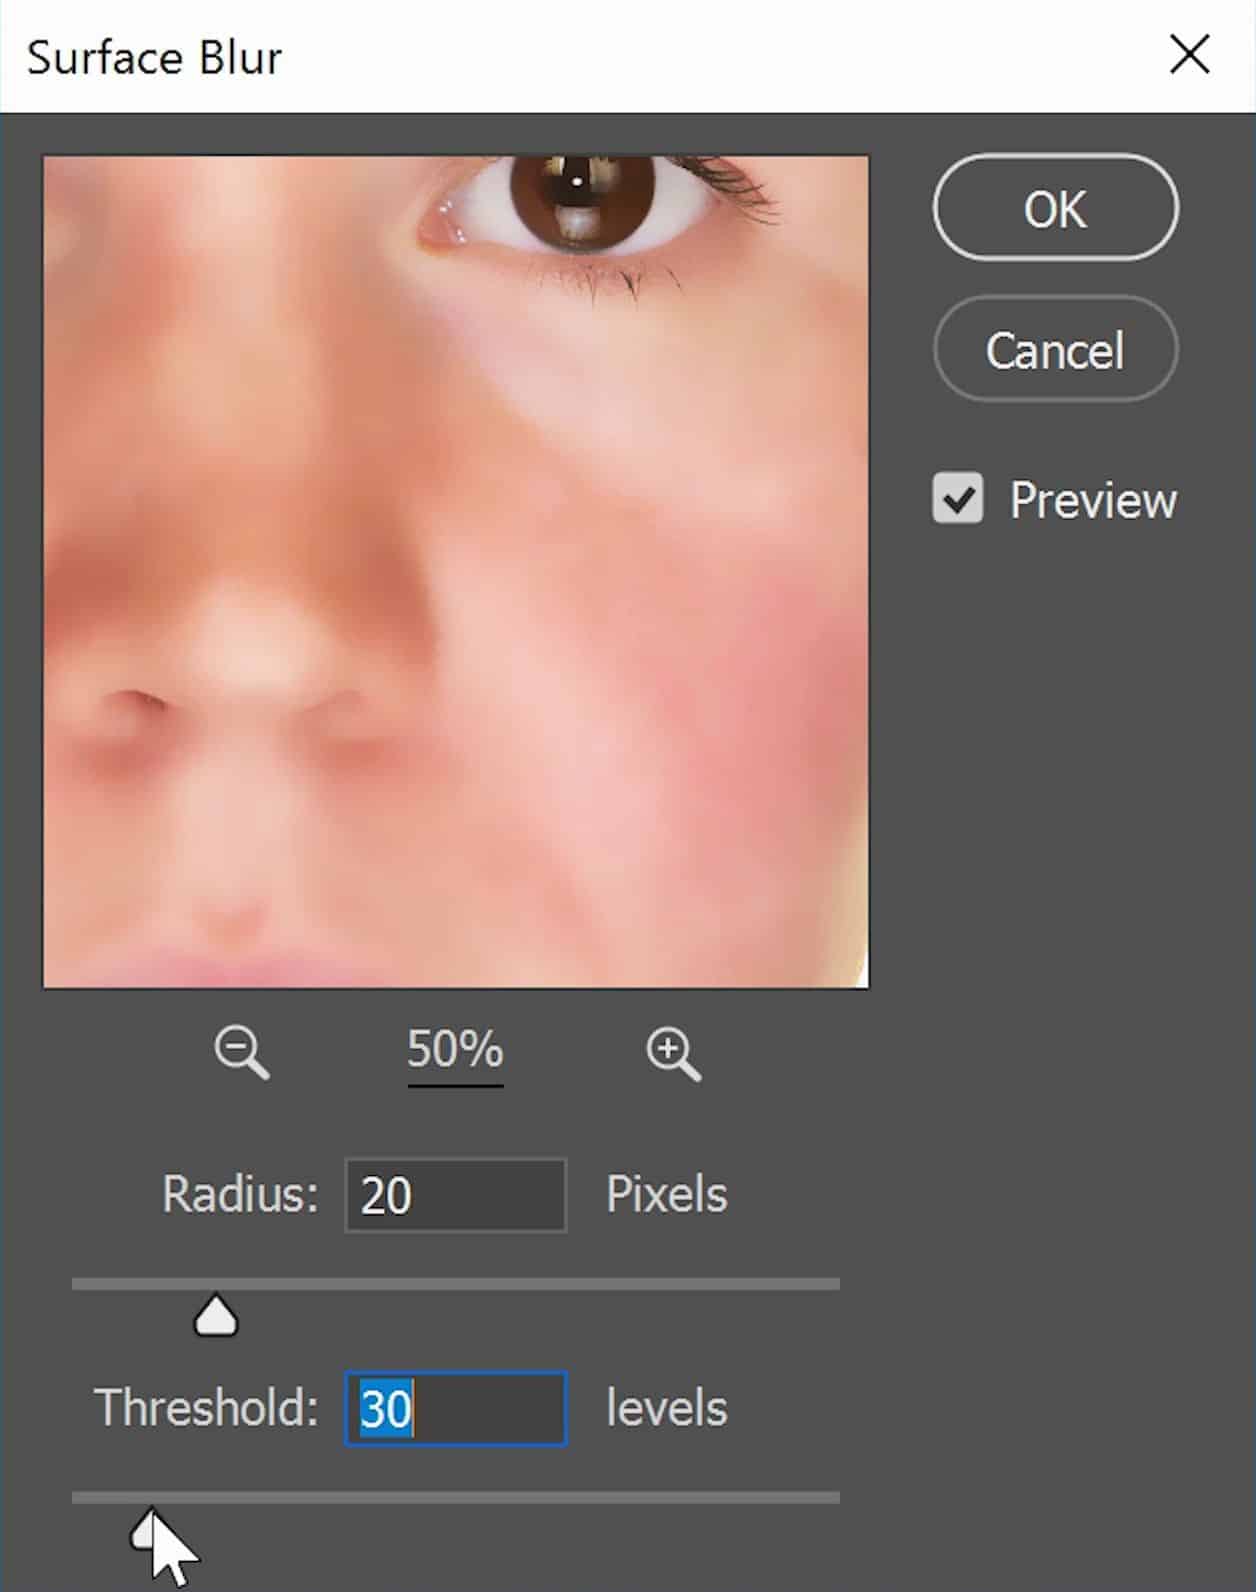
Don’t worry too much about the settings, you’ll typically have to go back and forth with the settings to get something that looks great. Click OK when you’re done and now we have an airbrushed look.
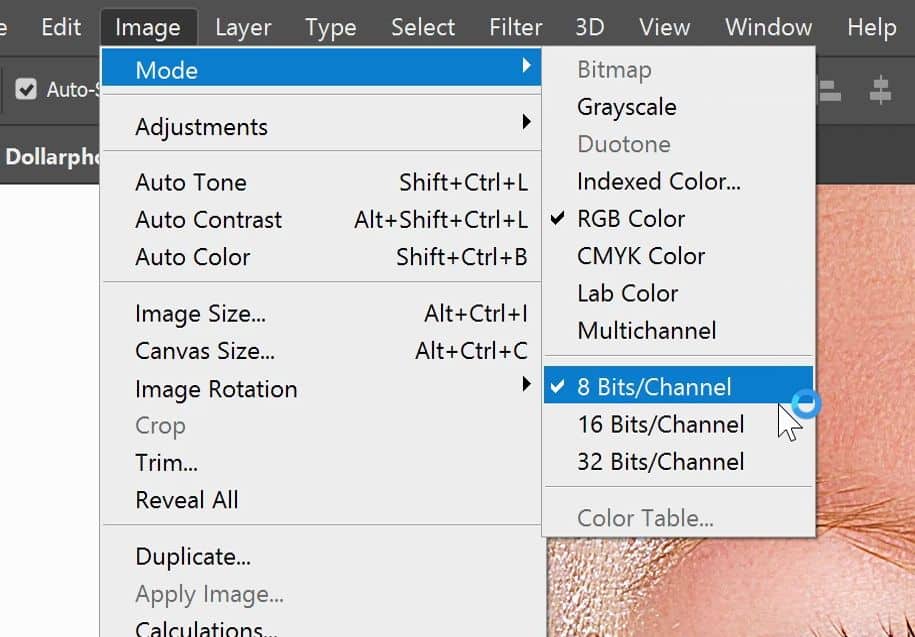
By the way, if the filter is taking a long time to process, it’s probably because your image is in 16 or 32-bit mode. You can wait for it to finish or if you’re just doing this for learning purposes, you can convert your image into 8-bit mode by going to Image > Mode > 8-bits per Channel.
Step 6
Right now the effect is very strong and overprocessed. Reduce the opacity of the high frequency layer until you get something that looks more natural.
Step 7
You can also doubleclick on the High Pass filter to change the settings. Depending on the resolution and how much skin detail is in your photo, you might need to increase or decrease this setting.
Step 8
You can also doubleclick on the Surface Blur filter to fine-tune the settings.
Step 9
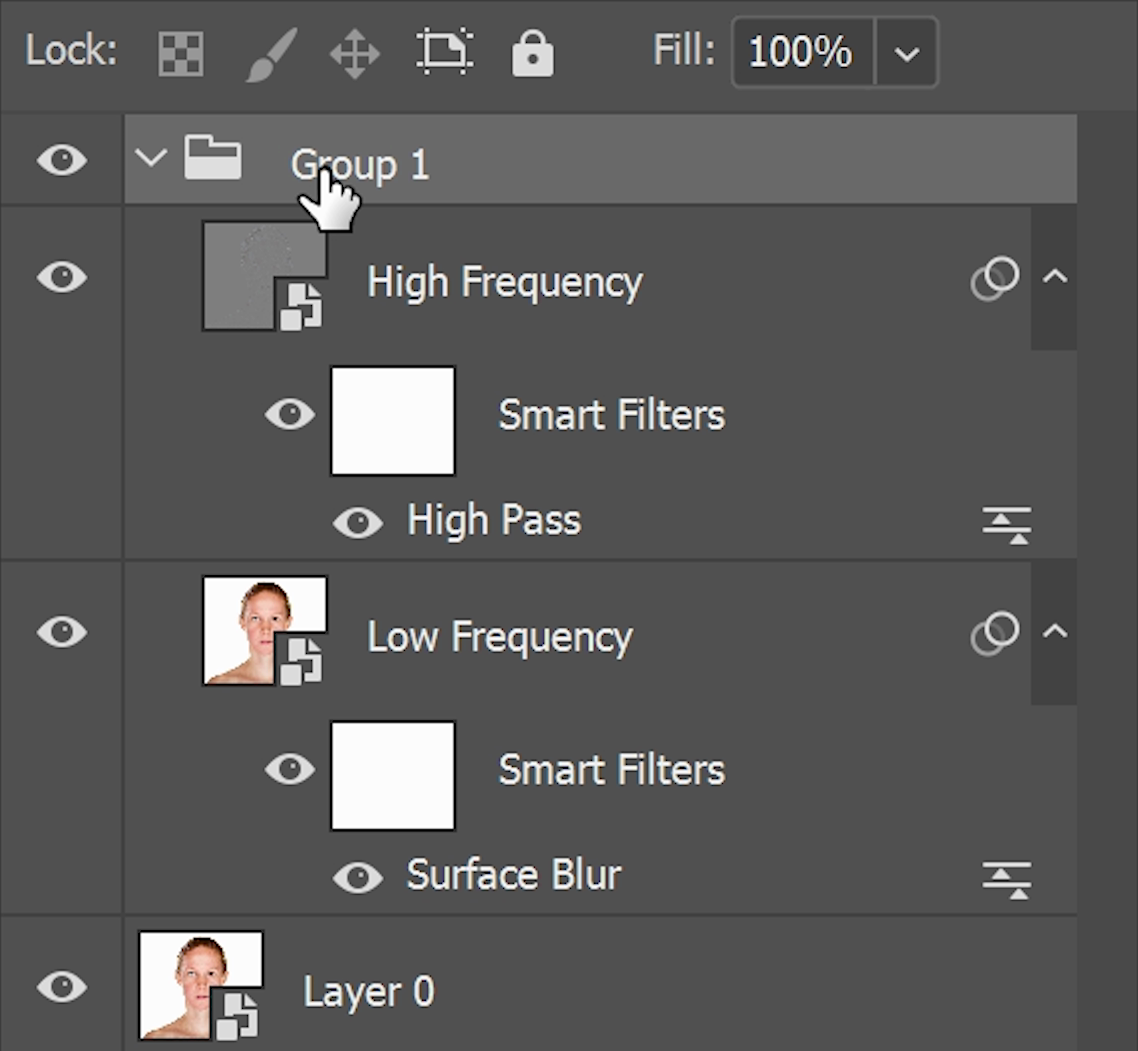
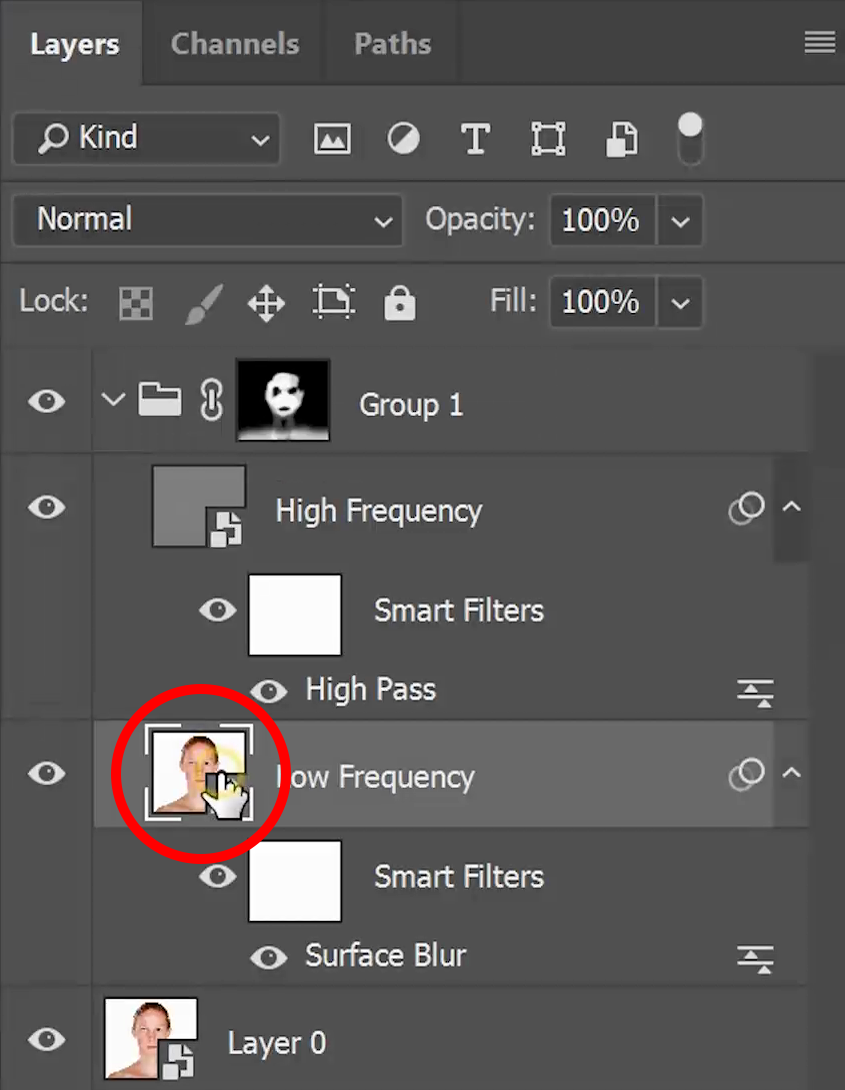
Currently the frequency separation is affecting the entire image. So we’ll fix this with a layer mask. Select the high and low frequency separation layer then press Ctrl/Cmd+G to add them to a group.
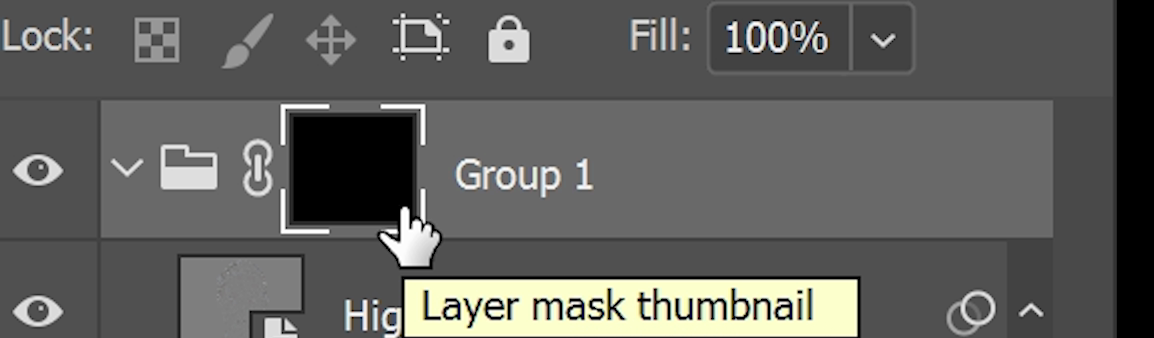
Select the group then hold the Alt/Option key and then click on the Add Layer Mask button in your Layers panel.
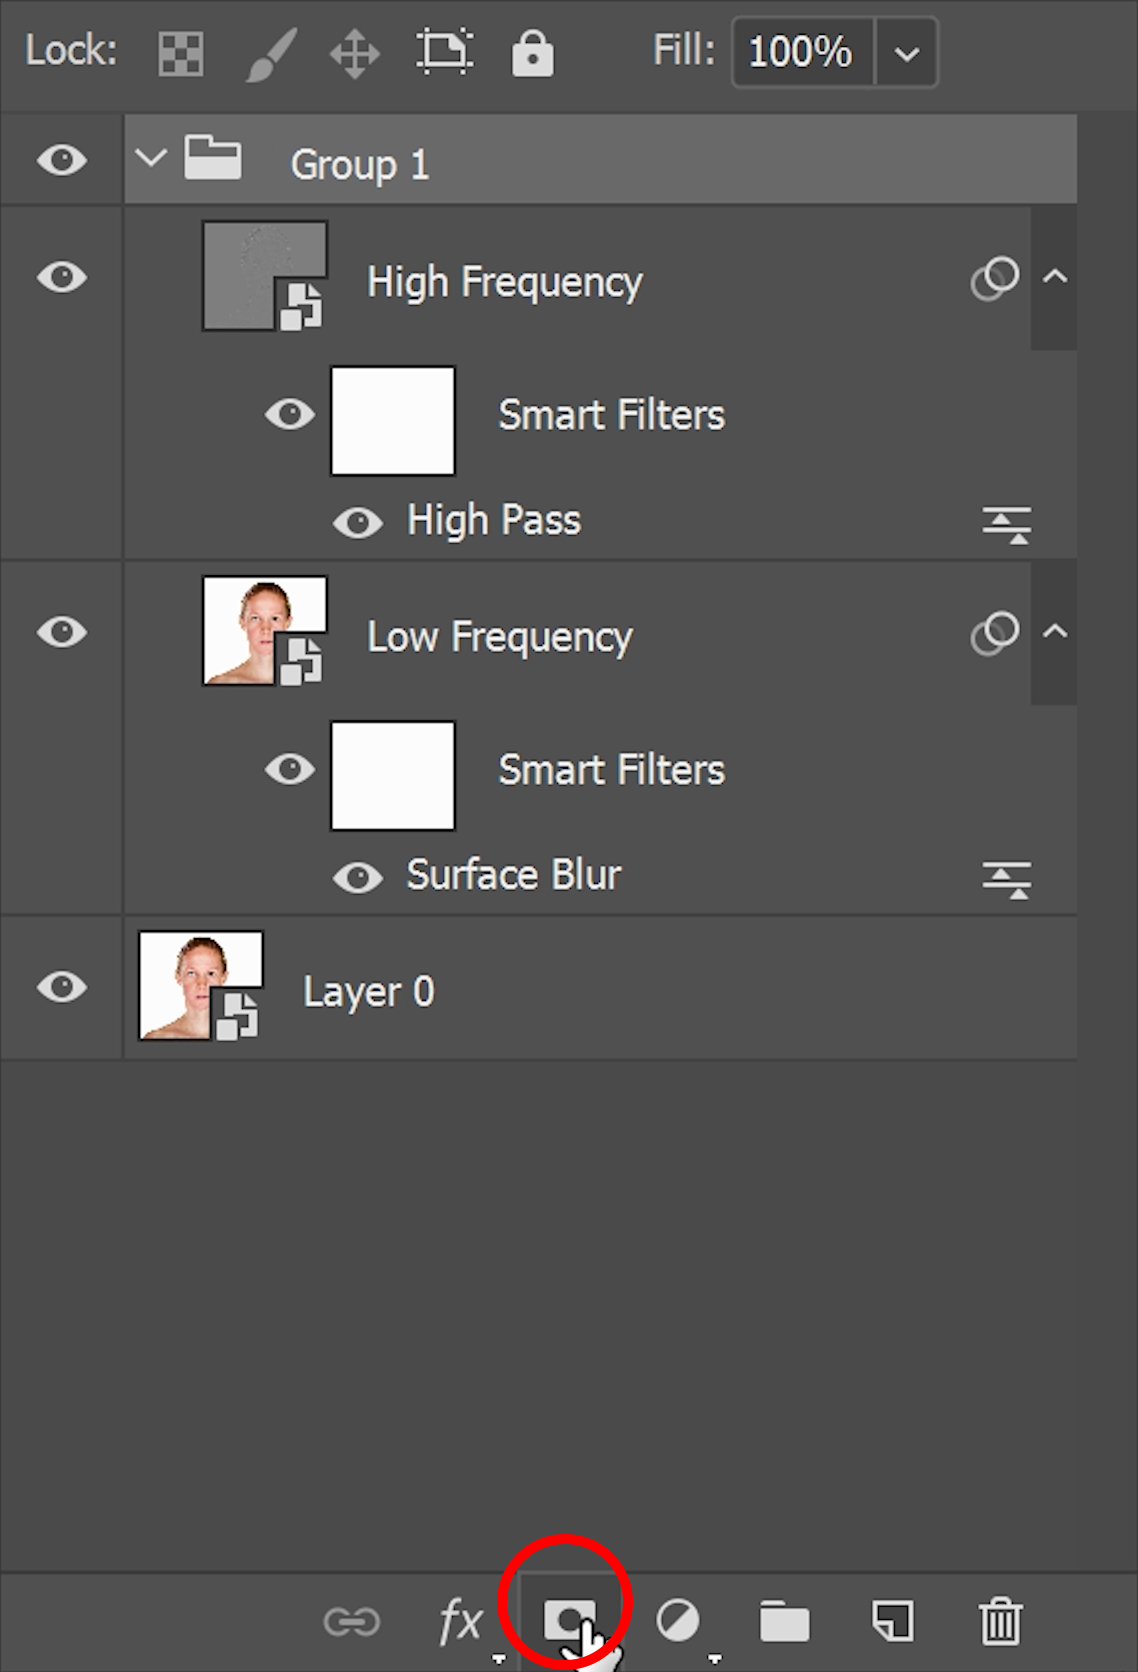
Holding the Alt/Option key will create an inverted layer mask.
Step 10
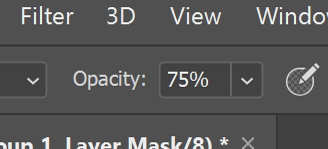
Select the brush tool then paint over the skin where you’d like the airbrushing to occur. Make sure that your foreground color is white then adjust the brush opacity in the options bar. I like to start off with 75% so that it doesn’t apply the full effect. If there are certain spots where you want the frequency separation to be more visible, you can just paint over that area multiple times.
Futureproof Editing
Remember earlier when I told you that there was another benefit to using Smart Objects? Let’s say you want to use the healing brush to remove something. Typically, people would create a new layer, set the Healing brush to sample all layers, and then heal the spot. But the problem with this is that the layers aren’t synchronizing with each other. So if you make a significant change to the frequency separation layers, you’ll have to do the healing brush layer again.
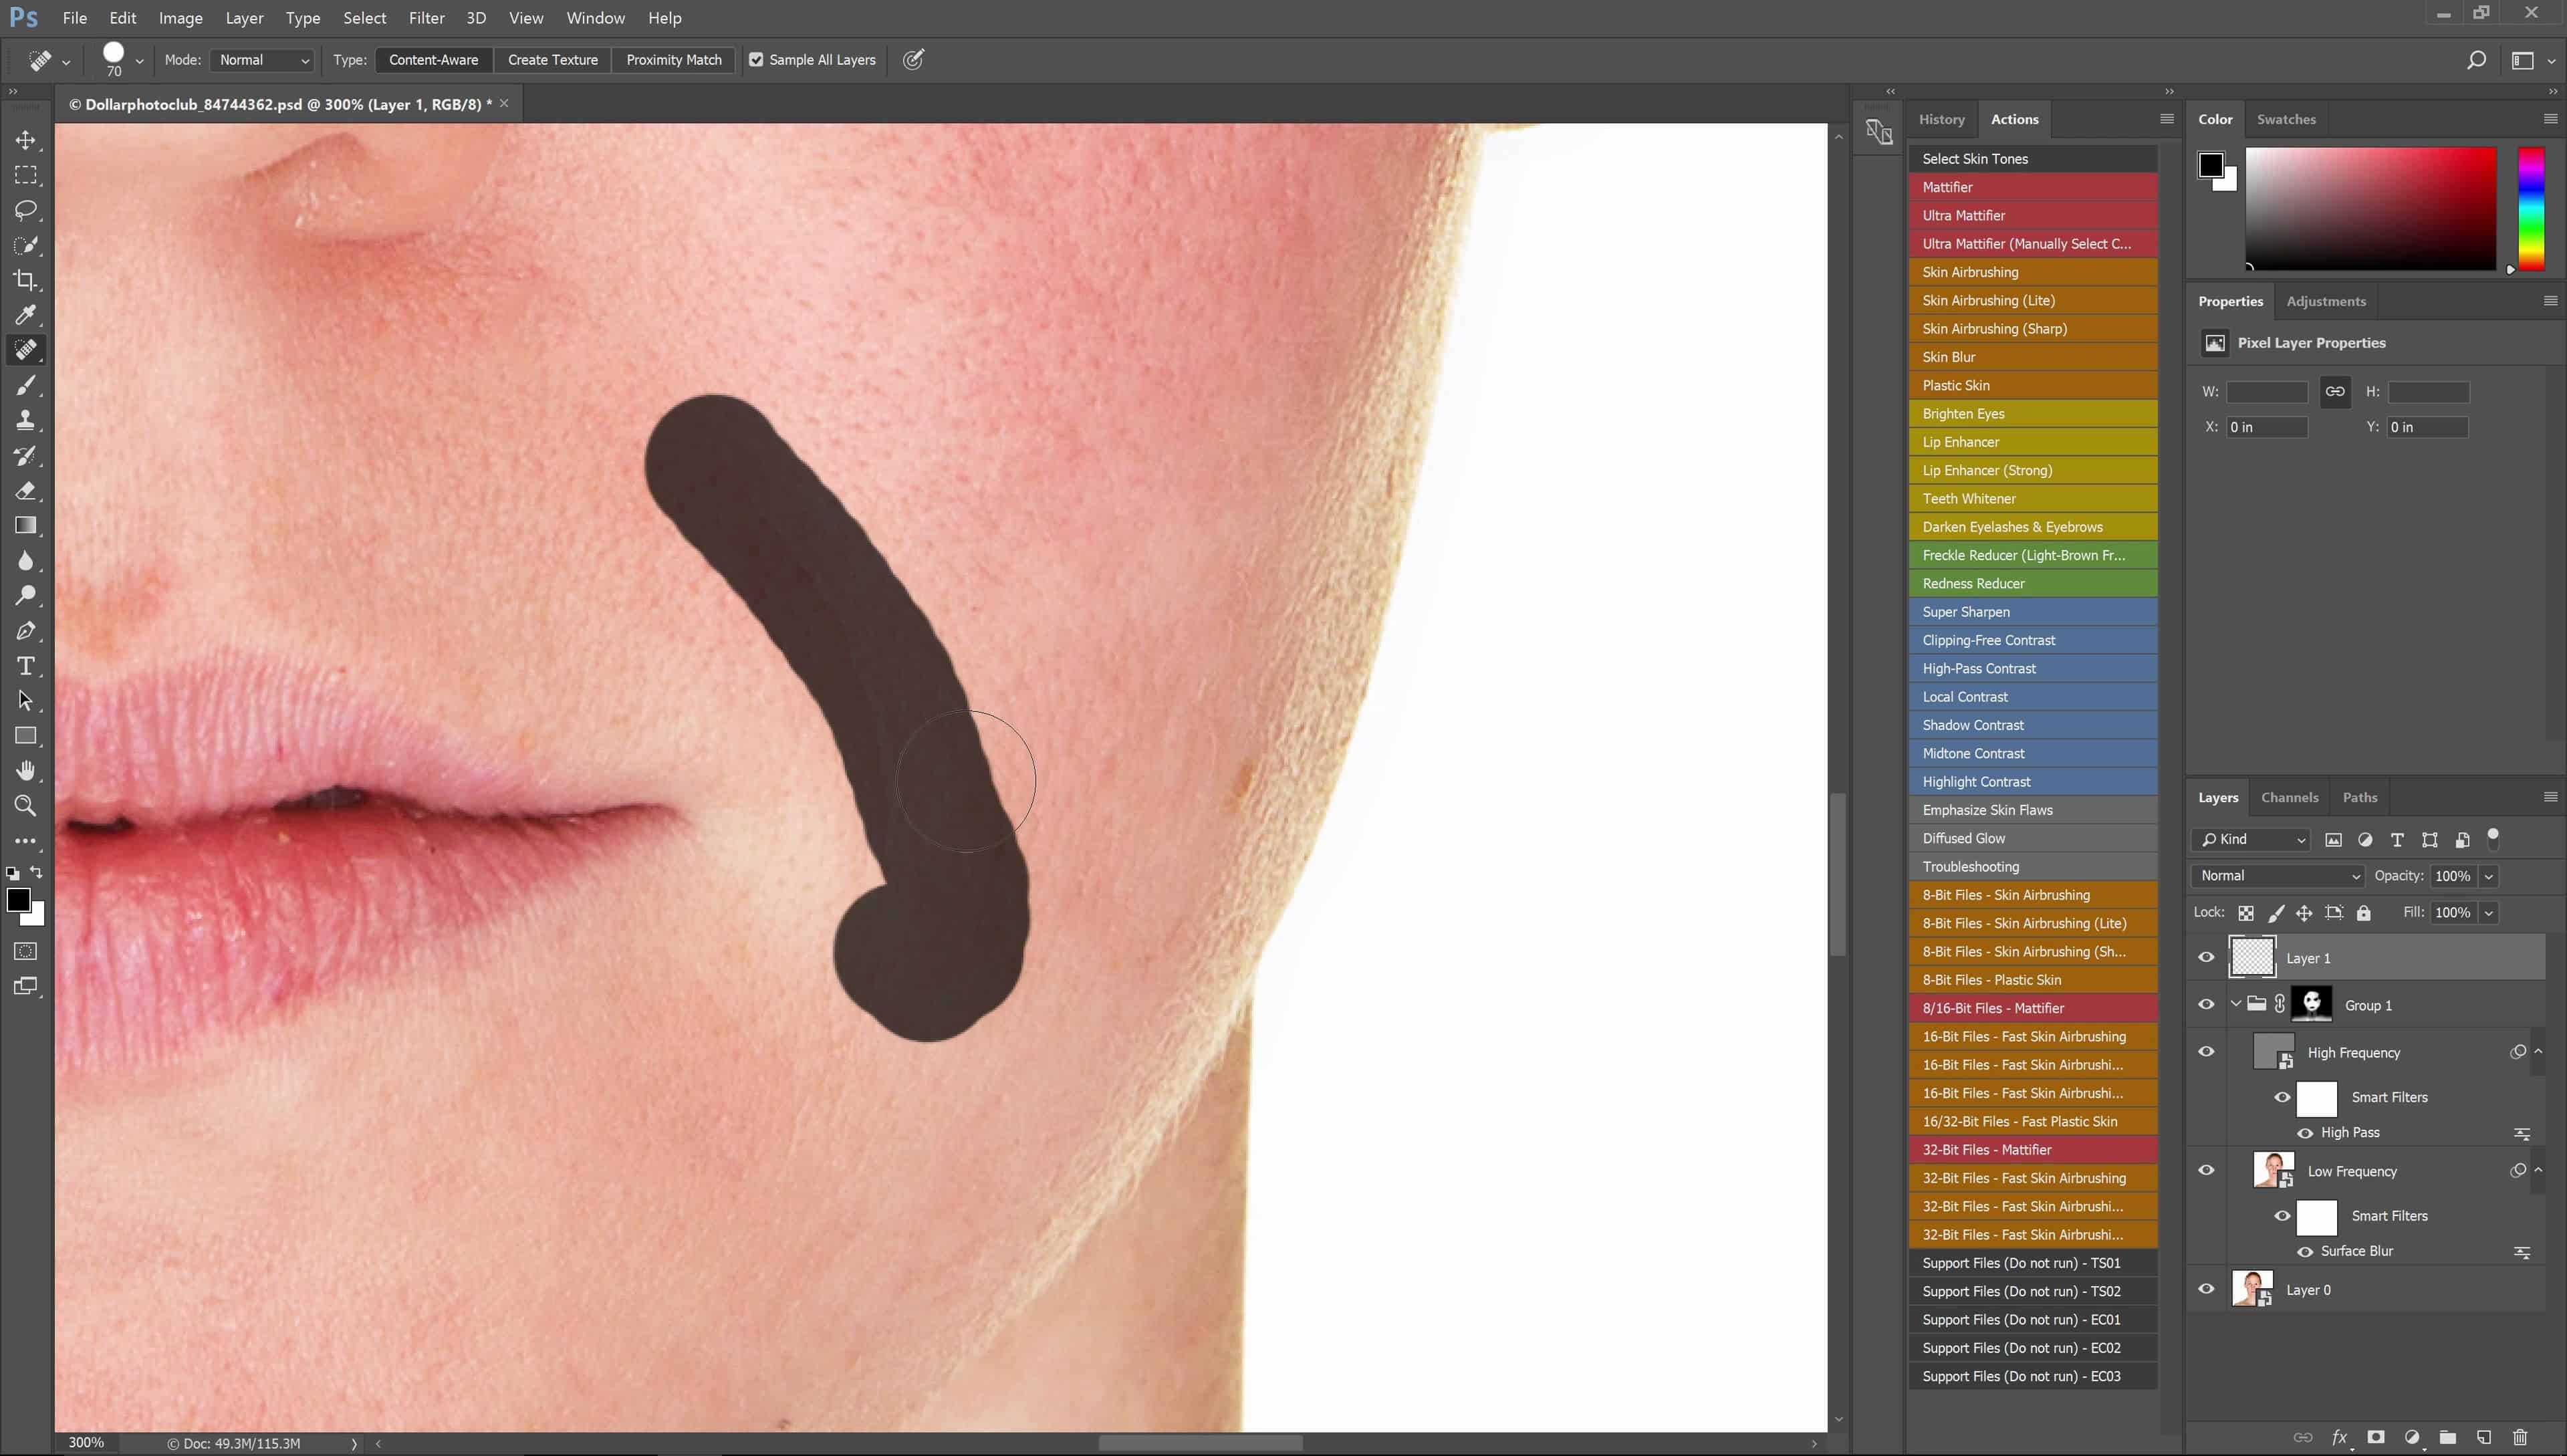
But because we used Smart Objects, we have the option of doing this in a better way. Simply doubleclick on the thumbnail of the Smart Object.
Now you can make any edits you like. I’m going to do the same thing and create a new layer to clone out a spot, run a mattifying action on it, and reduce the redness. By the way, all of this is being done with my skin retouching actions.
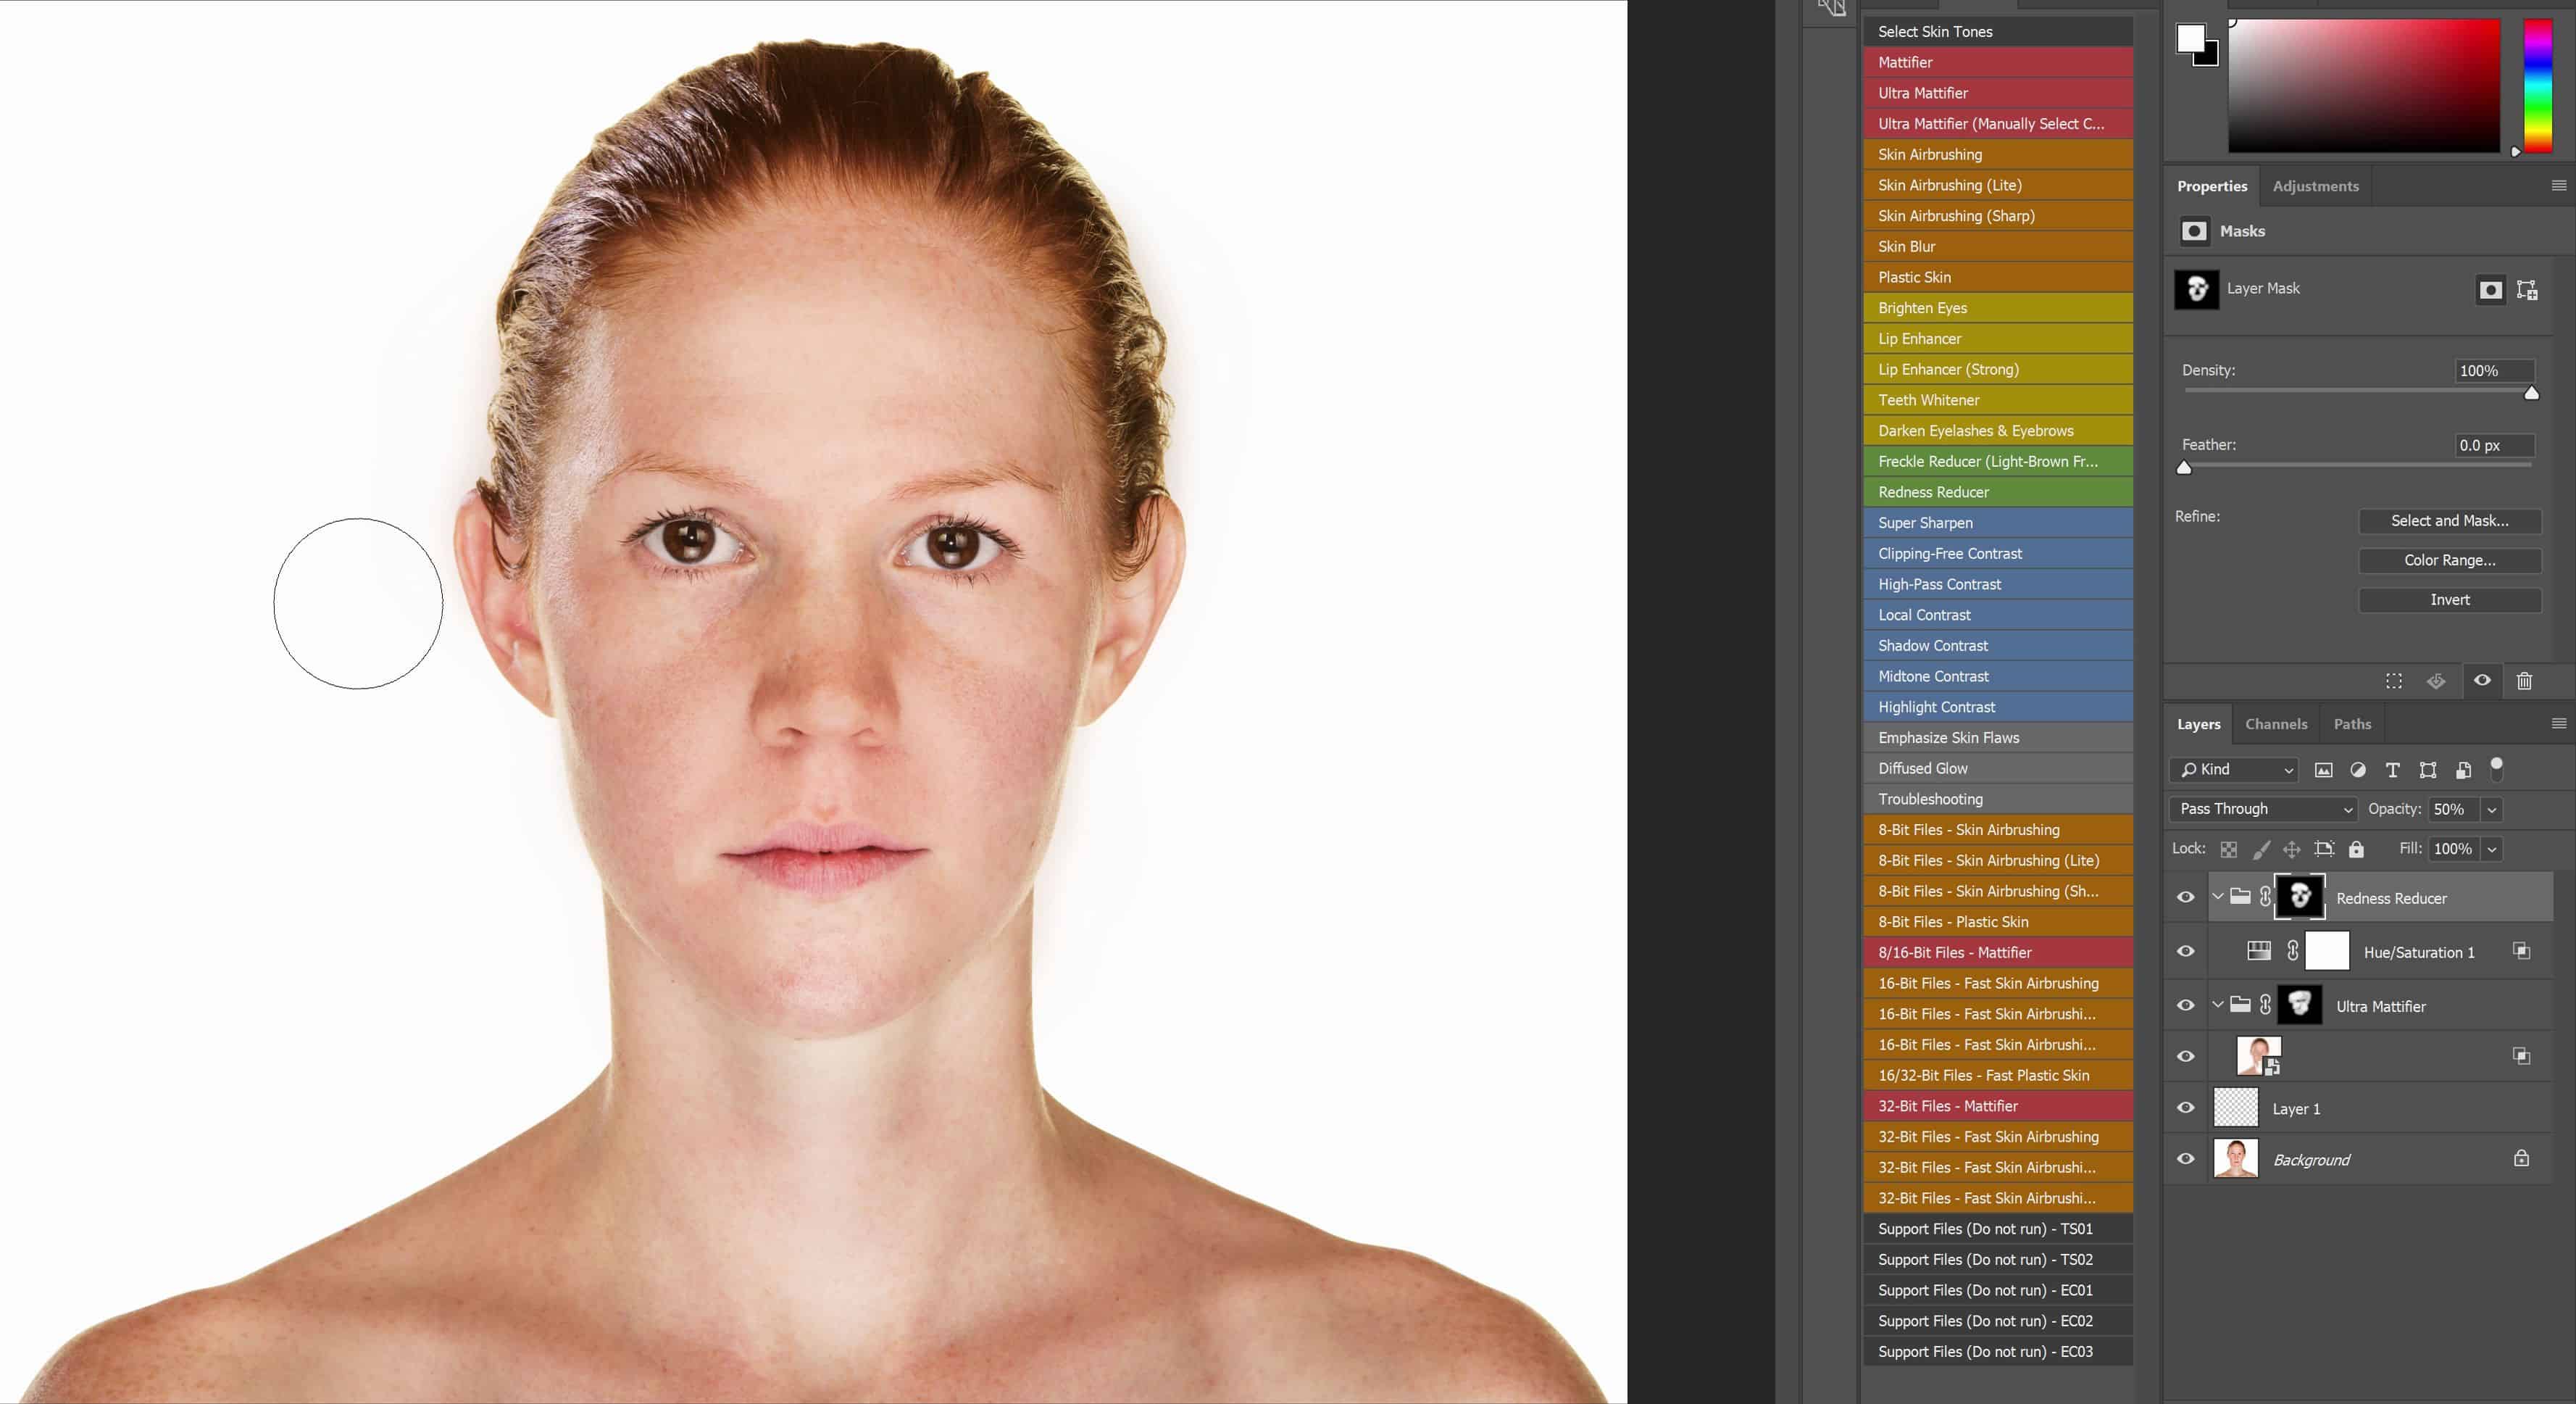
The image has now been drastically changed. I’m going to save and close this document. And as you can see now, all the layers have been updated and we don’t have to redo anything. Using Smart Objects like this is a great way to futureproof your work. It only takes a second to convert your layer into a Smart Object and it can save you a lot of time.
Beware of Overprocessing
Before we end the video, I want to talk about overprocessing because it’s such a common thing for this technique. It happens when you’re trying to use as much frequency separation as you can. Unless you’re going for a surreal glamor look, you should be using as little as necessary so that the effect is still there, but it’s not immediately noticeable. Now in this video, it’s a bit too strong but I did it so that it’s easier for you to see the difference. A good way to practice frequency separation is to do it on a male model because if you apply too much of it, it’ll look weird right away.

Final Results
Here’s how the image looks like before and after frequency separation.

- Photoshop Tutorials, Tutorials
- Frequency Separation, Photo Retouching, Photoshop, Portrait Photography, Skin
[…] this image from Denny’s Tips as an […]
[…] than it does in Lightroom. If you want to learn how to do it, check out my video on how to do frequency separation in […]