Learn an awesome new trick on how to Dehaze your photo with way better results. The Dehaze adjustment in the Camera Raw Filter helps reduce haze and restore the contrast in your photo but a lot of times, it doesn’t look that great. In this tutorial, I’ll show how you can trick Photoshop into giving you better results with the Dehaze adjustment.
Problems with the Dehaze
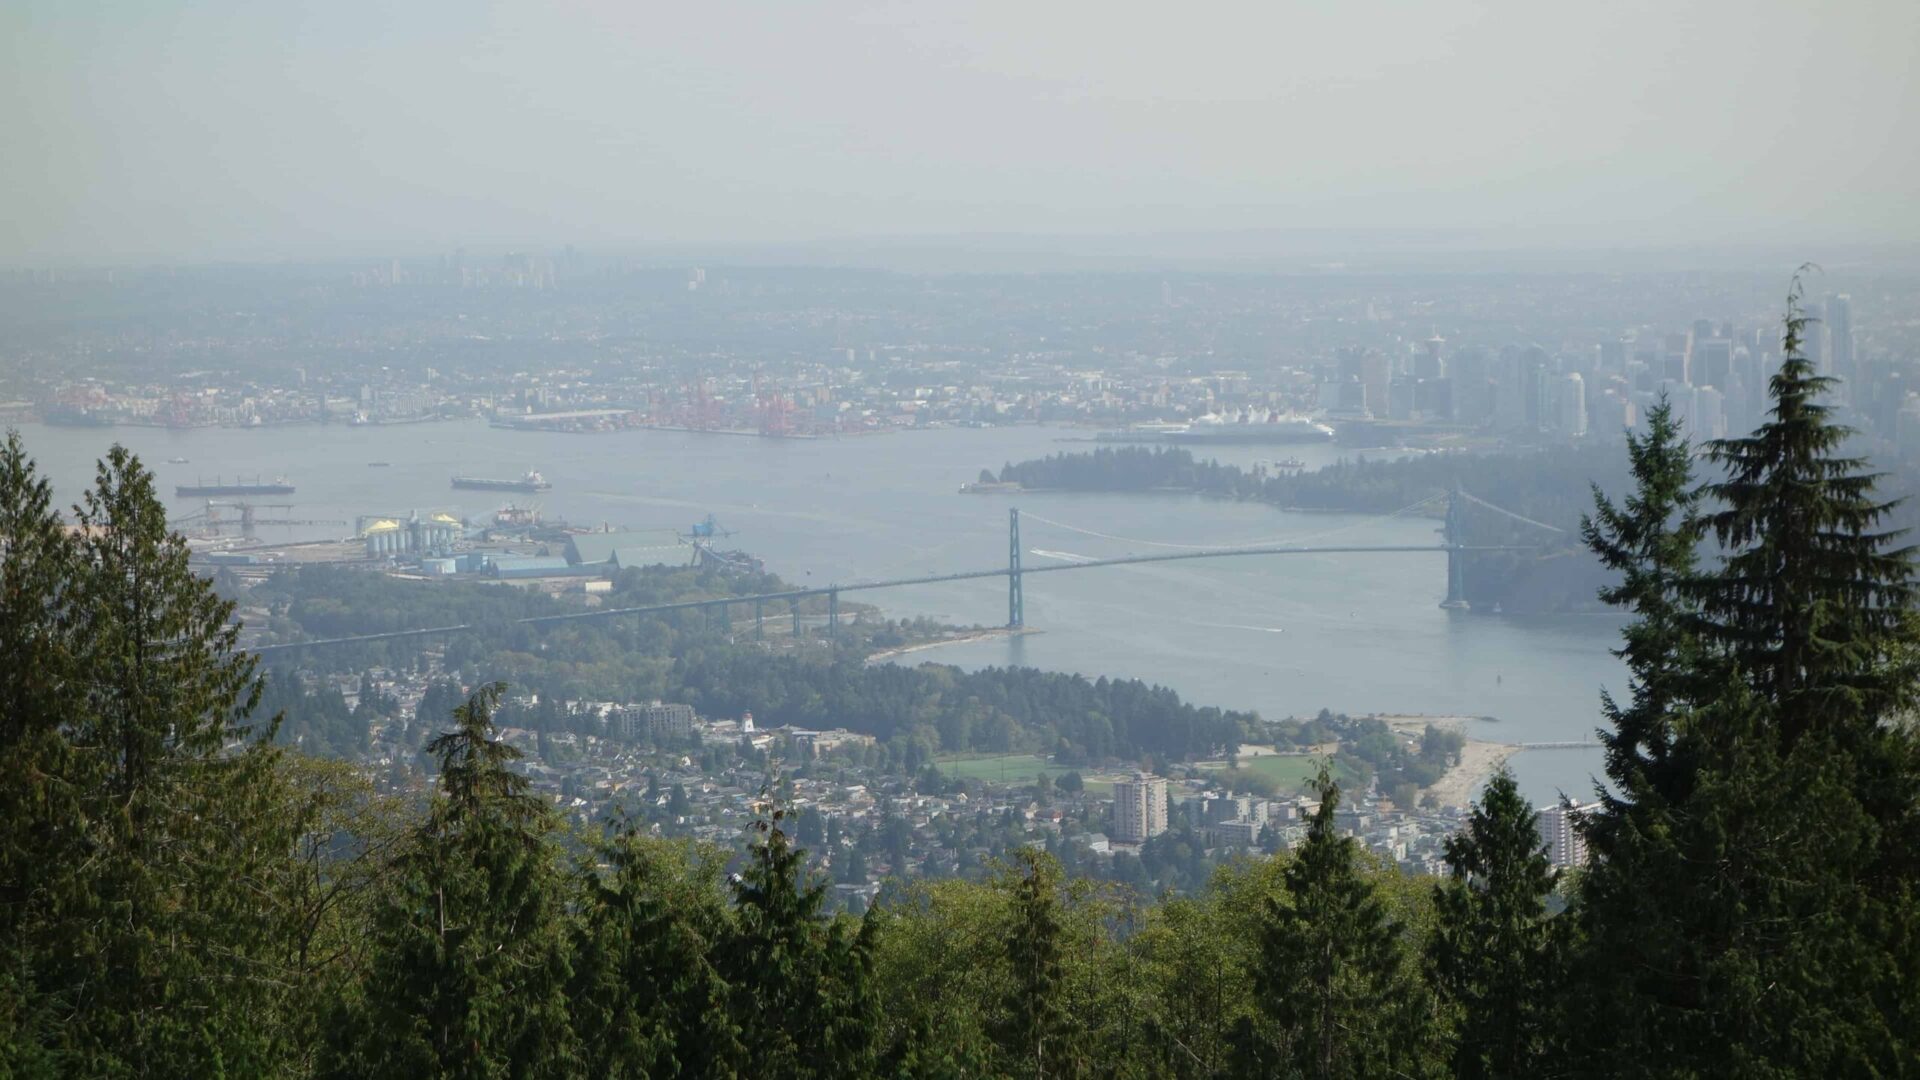
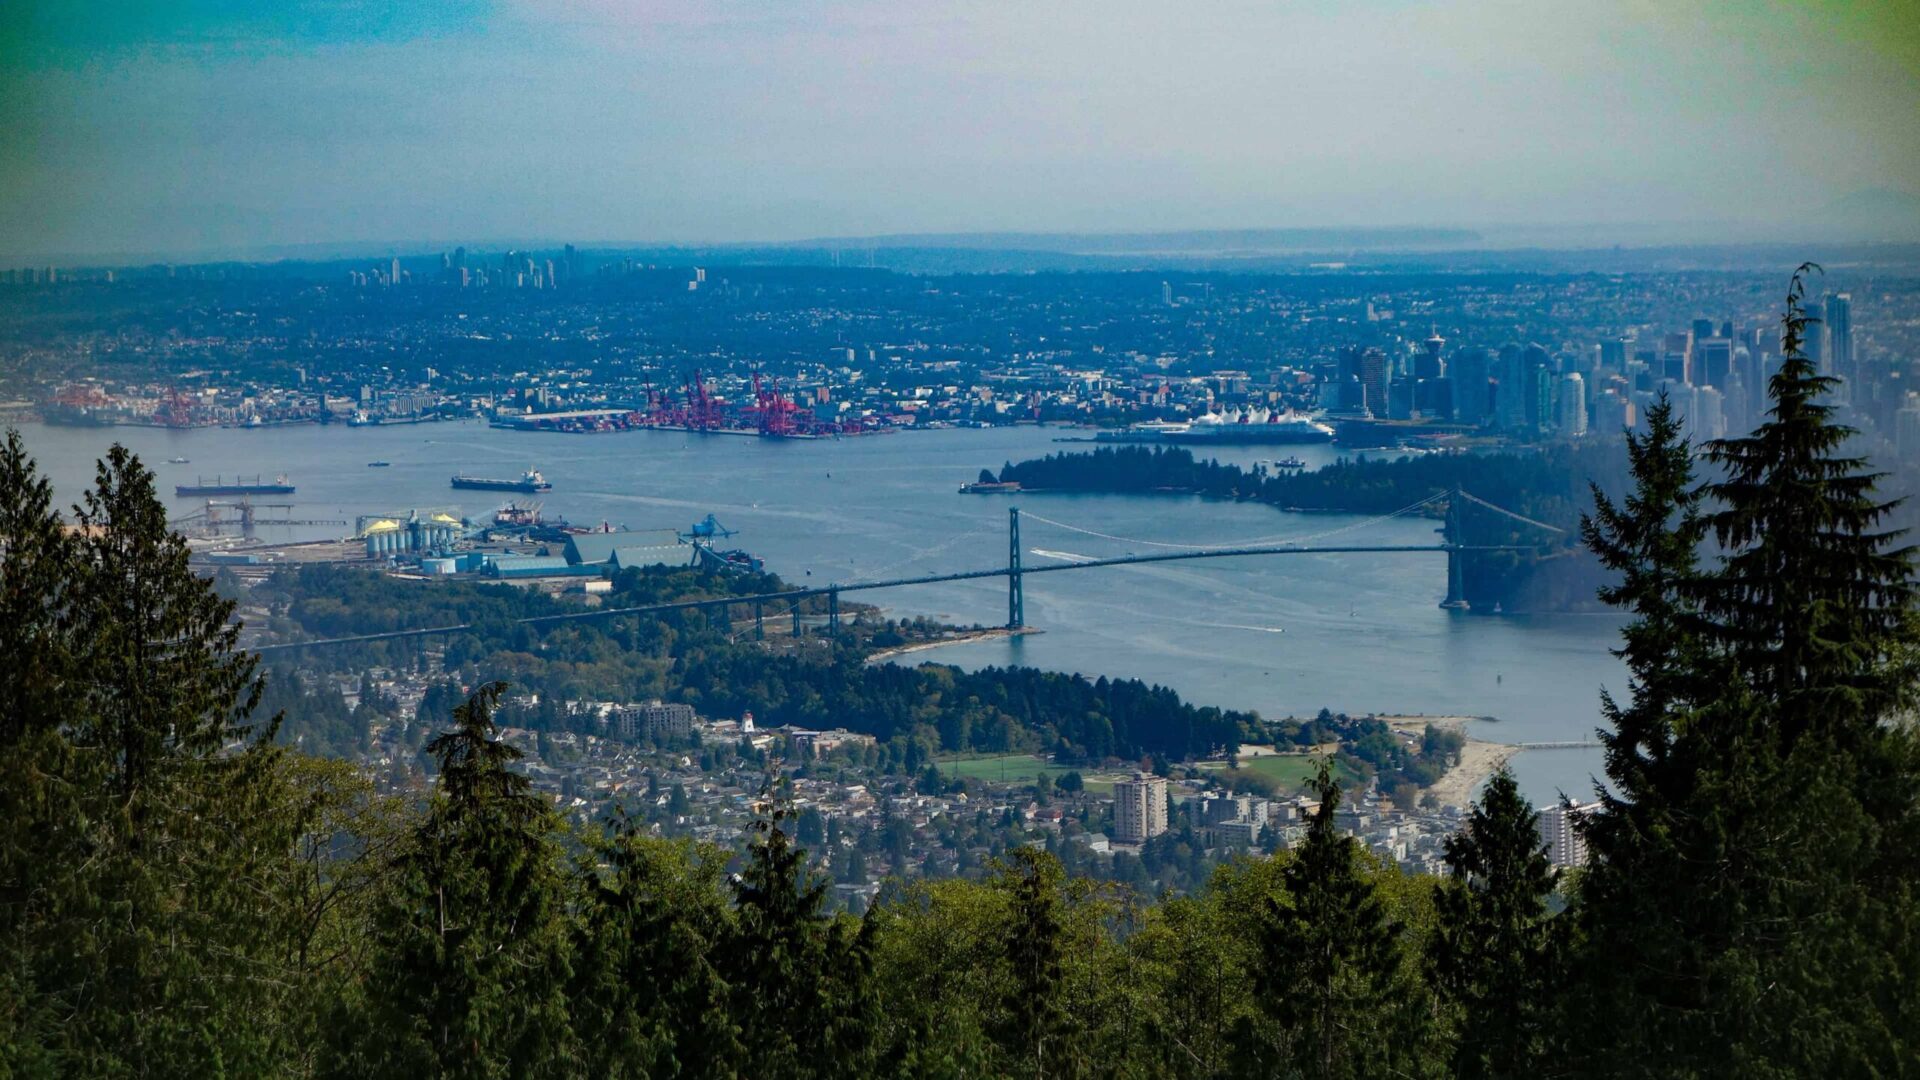
When Adobe released the Dehaze adjustment, everyone was amazed with amount of details it can restore. It’s easy to use and works quite well. But if you push the settings too high, you’ll get lots of color artifacts and worst of all, you’ll get this ugly glowing halo effect around high contrast areas.
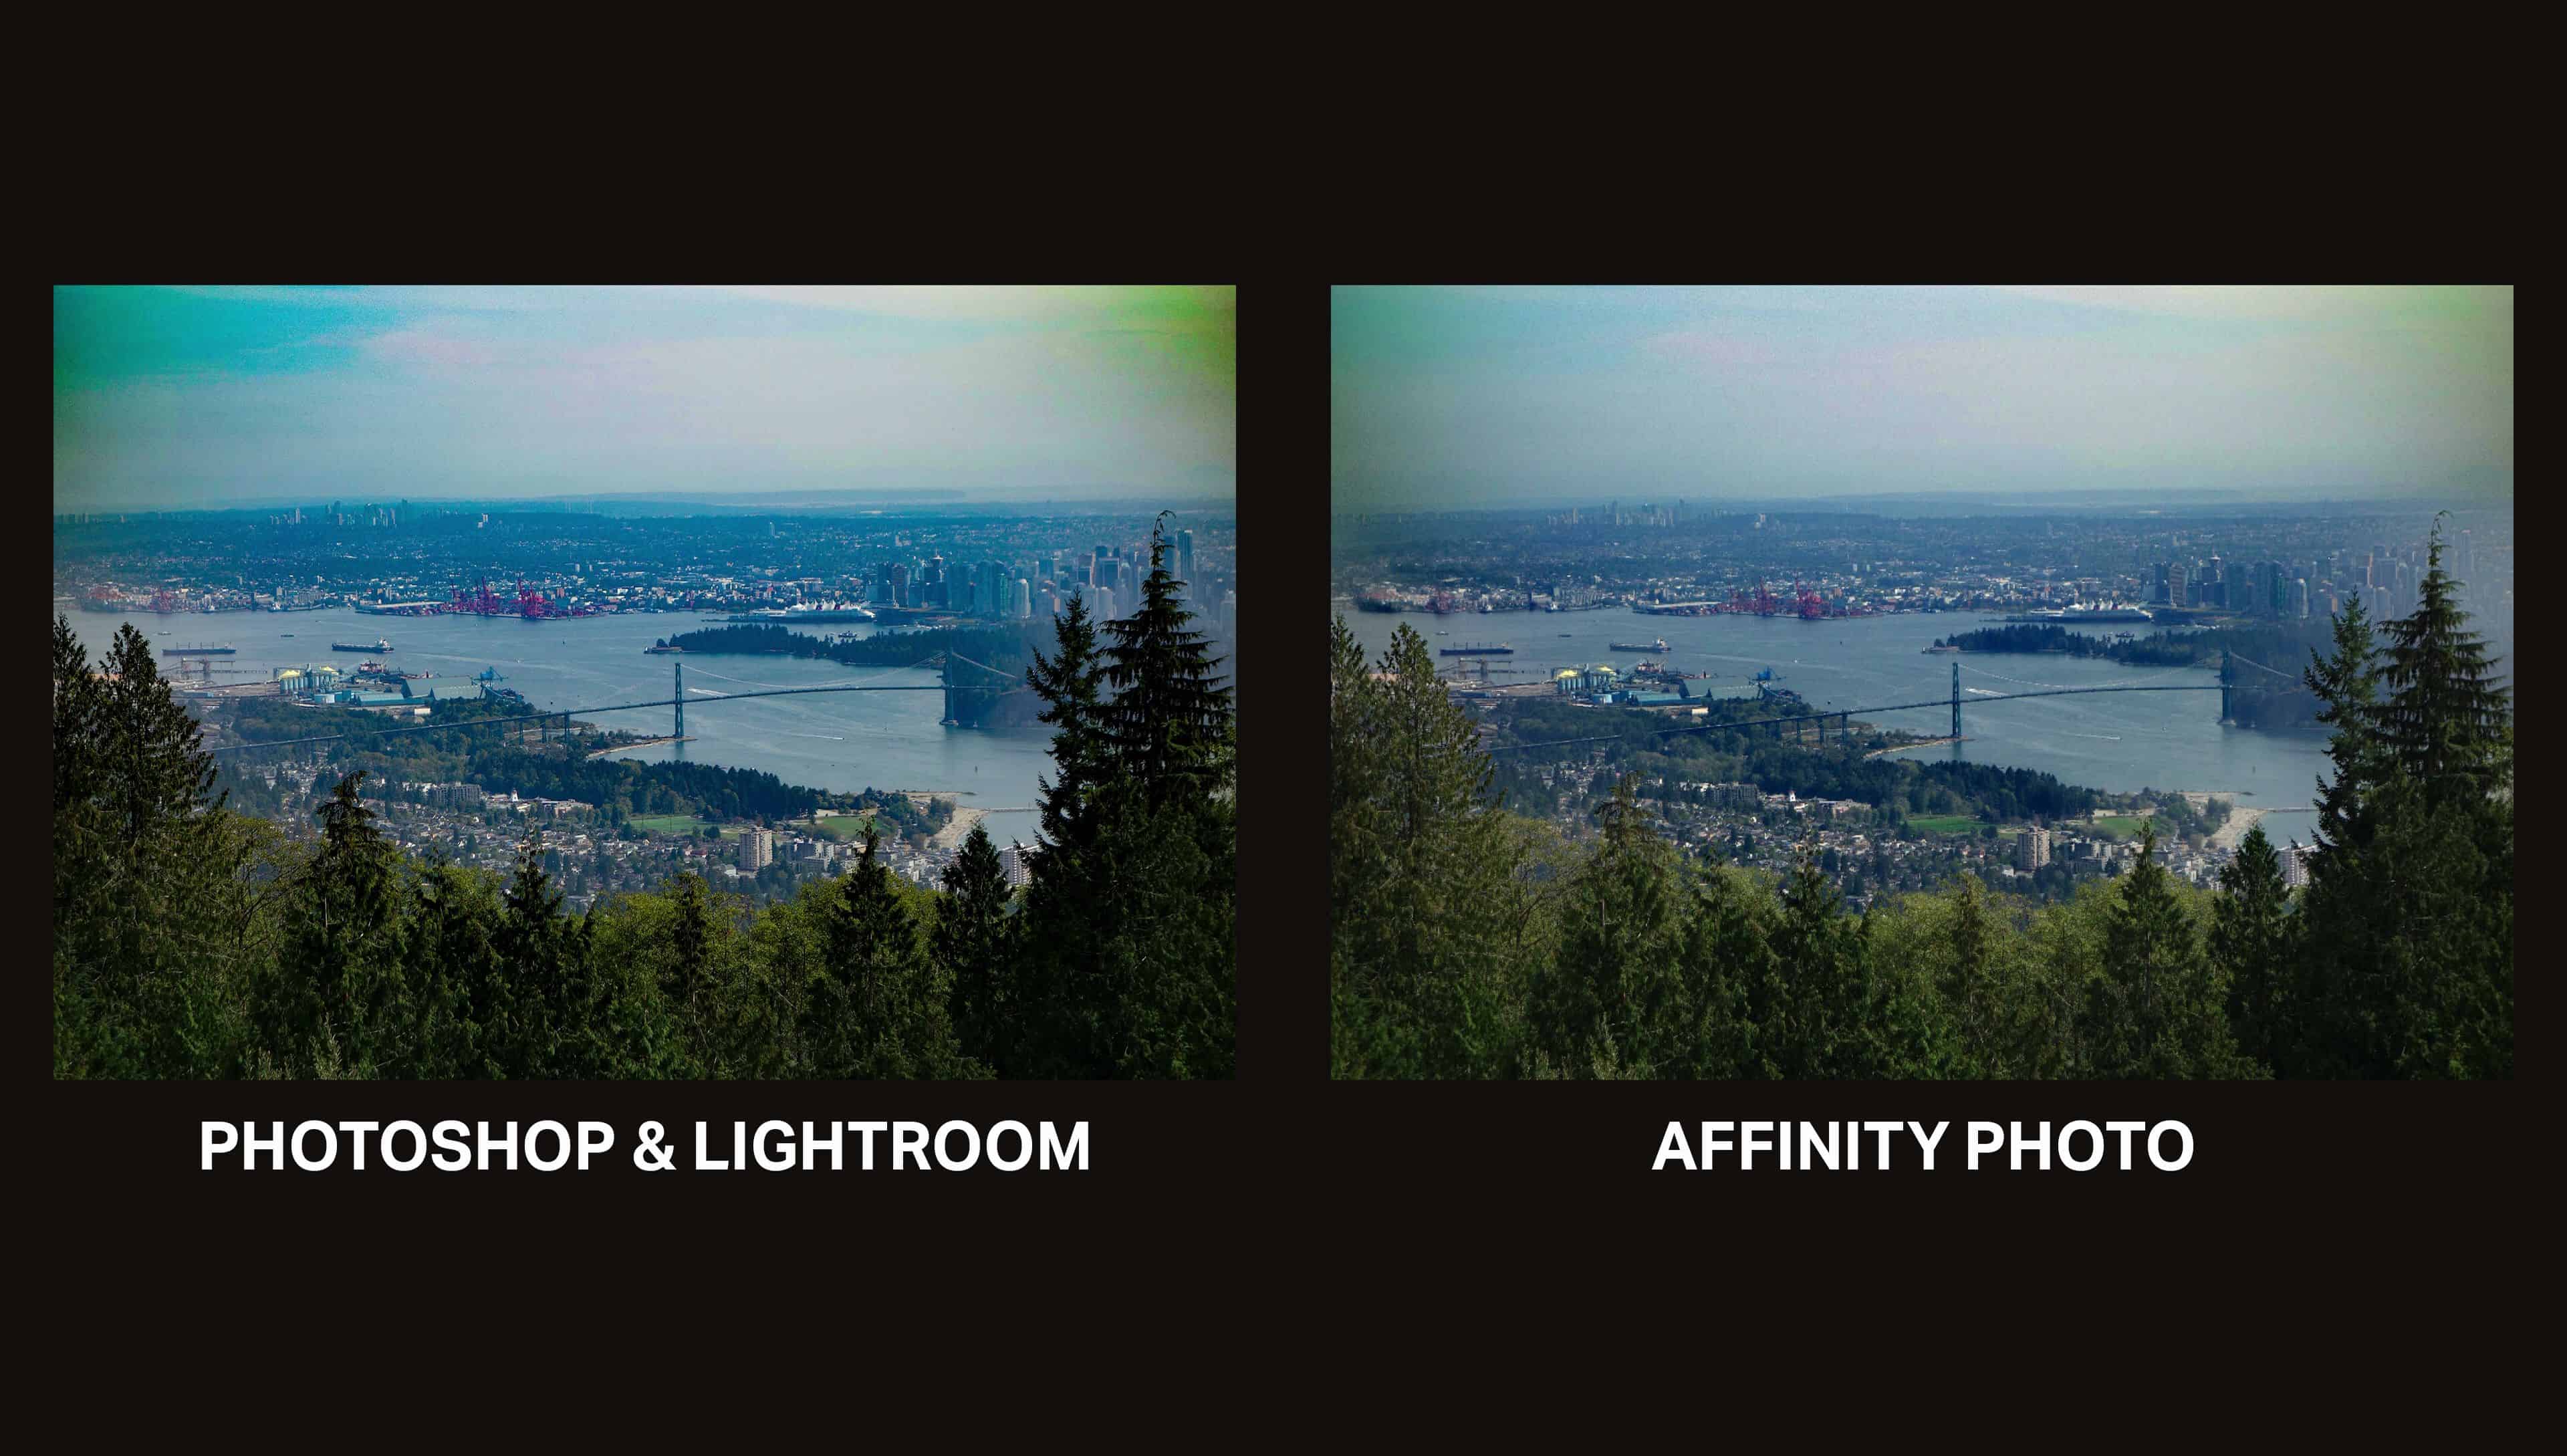
Recently I did a review video on a Photoshop alternative called Affinity Photo and I found out that their Dehaze tool gave better results and it looked way more natural than Photoshop. And it looked more natural simply because there was less halos overall.
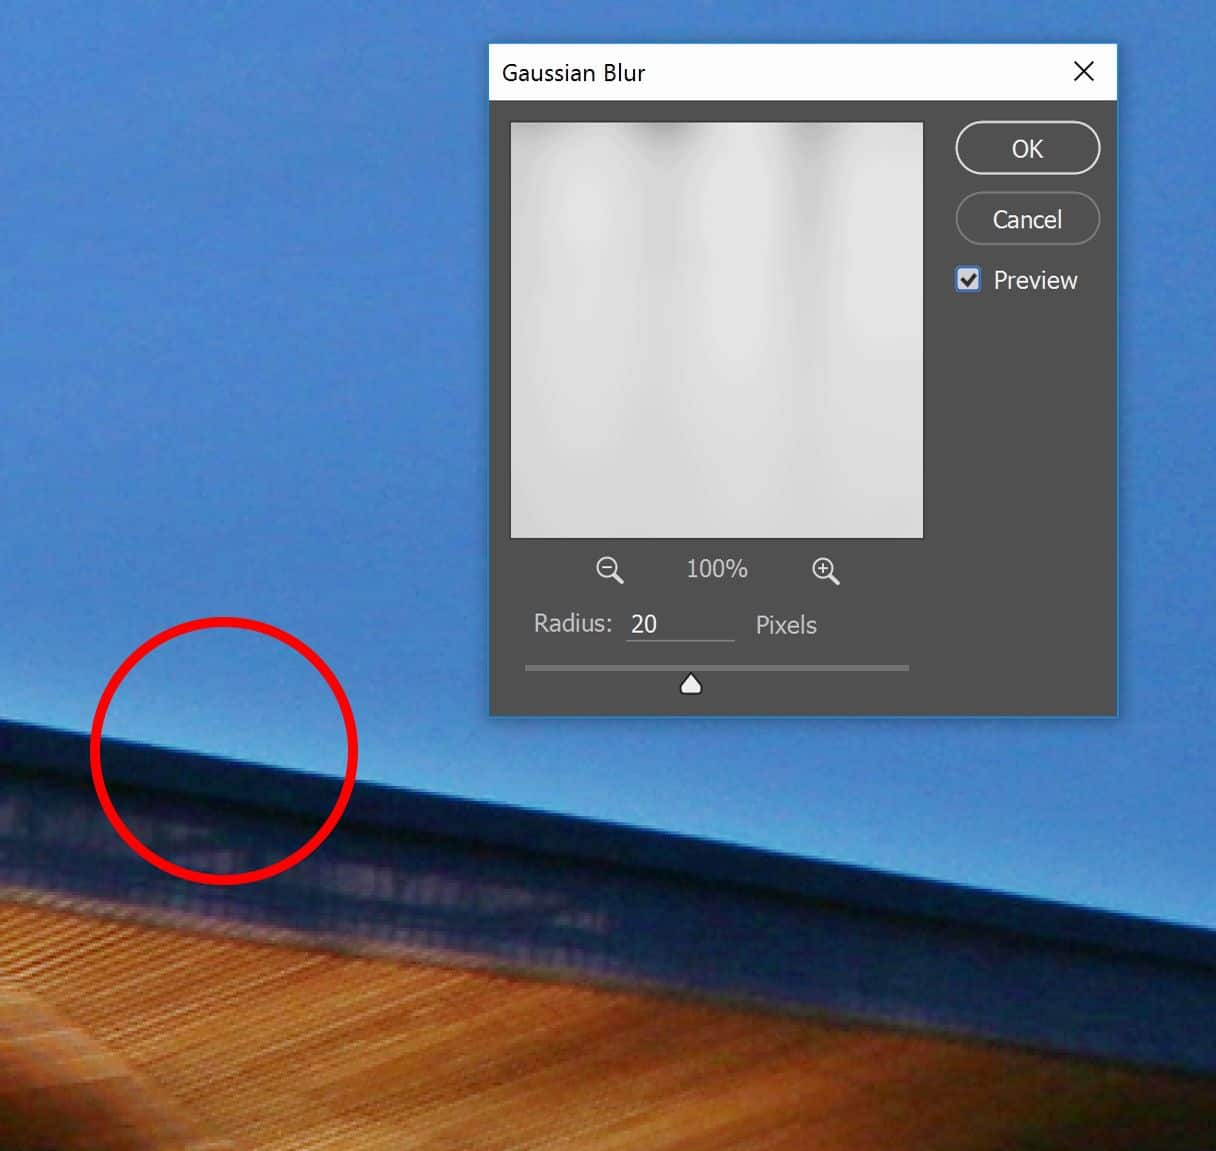
Halo effects are typically caused when you’re doing something like luminosity masking and you blur the mask. The reason people blur the mask is to improve the details and clarity. Photoshop uses a very large blur radius for their Dehaze tool which make the transitions more gradual and safer, but as a result, you can sometimes get these huge halos around high contrast areas.
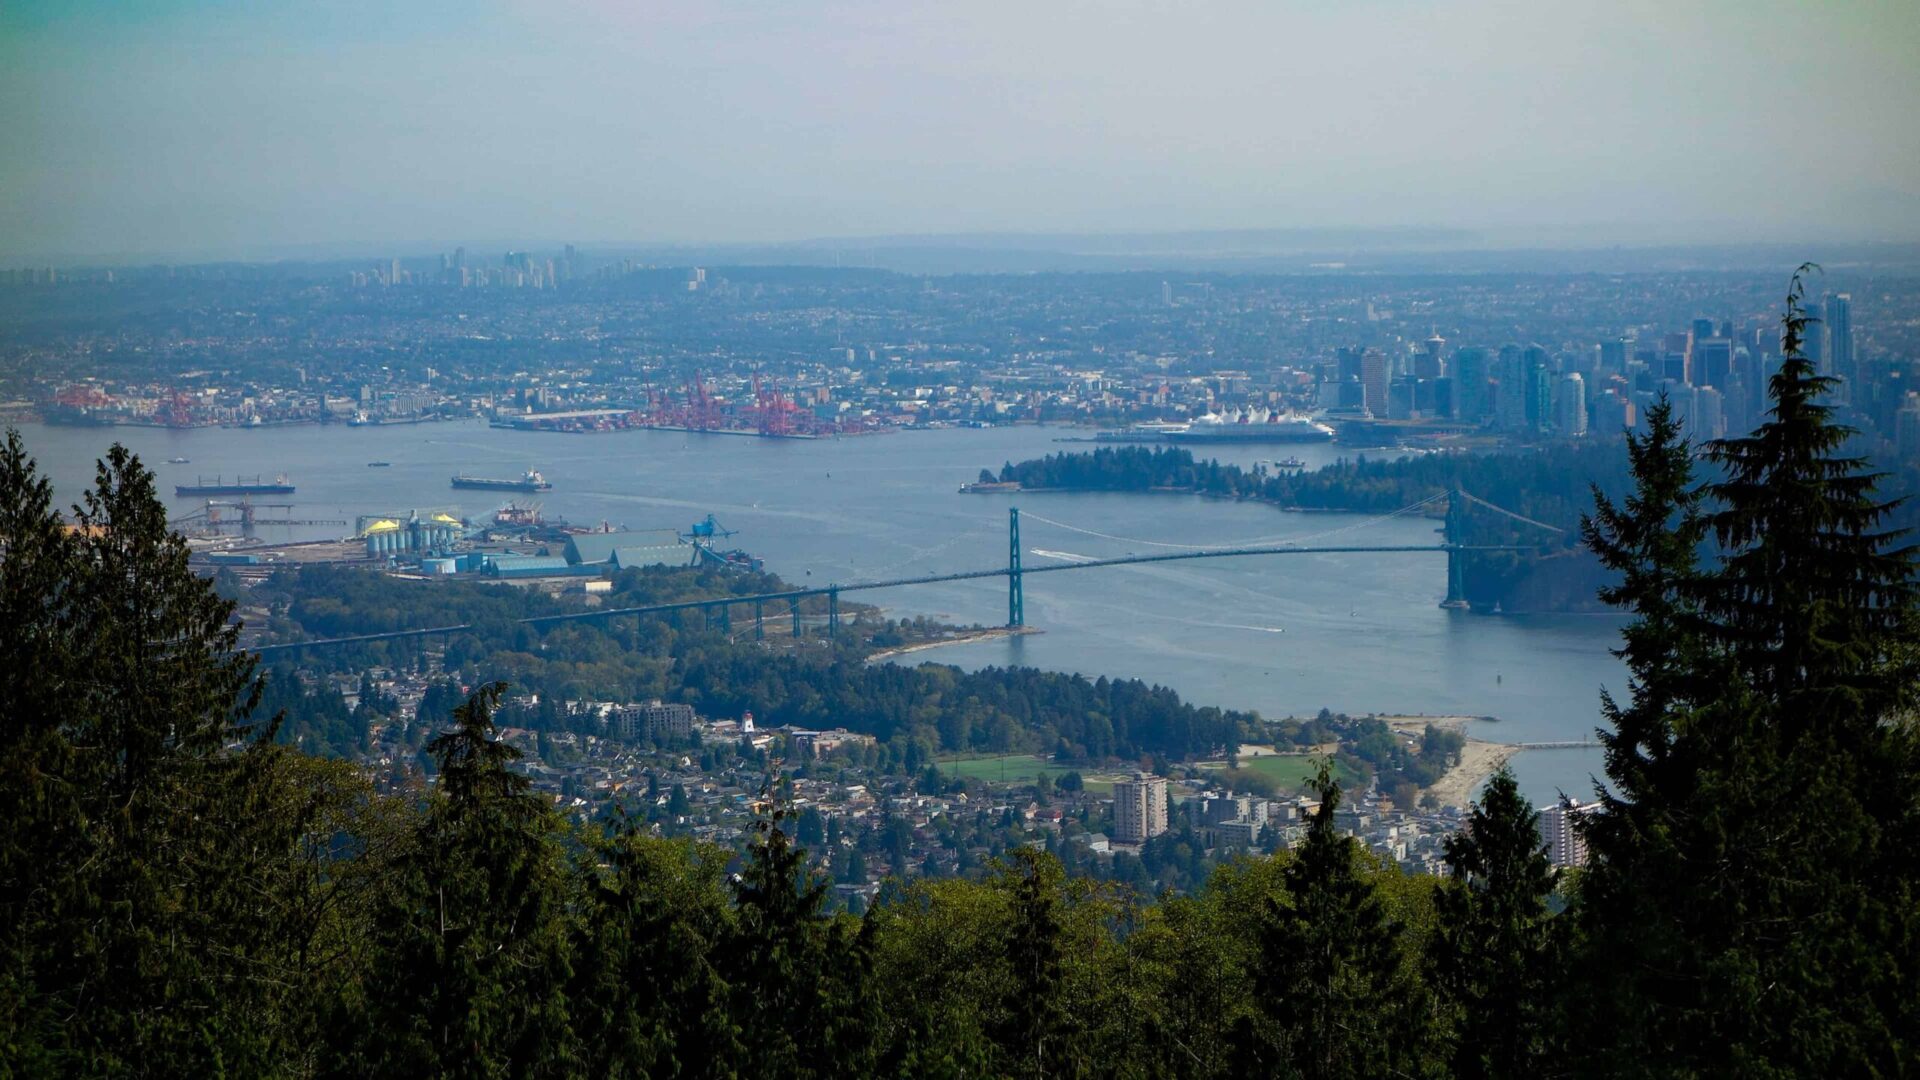
So I had a thought… can you trick Photoshop into using a lower radius setting to get rid of the halos? The answer is yes and it’s surprisingly easy.
The New Dehaze Trick
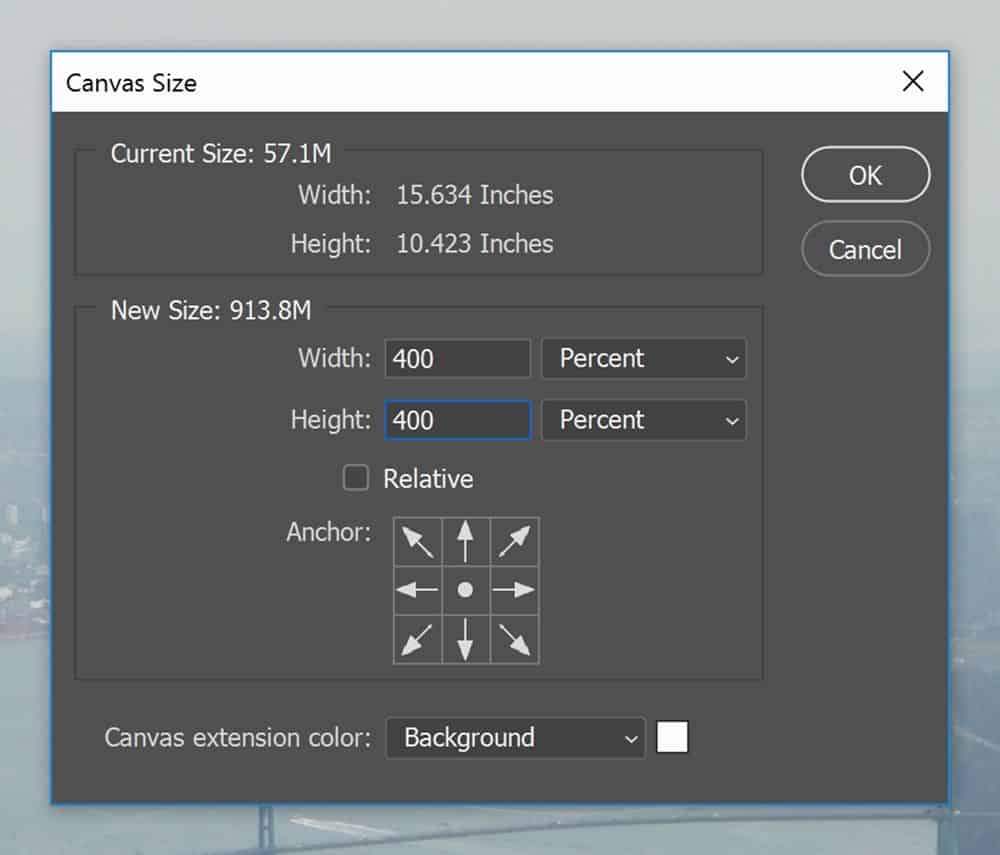
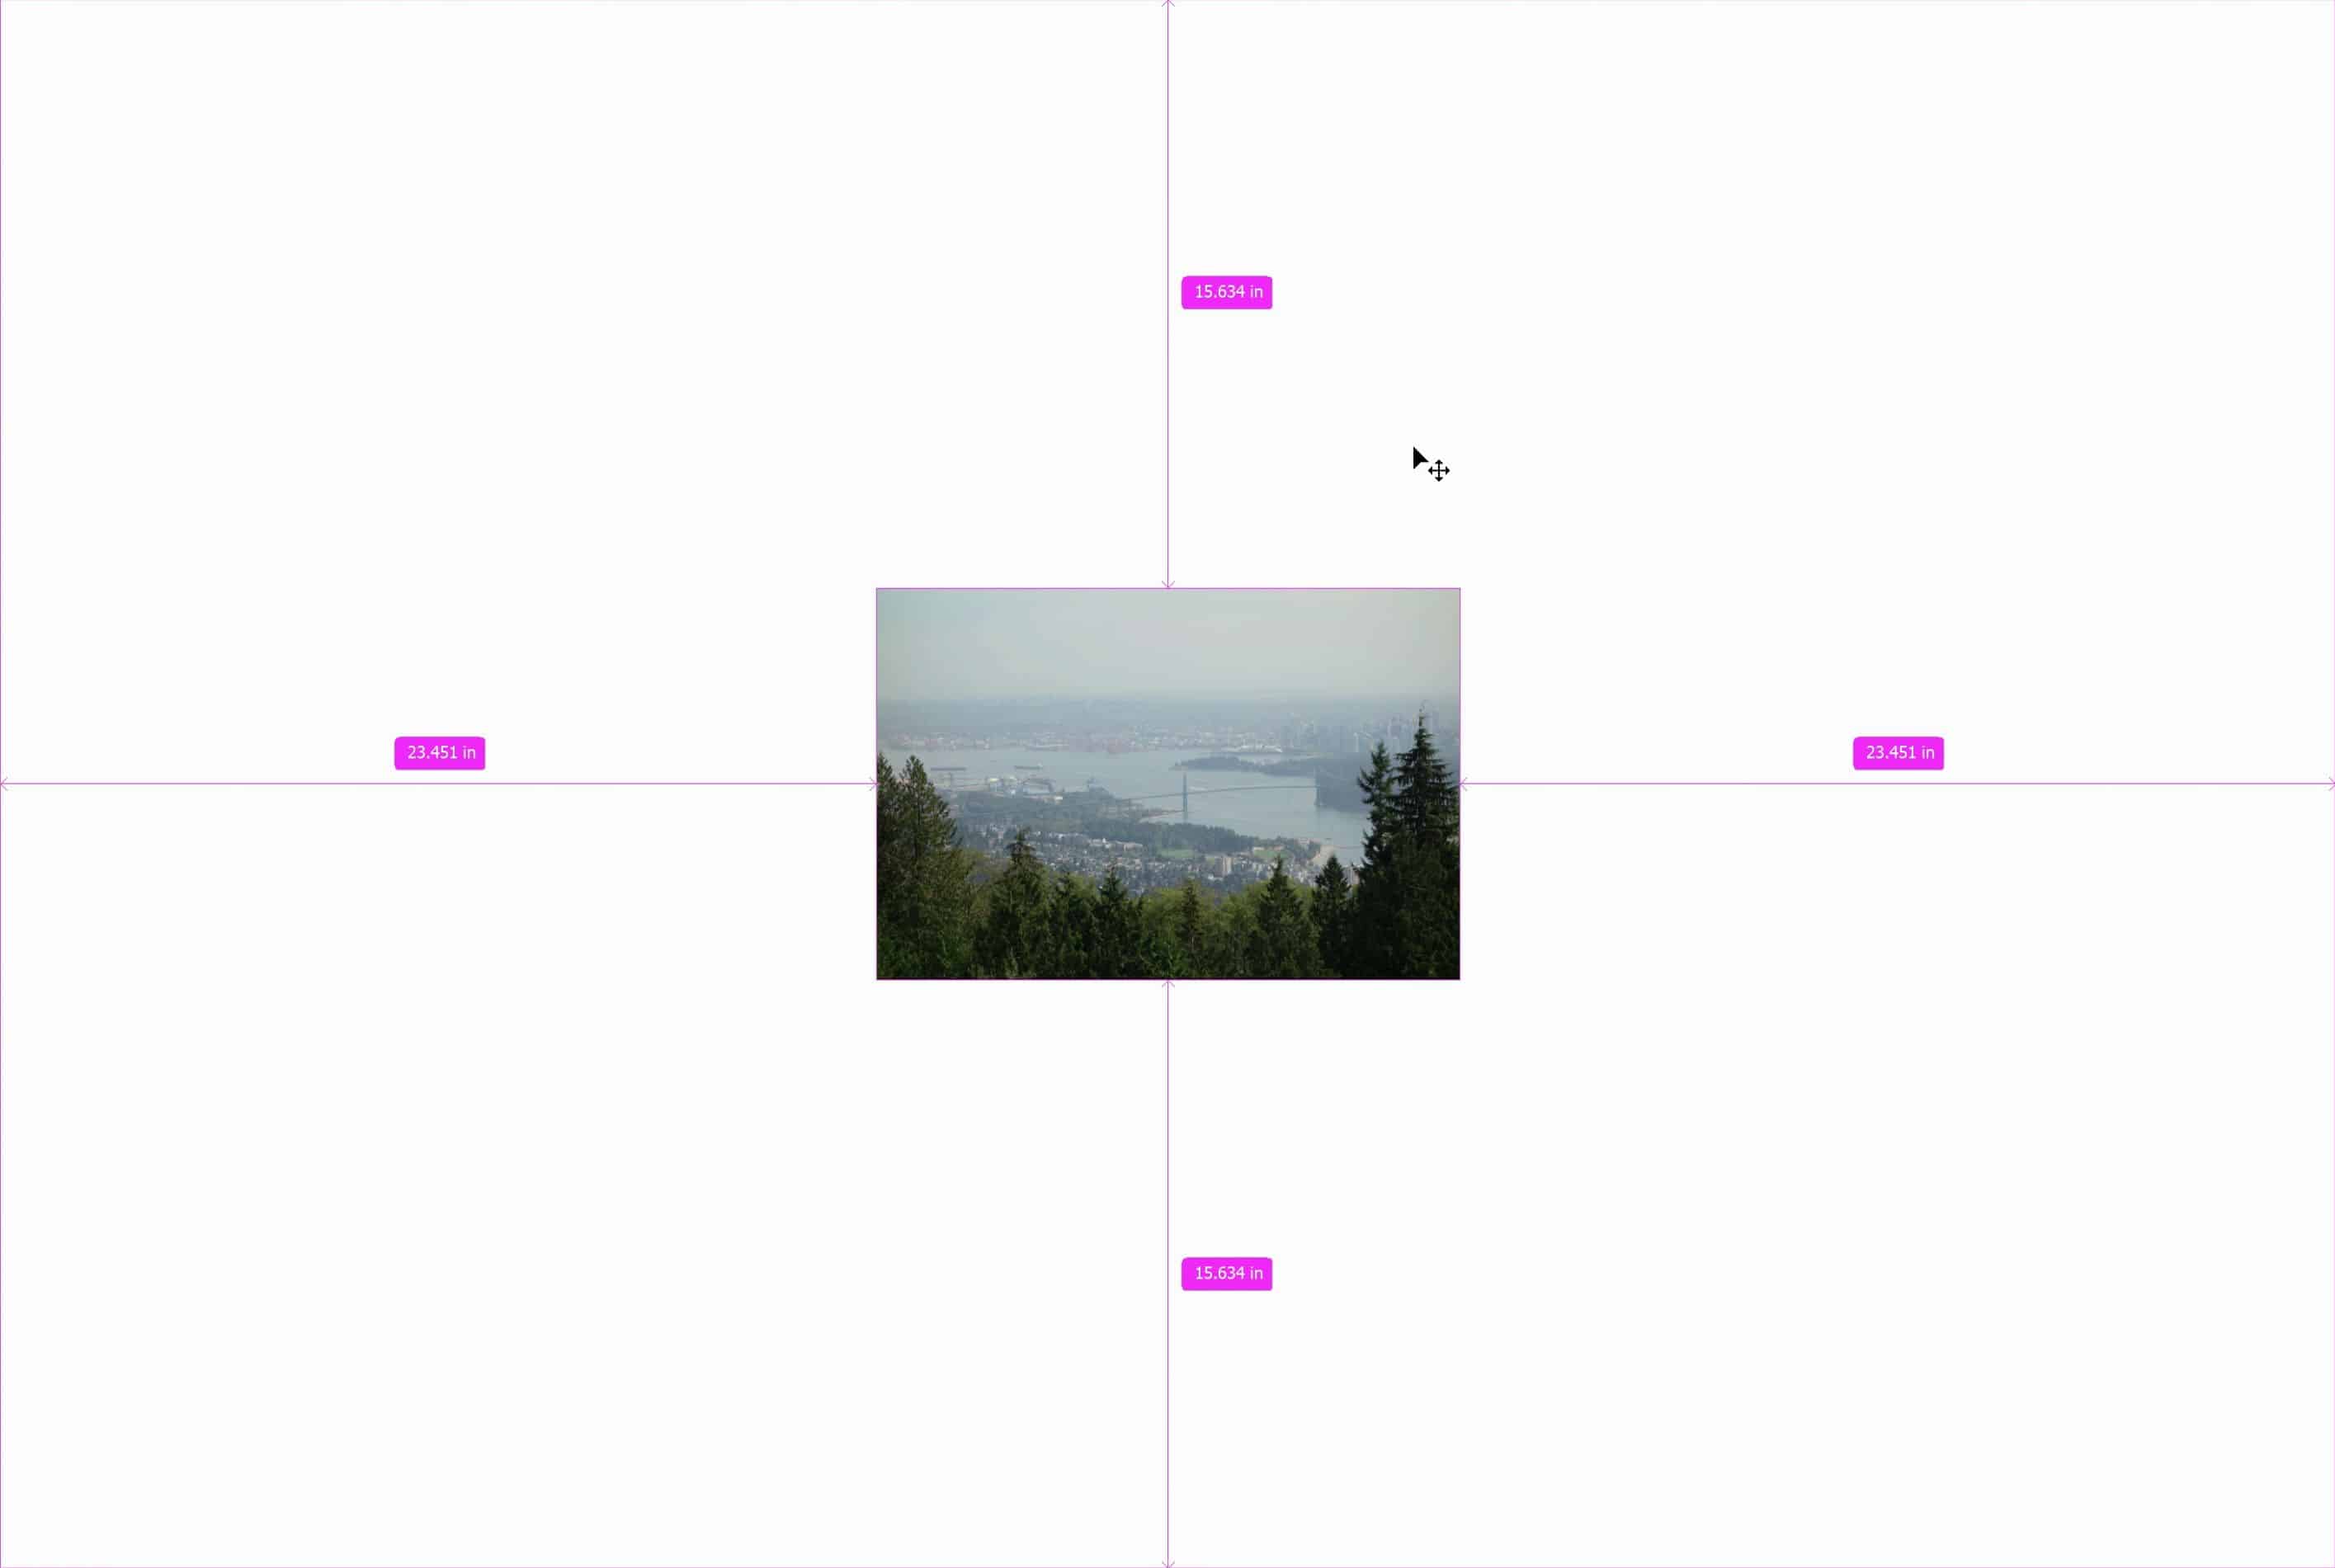
Here’s how to perform the trick. Start by pressing Ctrl/Cmd+J to duplicate the layer. Before we apply the Dehaze filter, go to Image > Canvas Size. Set the width and height to 200% or larger. I usually like to start off with 400%. The larger your document size is, the less halos you’ll see.
Now that our document size is larger, we can use the Dehaze tool. You can find this by going to Filter > Camera Raw Filter. If you get an error saying that your document is too large for the Camera Raw Filter, then undo, go back to the Canvas Size tool, and use a lower size setting. The Camera Raw Filter can only process files up to around 500 megapixels.
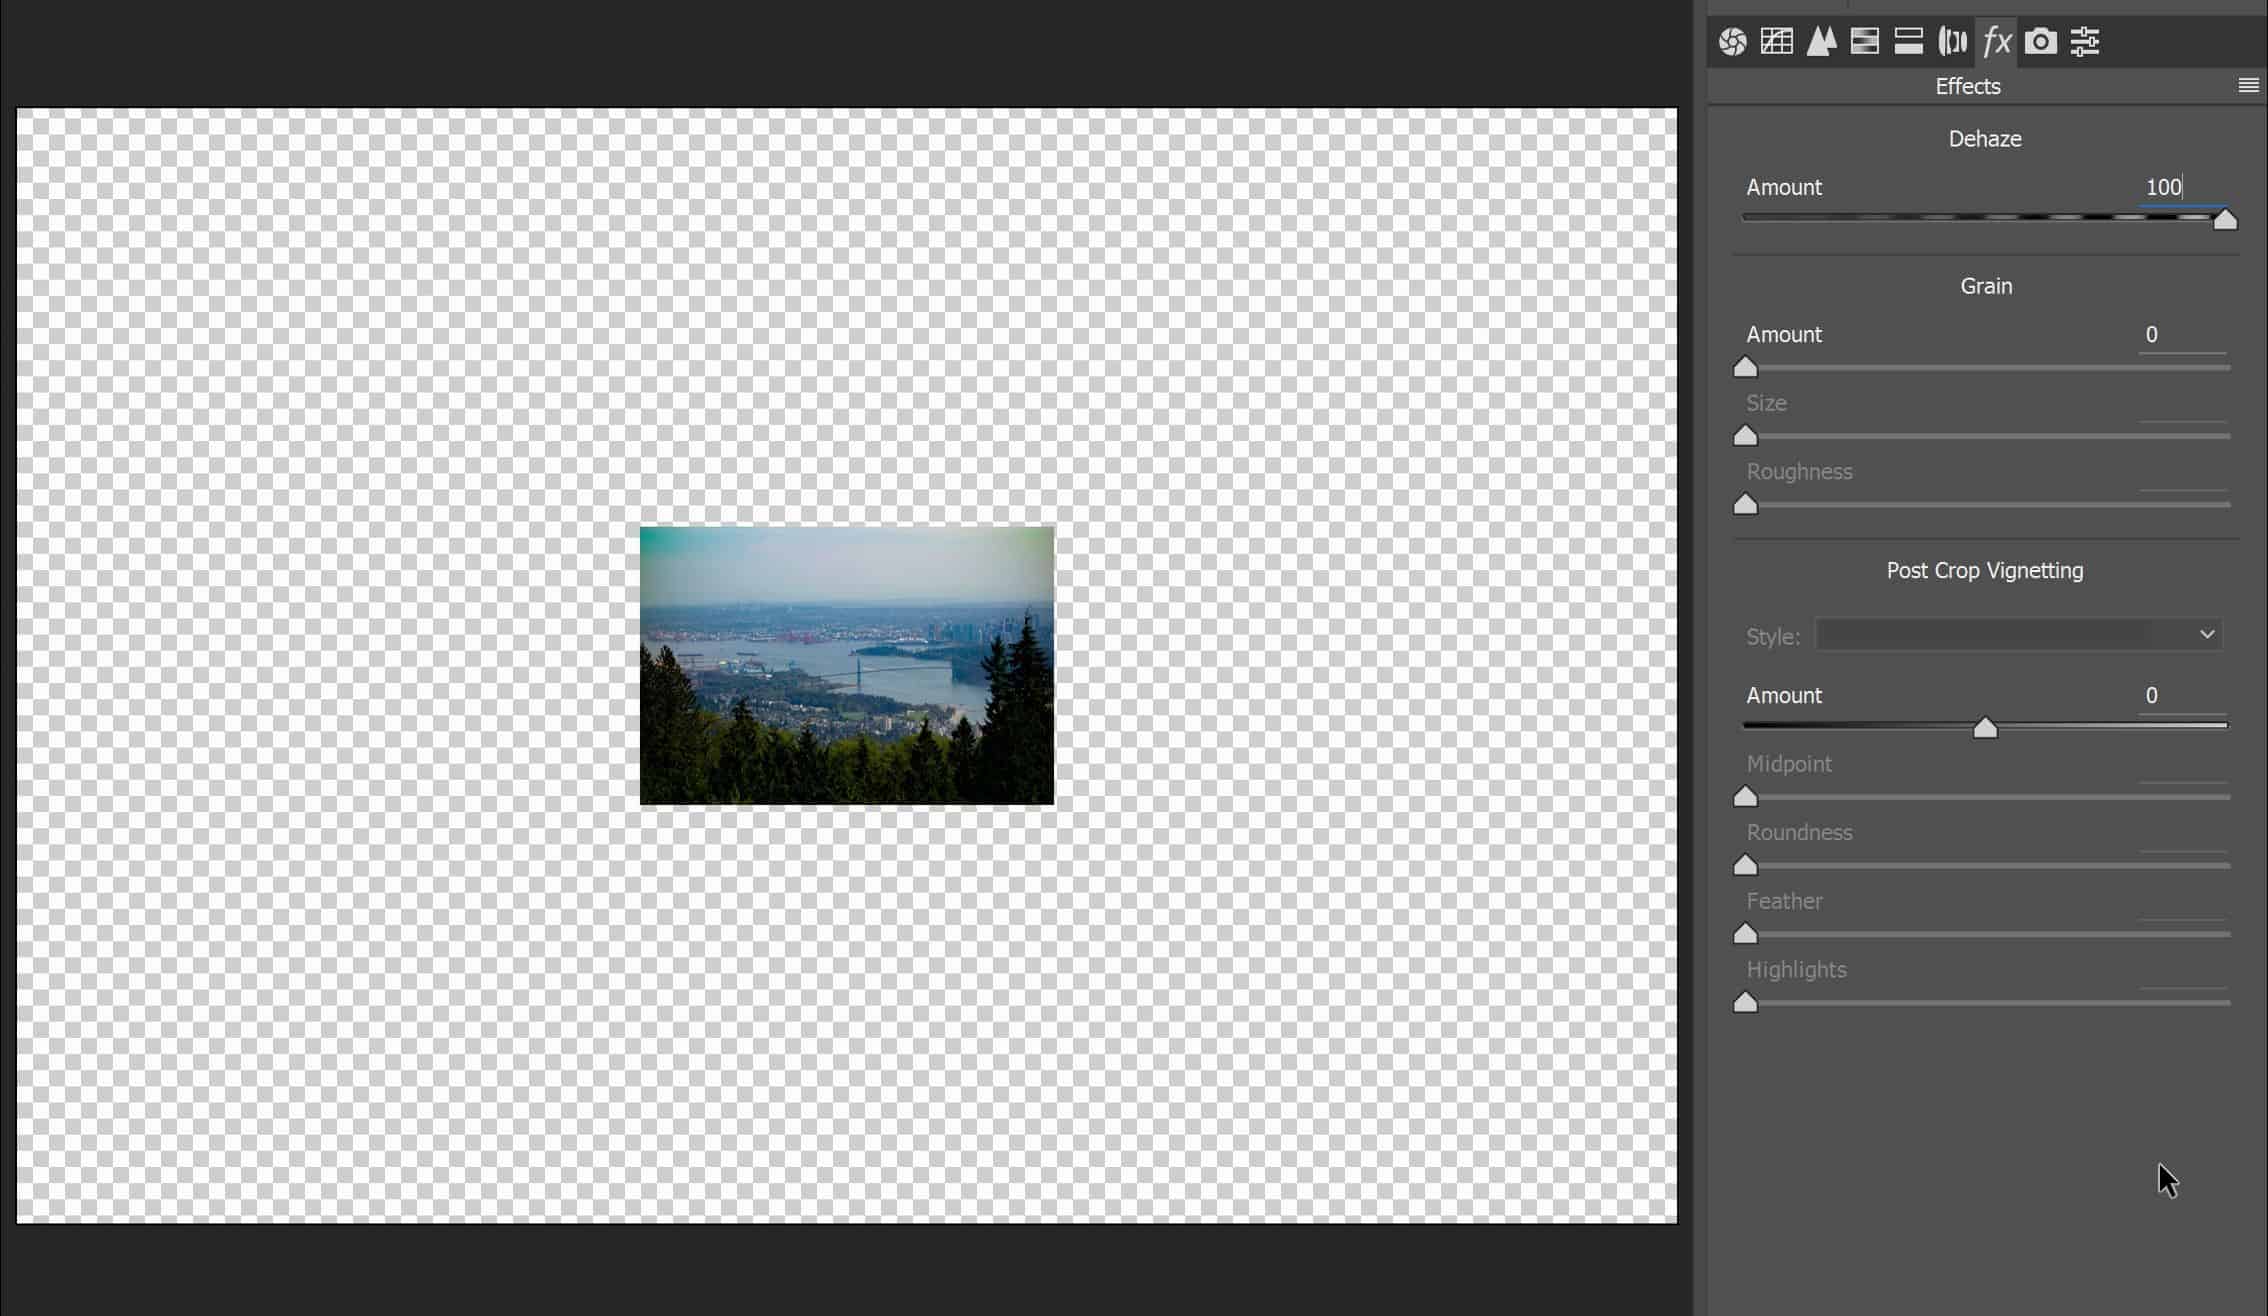
In the Camera Raw Filter, go to the Effects tab then adjust the Dehaze setting. I’ll set mine to the strongest setting so that you can see the results easier. Click OK to apply the settings. Keep in mind that your document size is huge, it’s several times larger than the original size so it might take awhile to process.
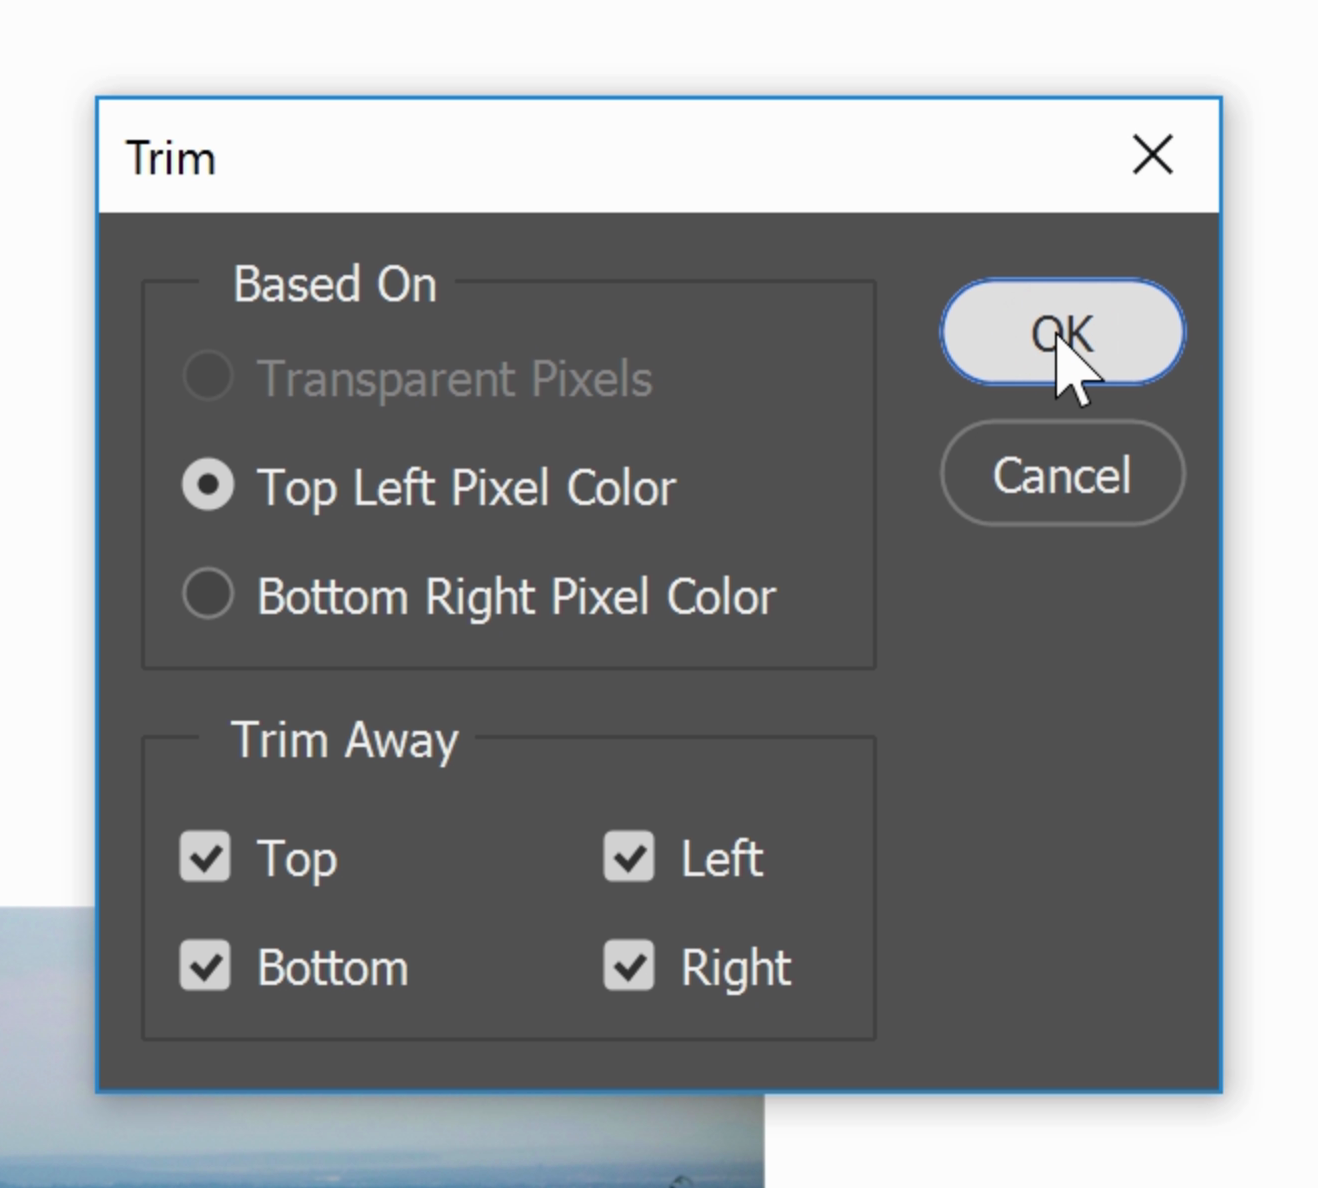
Once it’s done, you can crop it back down to the proper size. A quick way to do this is to go to Image > Trim. The default settings are fine so just click OK and it’ll automatically trim your document back to the proper size.
Final Results
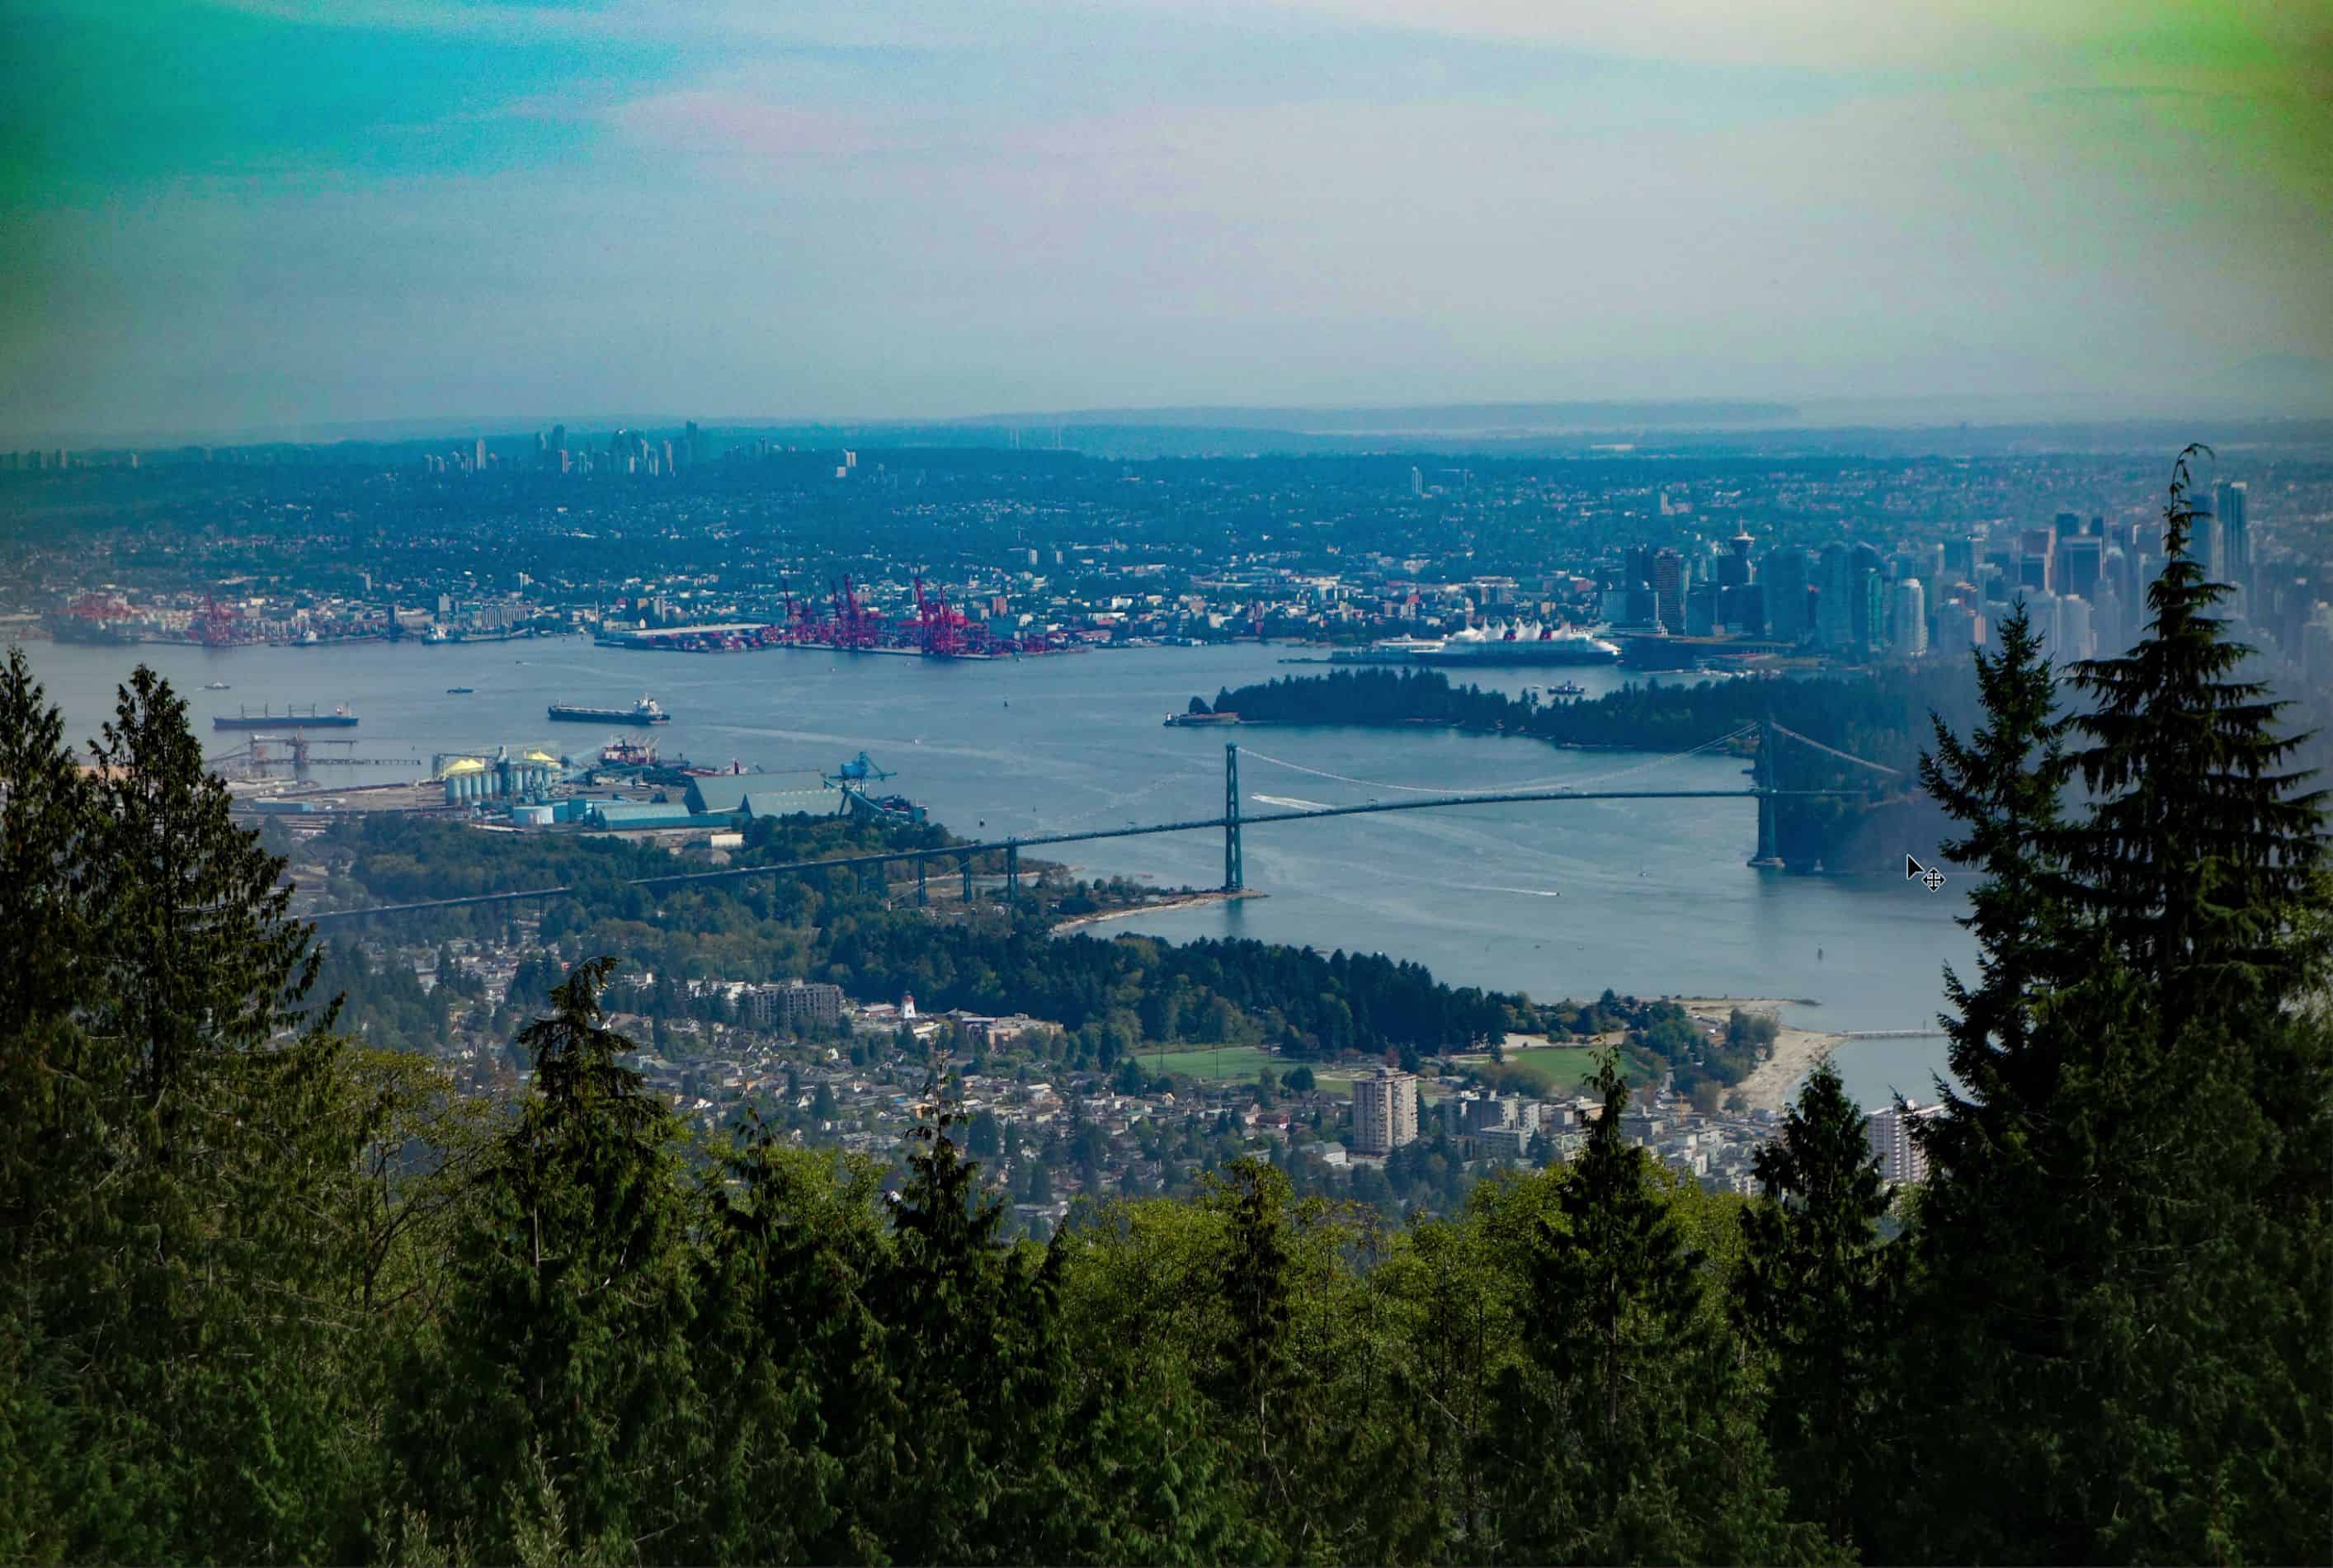
Congratulations. You just learned how to trick Photoshop to get better results out of the Dehaze adjustment. As you can see, the results look so much better eventhough we’re maxing out the setting. There’s not really any noticeable halos and there’s less color artifacts. So whenever you or someone you know can’t get good results out of the Dehaze tool, try using this trick instead.