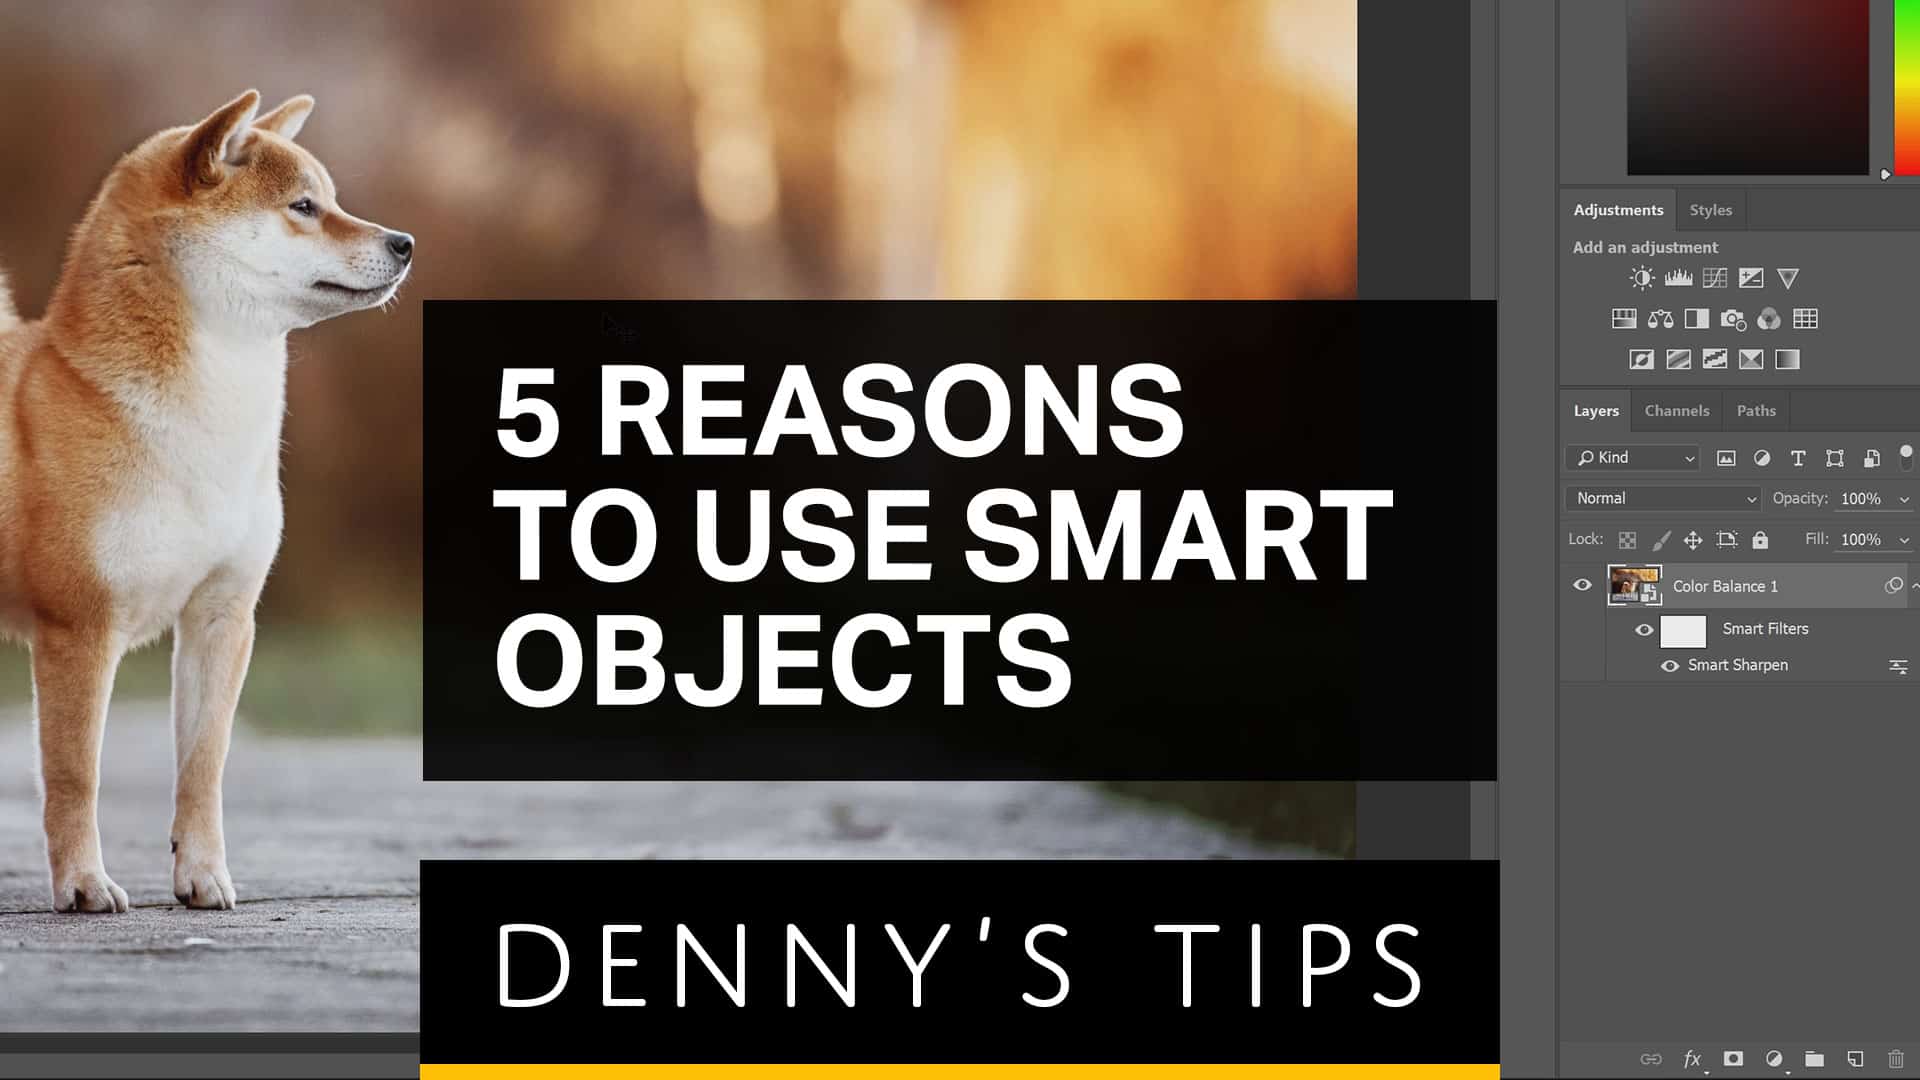
Learn what Photoshop’s Smart Objects are and why you should use them. In simple terms, Smart Objects are the evolution of a layer. Unlike a normal dumb layer, you can resize Smart Objects up and down as many times as you like and they won’t lose any image quality. Smart Objects can have layers inside of them – so they’re essentially a Photoshop document inside your Photoshop document. You also can apply filters to Smart Objects and they’ll will turn to Smart Filters which lets you go back and edit the settings at any time. There’s a lot of benefits to using Smart Objects and if you’re not using it, well you’re definitely not getting your money’s worth. So if you want to make the most out of Photoshop, then keep watching and you’ll learn 5 ways to improve your workflow with Smart Objects.
1. It’s Better than Merging Layers
Let’s say you have a lot of layers that you want to merge into a single layer… so that you can apply some sharpening to it. Most people know why you shouldn’t merge your layers together because once they’re merged, you can’t access those individual layers anymore. So what they do instead is they create a merged copy of the layer by pressing Ctrl+Shift+Alt+E (Cmd+Shift+Option+E on Macs). And by doing this, they get to keep all of their original layers and they have a new layer that’s essentially a merged copy of all the layers. Now they can apply, for example, a Smart Sharpen filter to this layer.

Well… that technically is nondestructive editing. But it’s not futureproof nondestructive editing. If you need to make changes to the layers, you have to do delete the merged layer and do everything again. A better way is to merge the layers into a Smart Object. Here’s how to do it. Select all of the layers that you want to merge. Right-click on the layers then choose “Convert to Smart Object”.
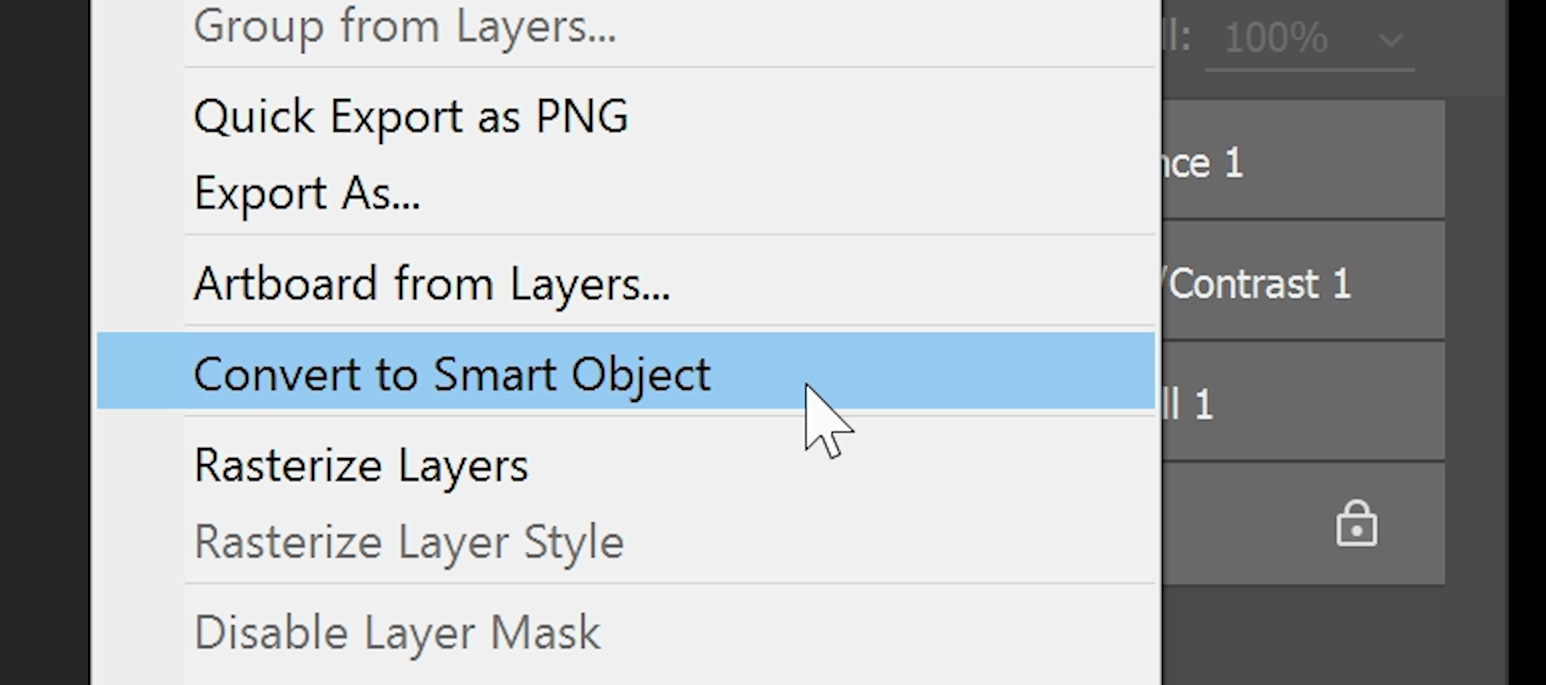
Now you can apply the Smart Sharpen filter and if you need to edit any of the layers, just doubleclick on the thumbnail… and Photoshop will open the Smart Object as a new document. You can make any changes you want (including adding or deleting layers) and when you’re done just save and close the document. Your Smart Object will automatically be updated and you don’t have to redo a bunch of steps.
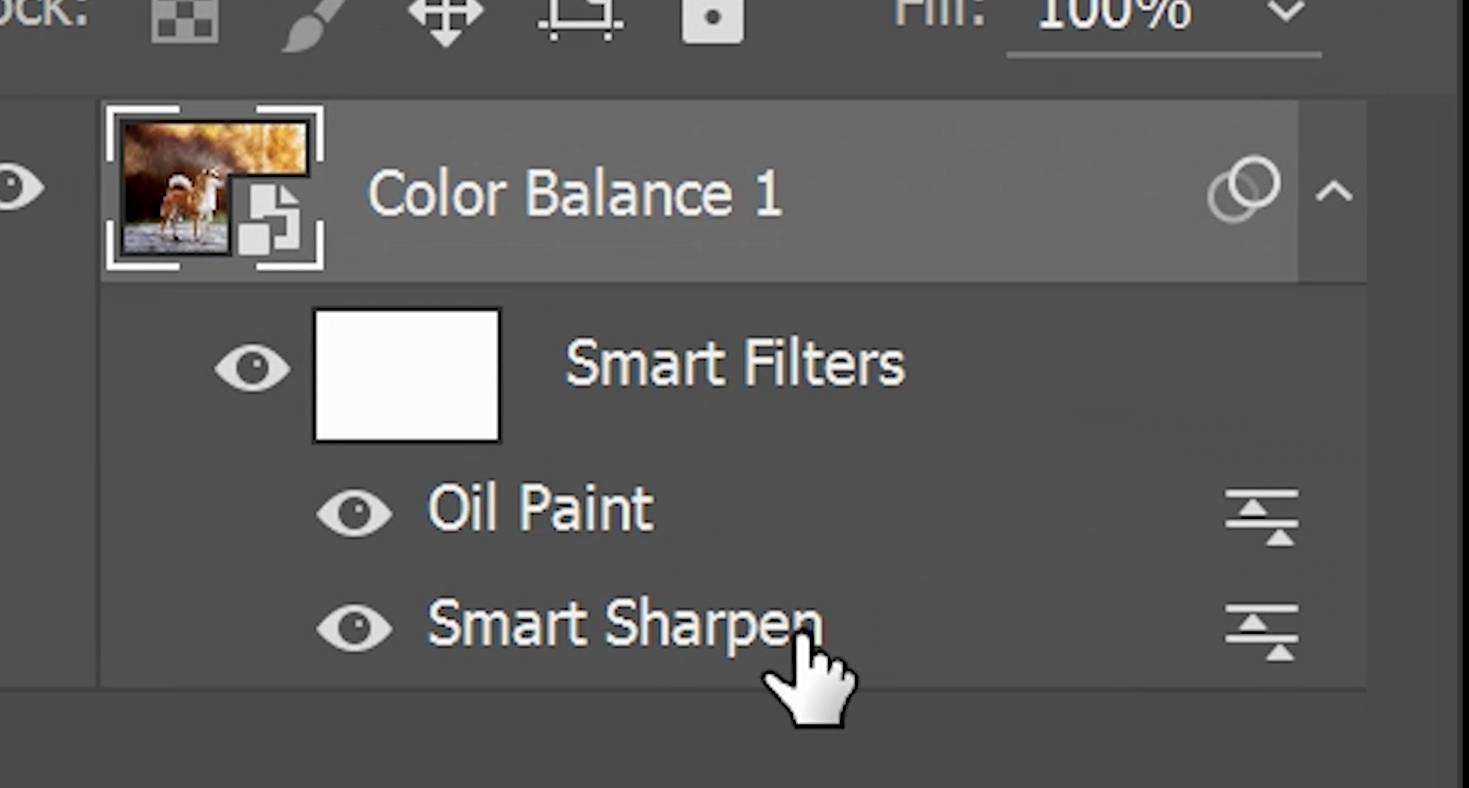
2. Fully Editable Filters
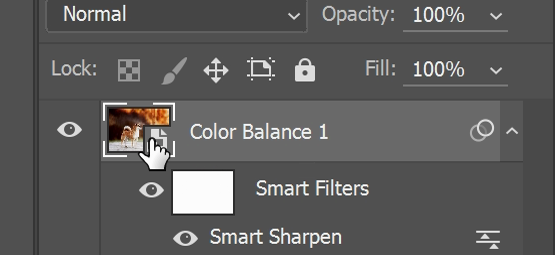
Here’s another reason why you should use Smart Objects. After applying a filter to a layer, you’ll see it listed here. This is a Smart Filter. And unlike regular dumb filters, you can doubleclick on the smart filter and change the settings at any time. It’s super convenient and also super flexible.
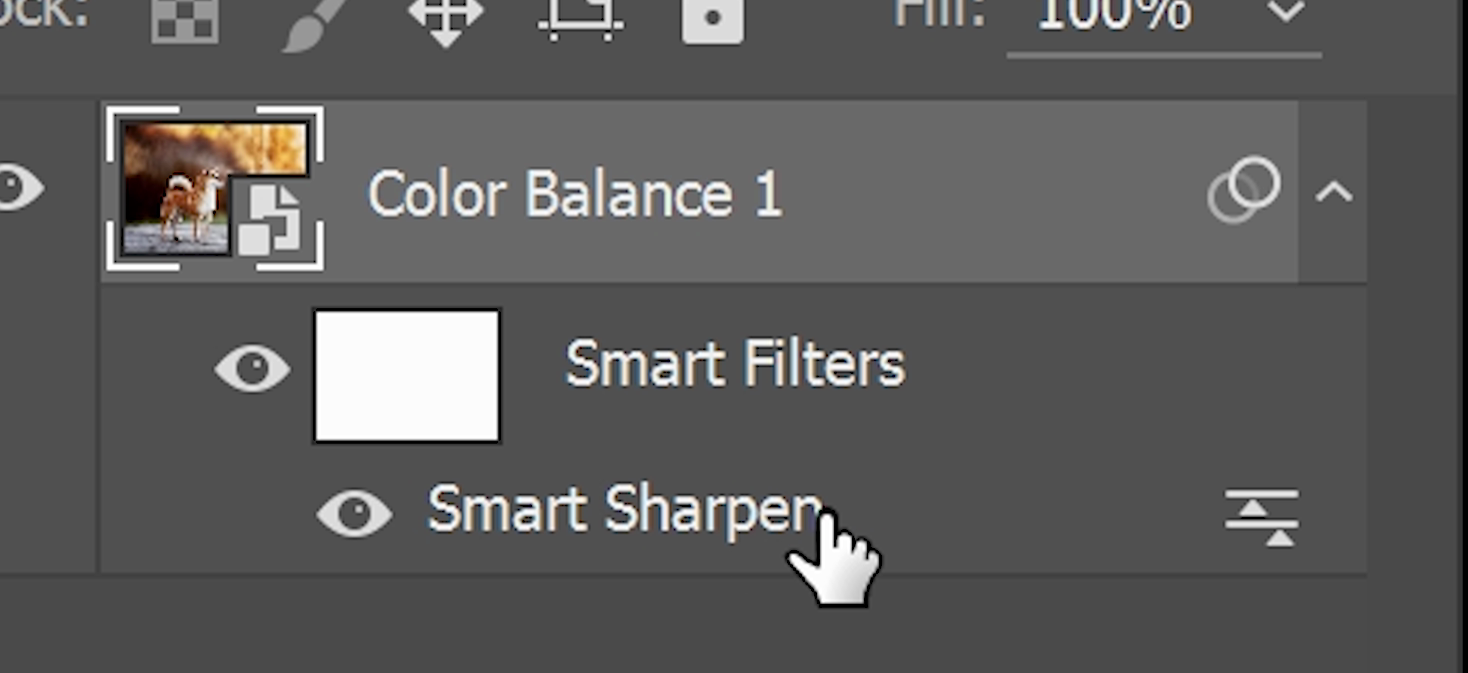
What I mean by flexible is that you can apply multiple filters like this. The filters will appear in your Layers panel as a stack of filters. You can rearrange the filters and even change the blending mode and opacity of each individual filter. Using Smart Filters with Smart Objects is an incredible way to combine multiple filters and minimize the number of layers you have in your Photoshop document.
3. Smart Objects Lets You Transform Nondestructively
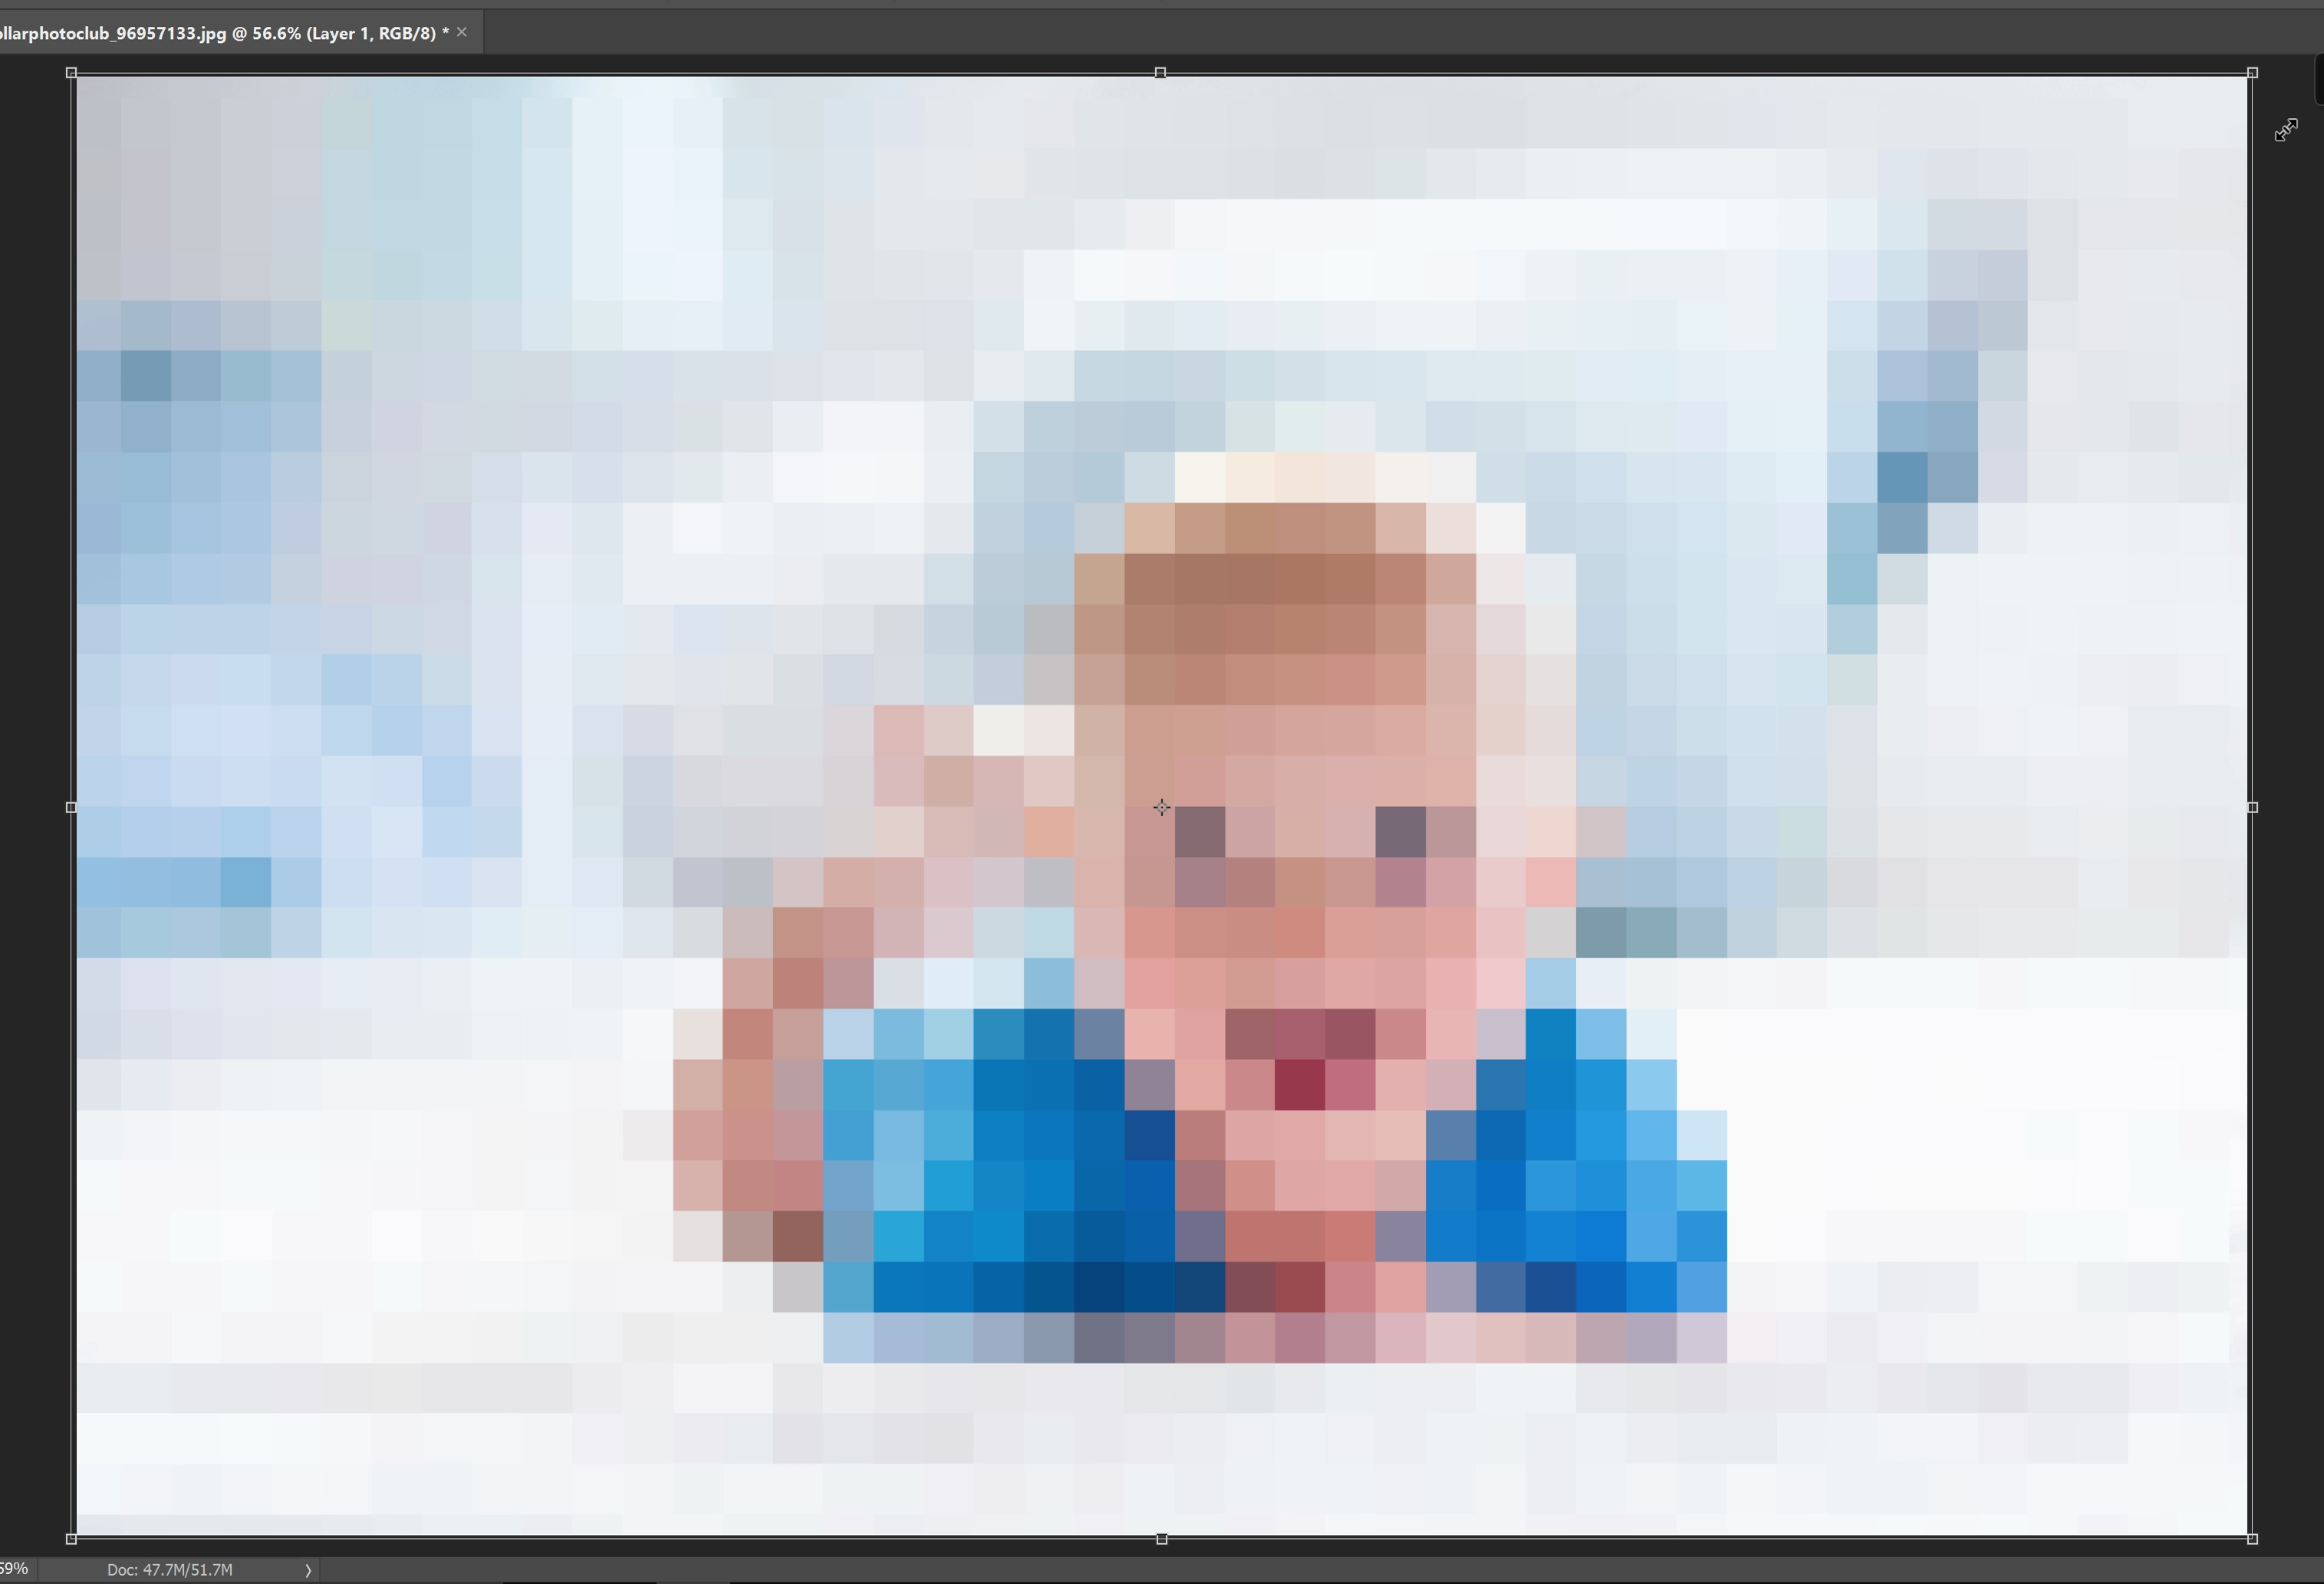
Before you make any transformation to a layer, you should always convert it to a Smart Object. If we transform a regular layer by pressing Ctrl/Cmd+T and make it smaller and then bigger, you can see that the image quality drops a lot.
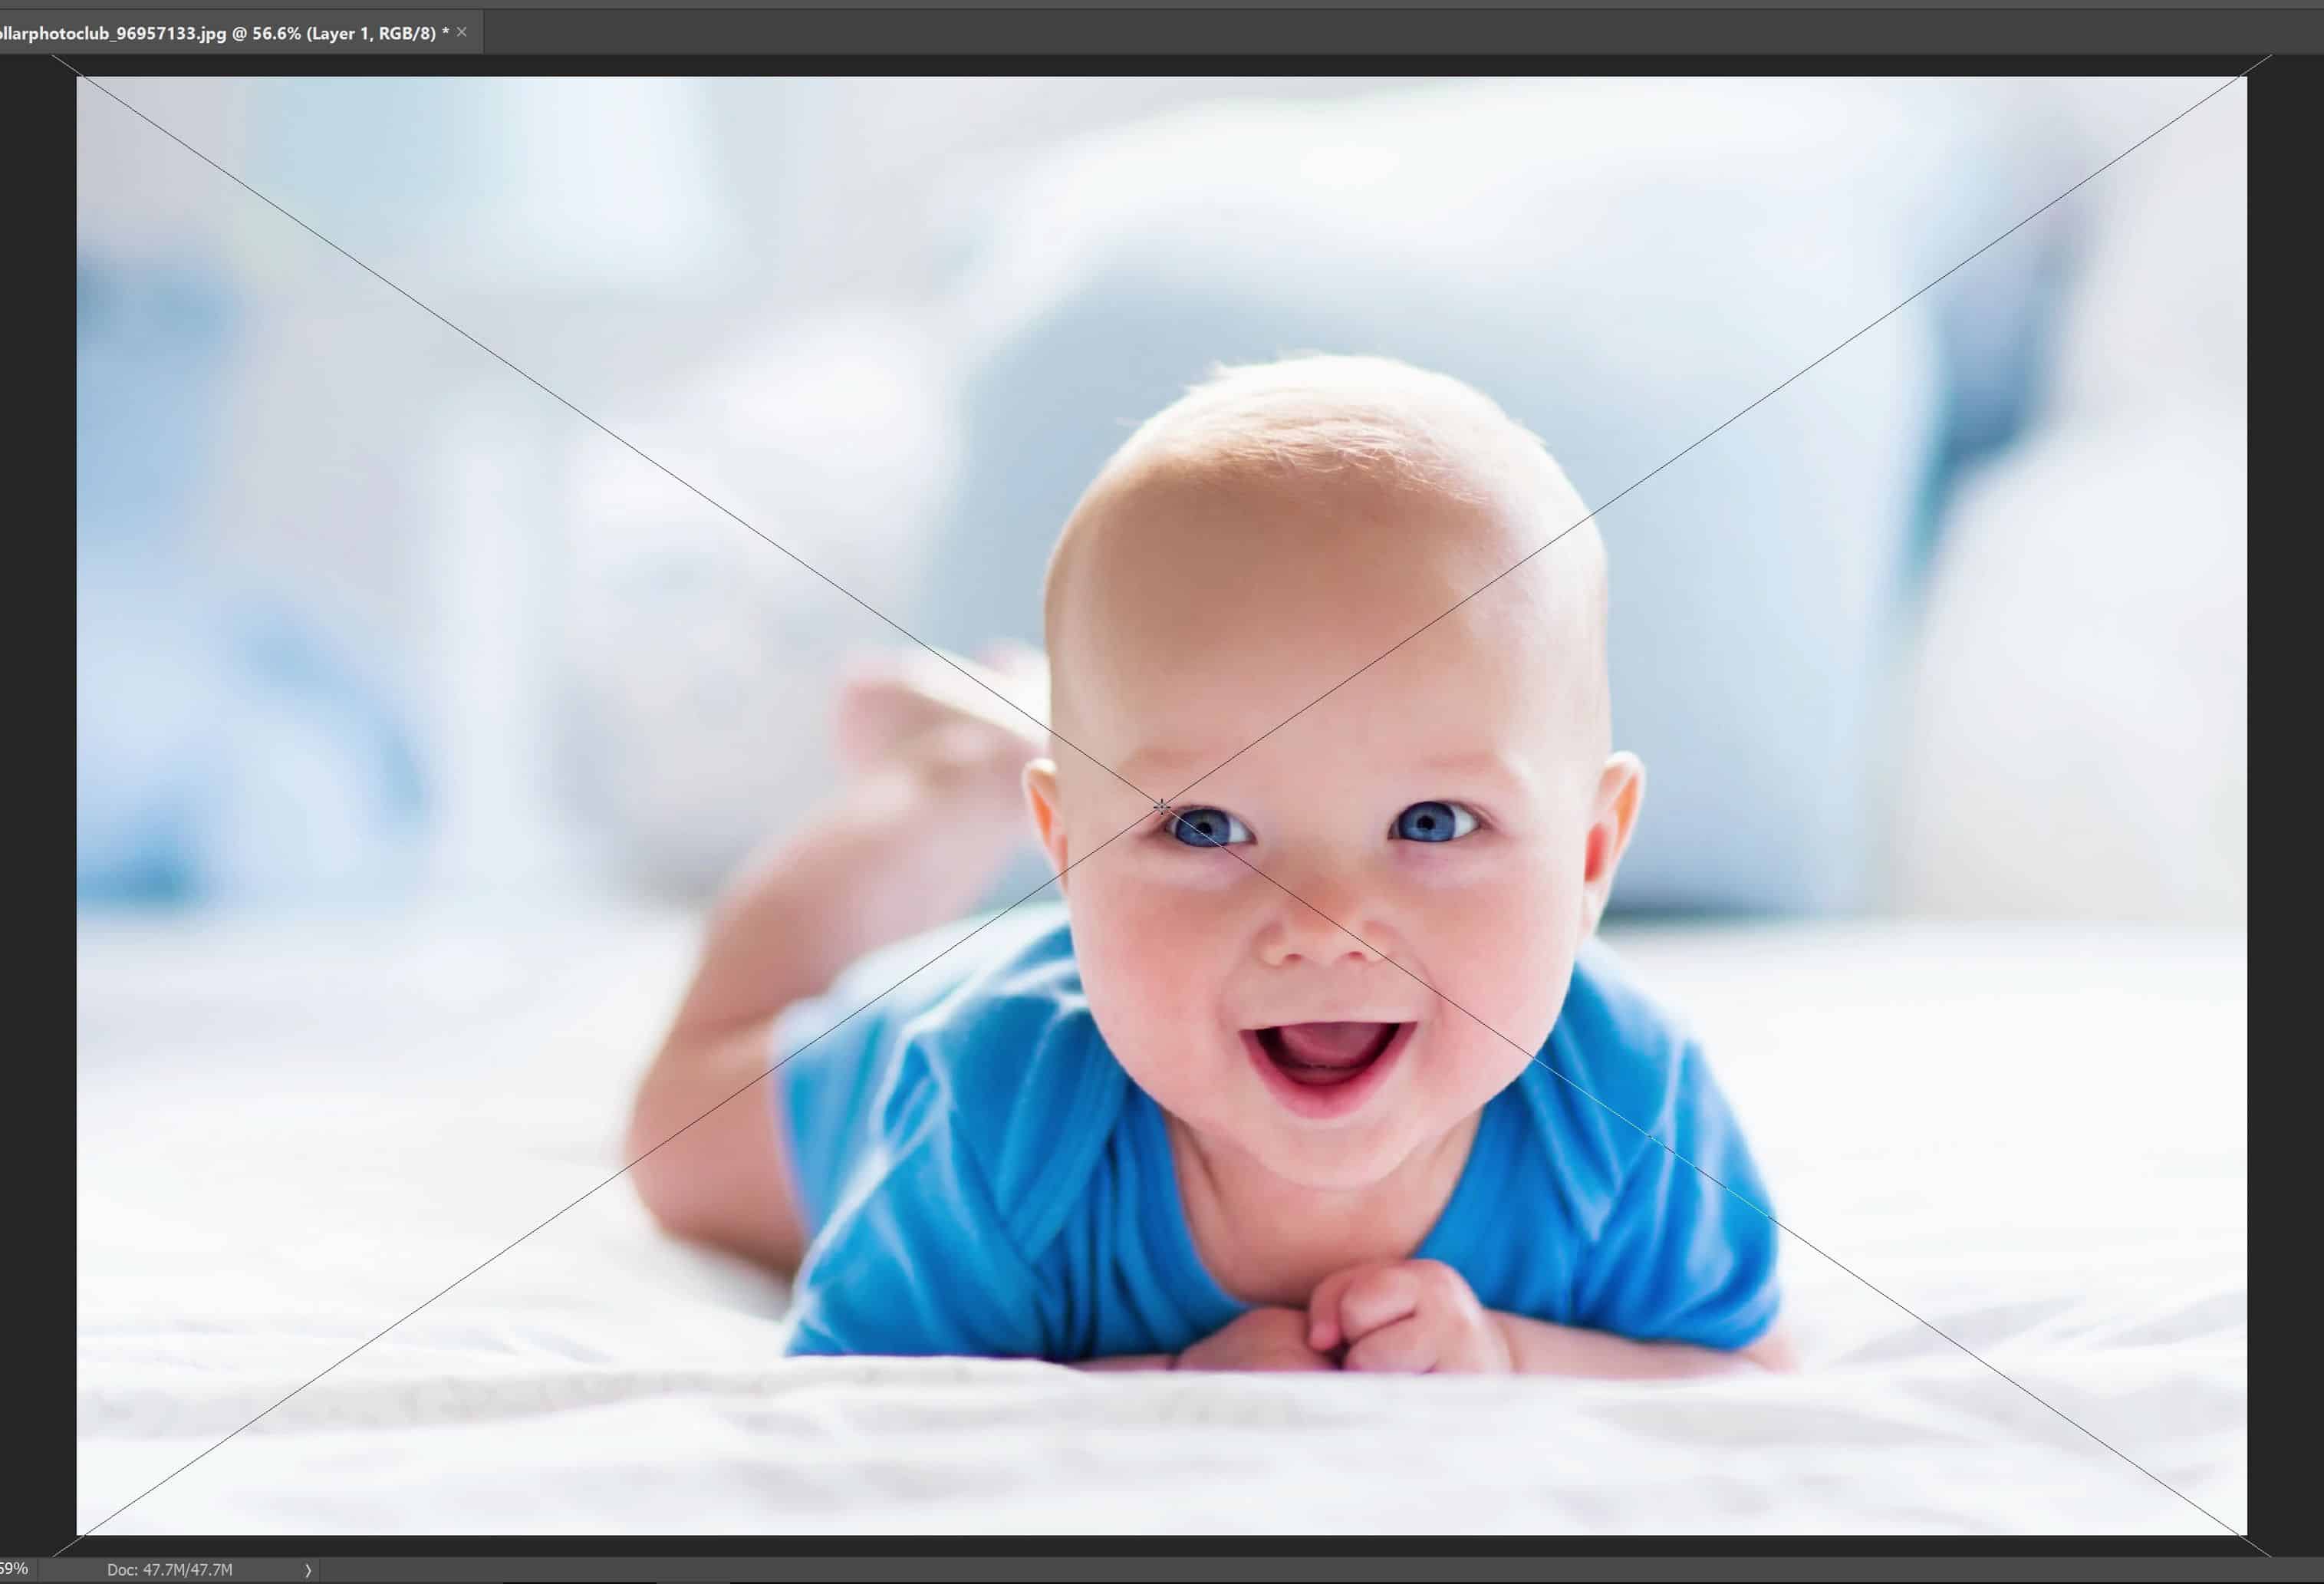
But if we convert the layer into a Smart Object first… we can make an unlimited amount of transformations and the image quality will still be the same.
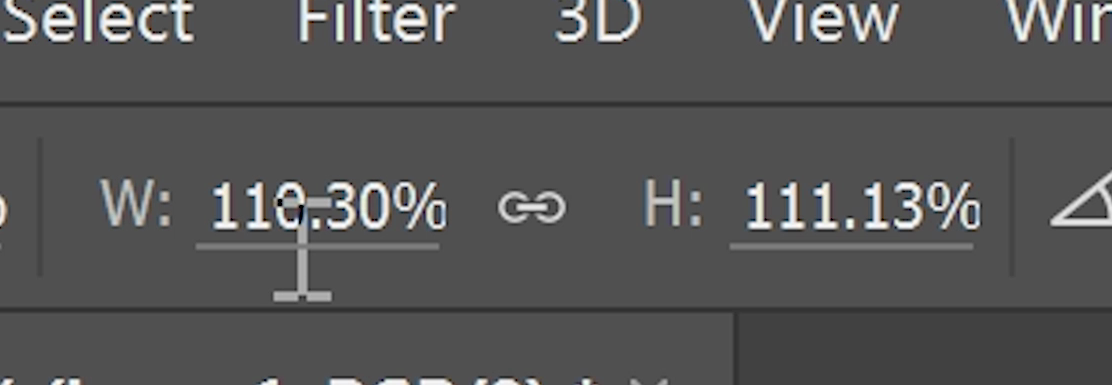
Another benefit is that it remembers your transformation settings. So let’s say you’ve made a transformation to this layer and you want to undo it and restore the original size. If we use the Transform tool tool again by pressing Ctrl/Cmd+T, you can see in the options bar that it remembers your transformation settings. And to restore the original size, simply by type in 100% for the width and height.
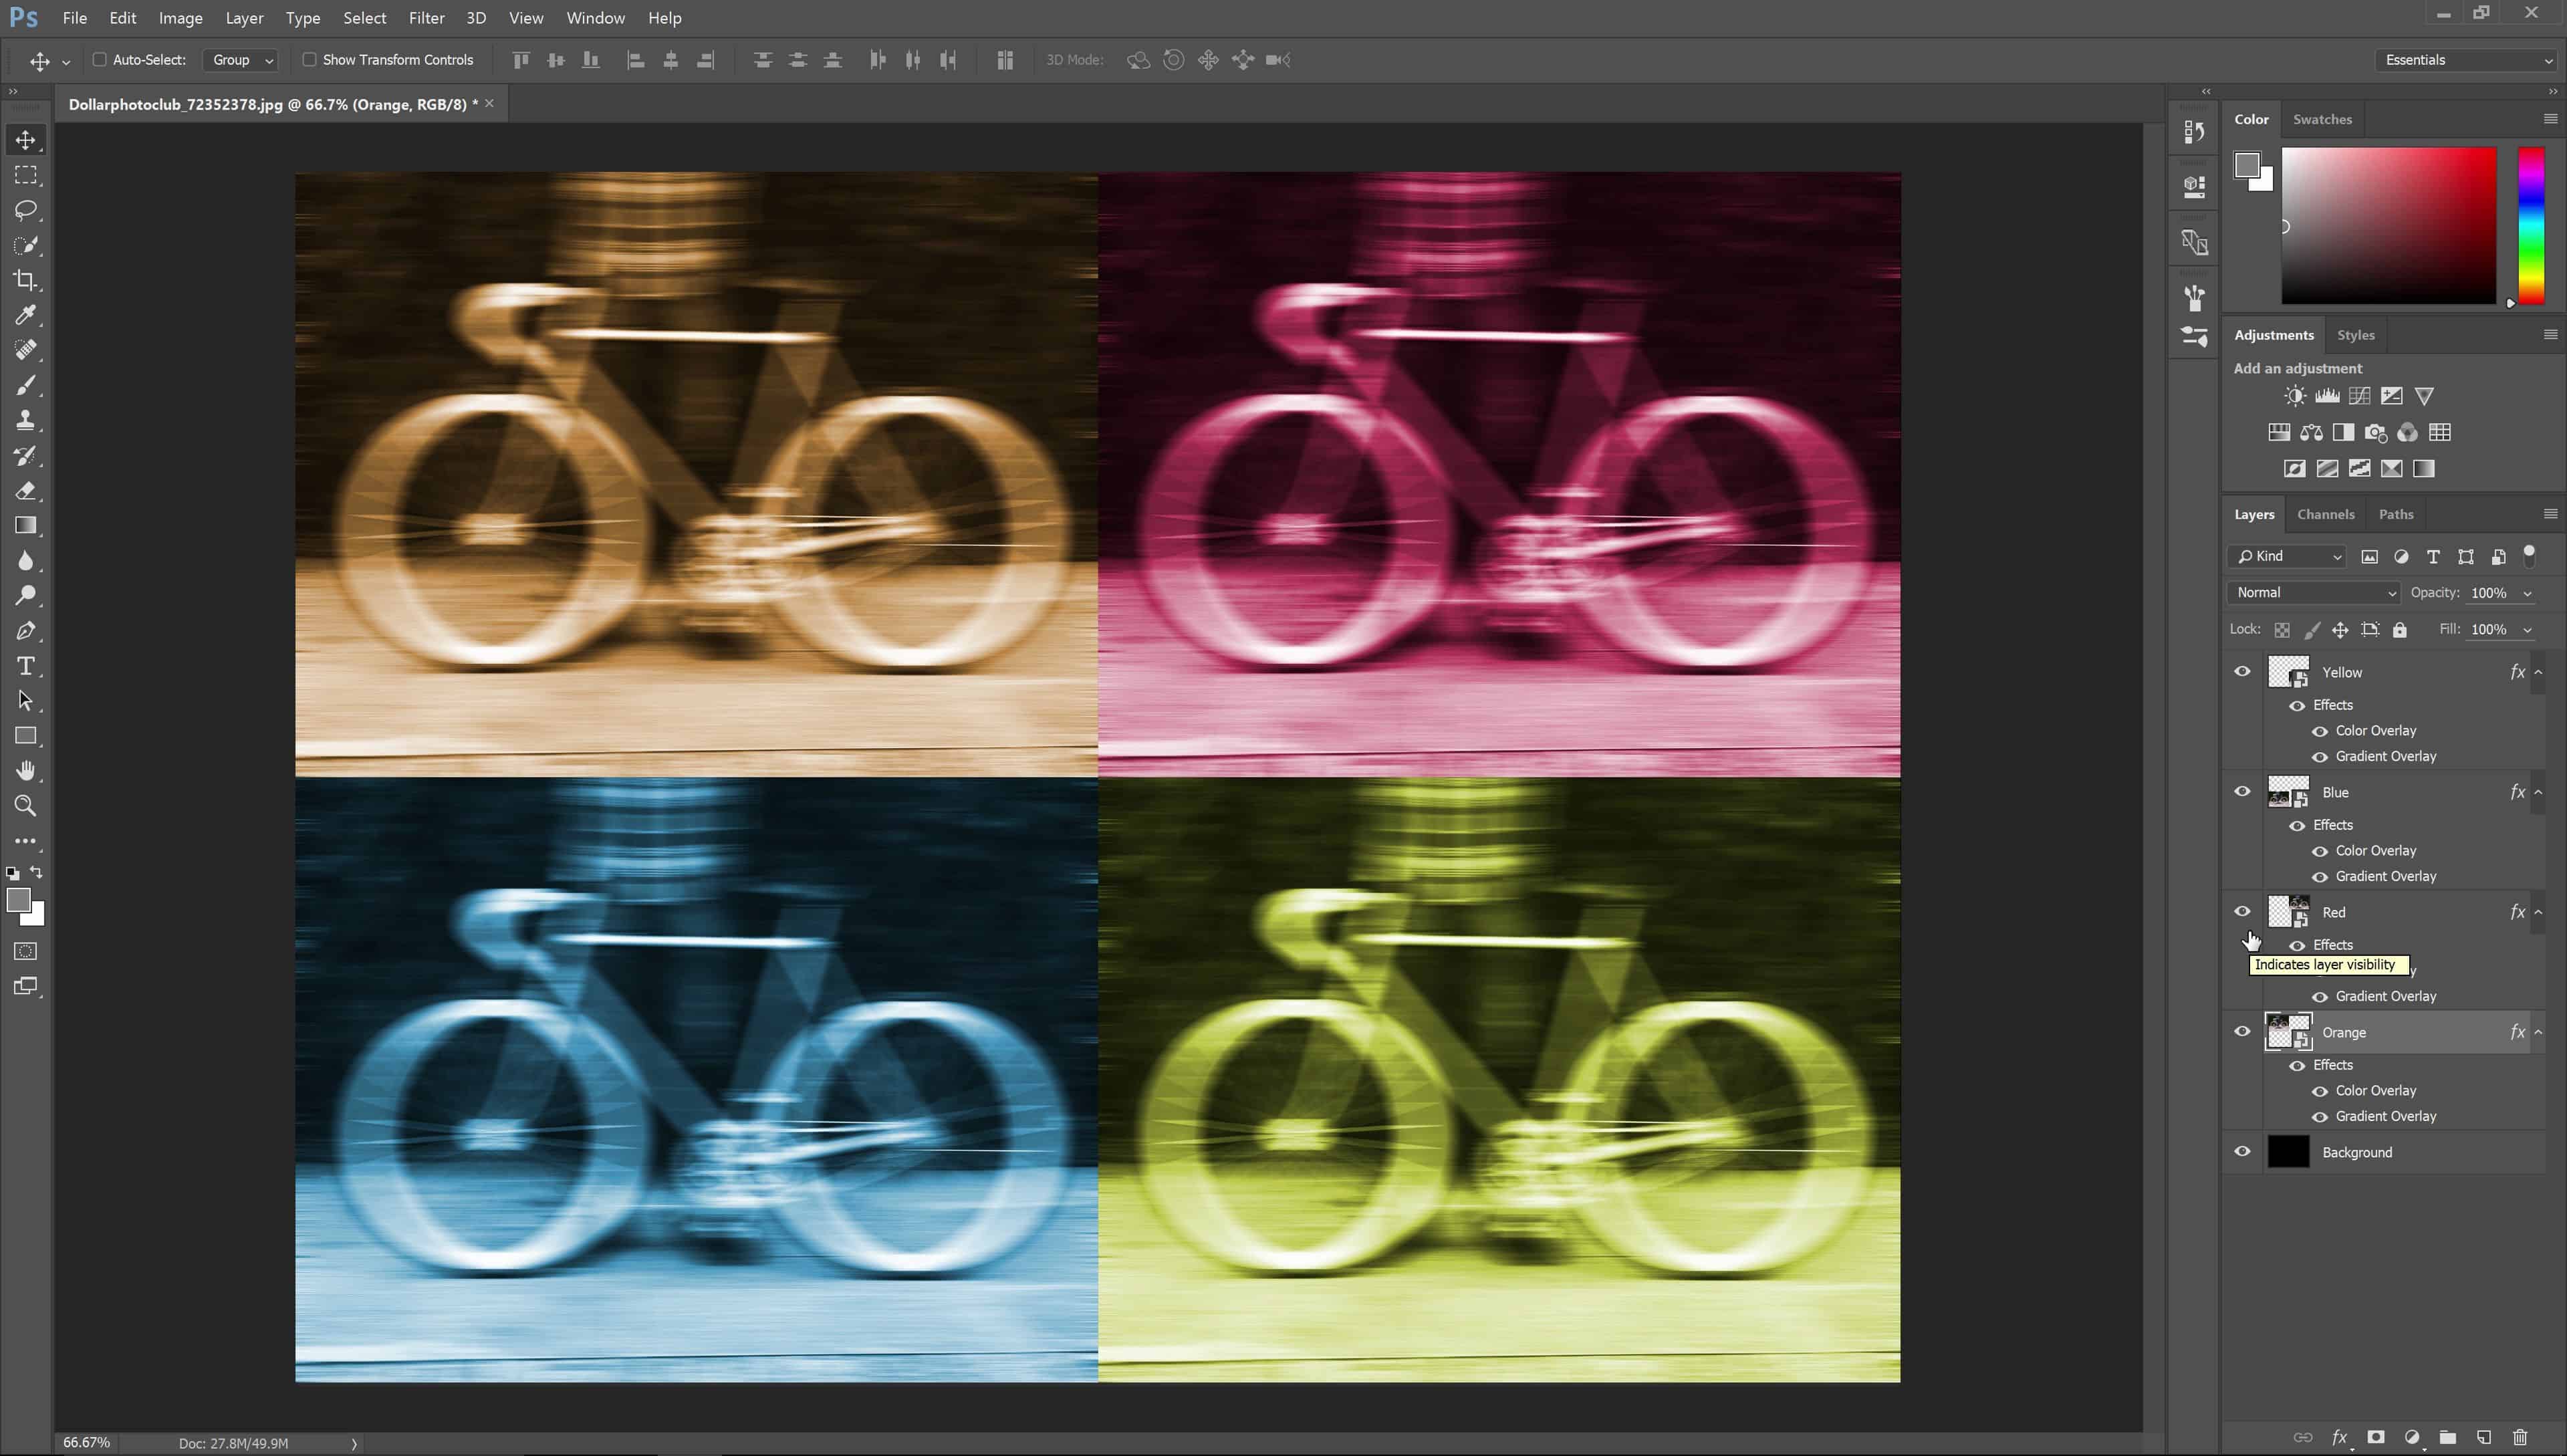
4. Smart Objects Automatically Updates Themselves
Here’s an example of a Photoshop document that utilizes multiple Smart Objects.
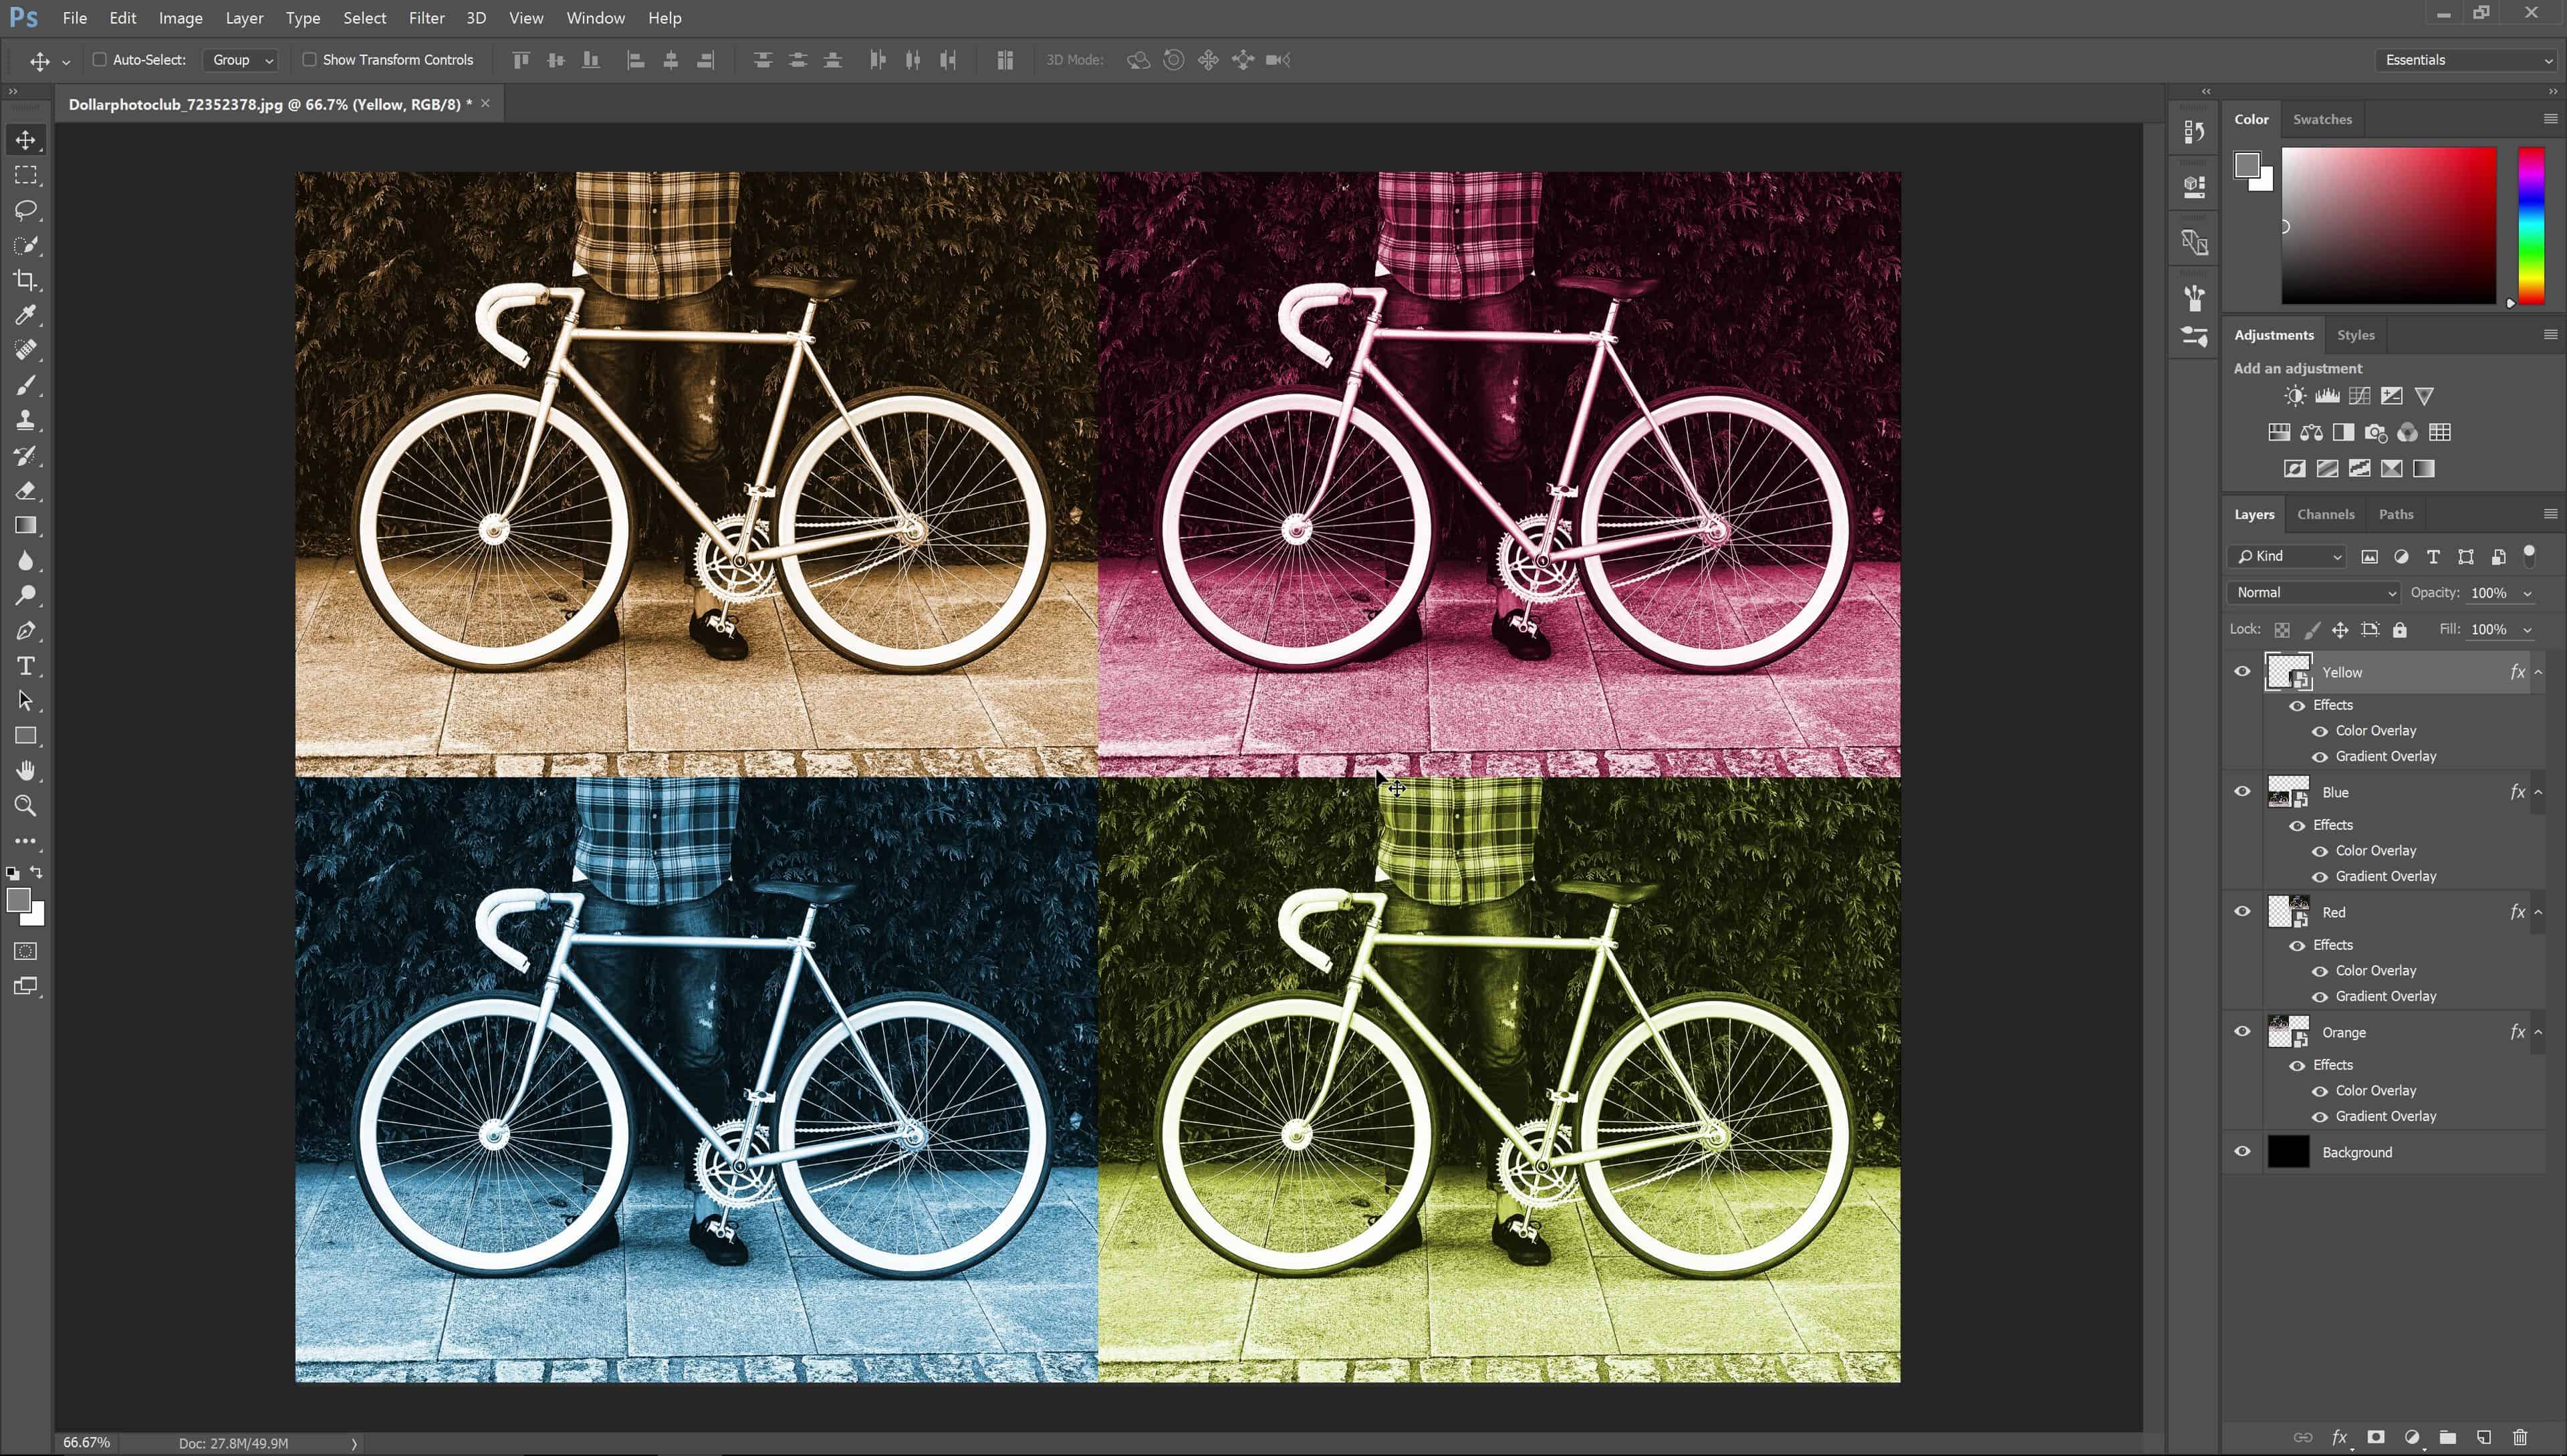
Let’s say I want to make some changes to Smart Object. Does that mean I need to do it for all of the layers? Nope. Because we used Smart Objects, we can just doubleclick on the thumbnail, make the changes we want, and when we’re done just save and close the document.
Since all of these Smart Objects are essentially the same document, the changes are automatically updated on all of the Smart Objects. Using Smart Objects like this keeps things simple and it also saves you a lot of time.
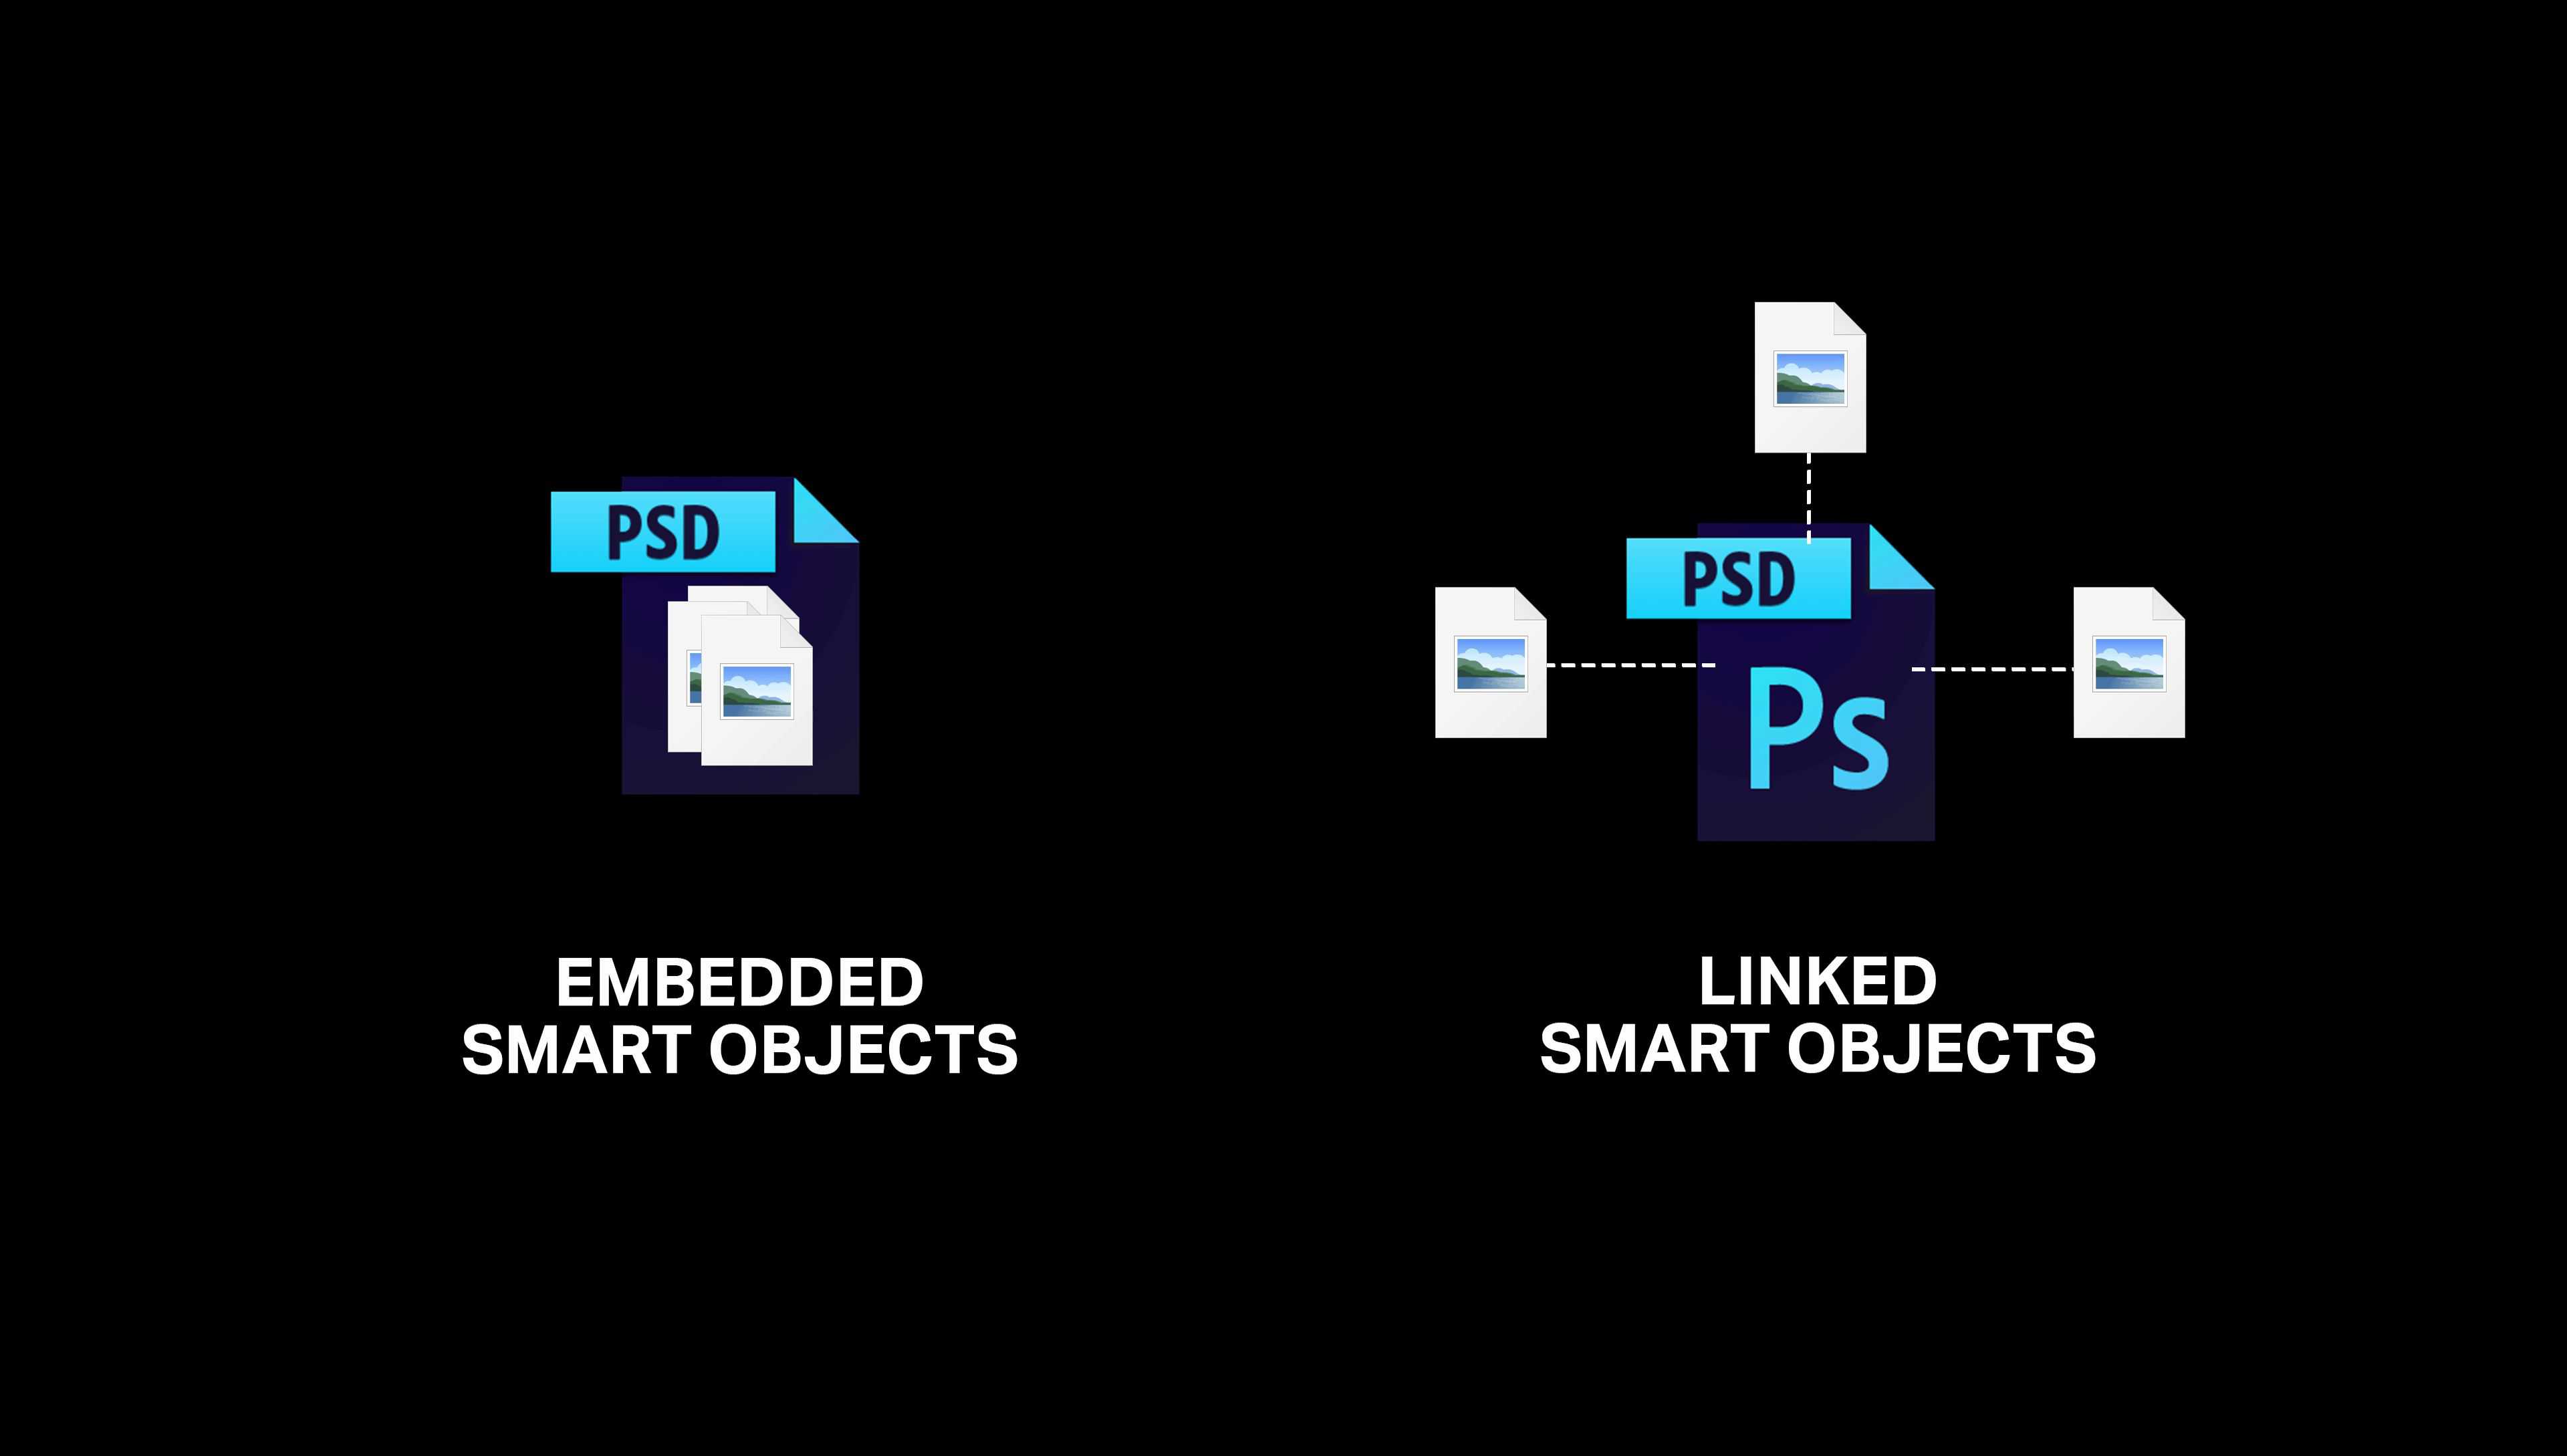
5. Linking to External Files
Here’s the final reason to use Smart Objects. There’s two types of Smart Objects:
- Embedded Smart Object: a Photoshop document inside your Photoshop document
- Linked Smart Object: the file is stored outside your Photoshop document as a separate file on your computer
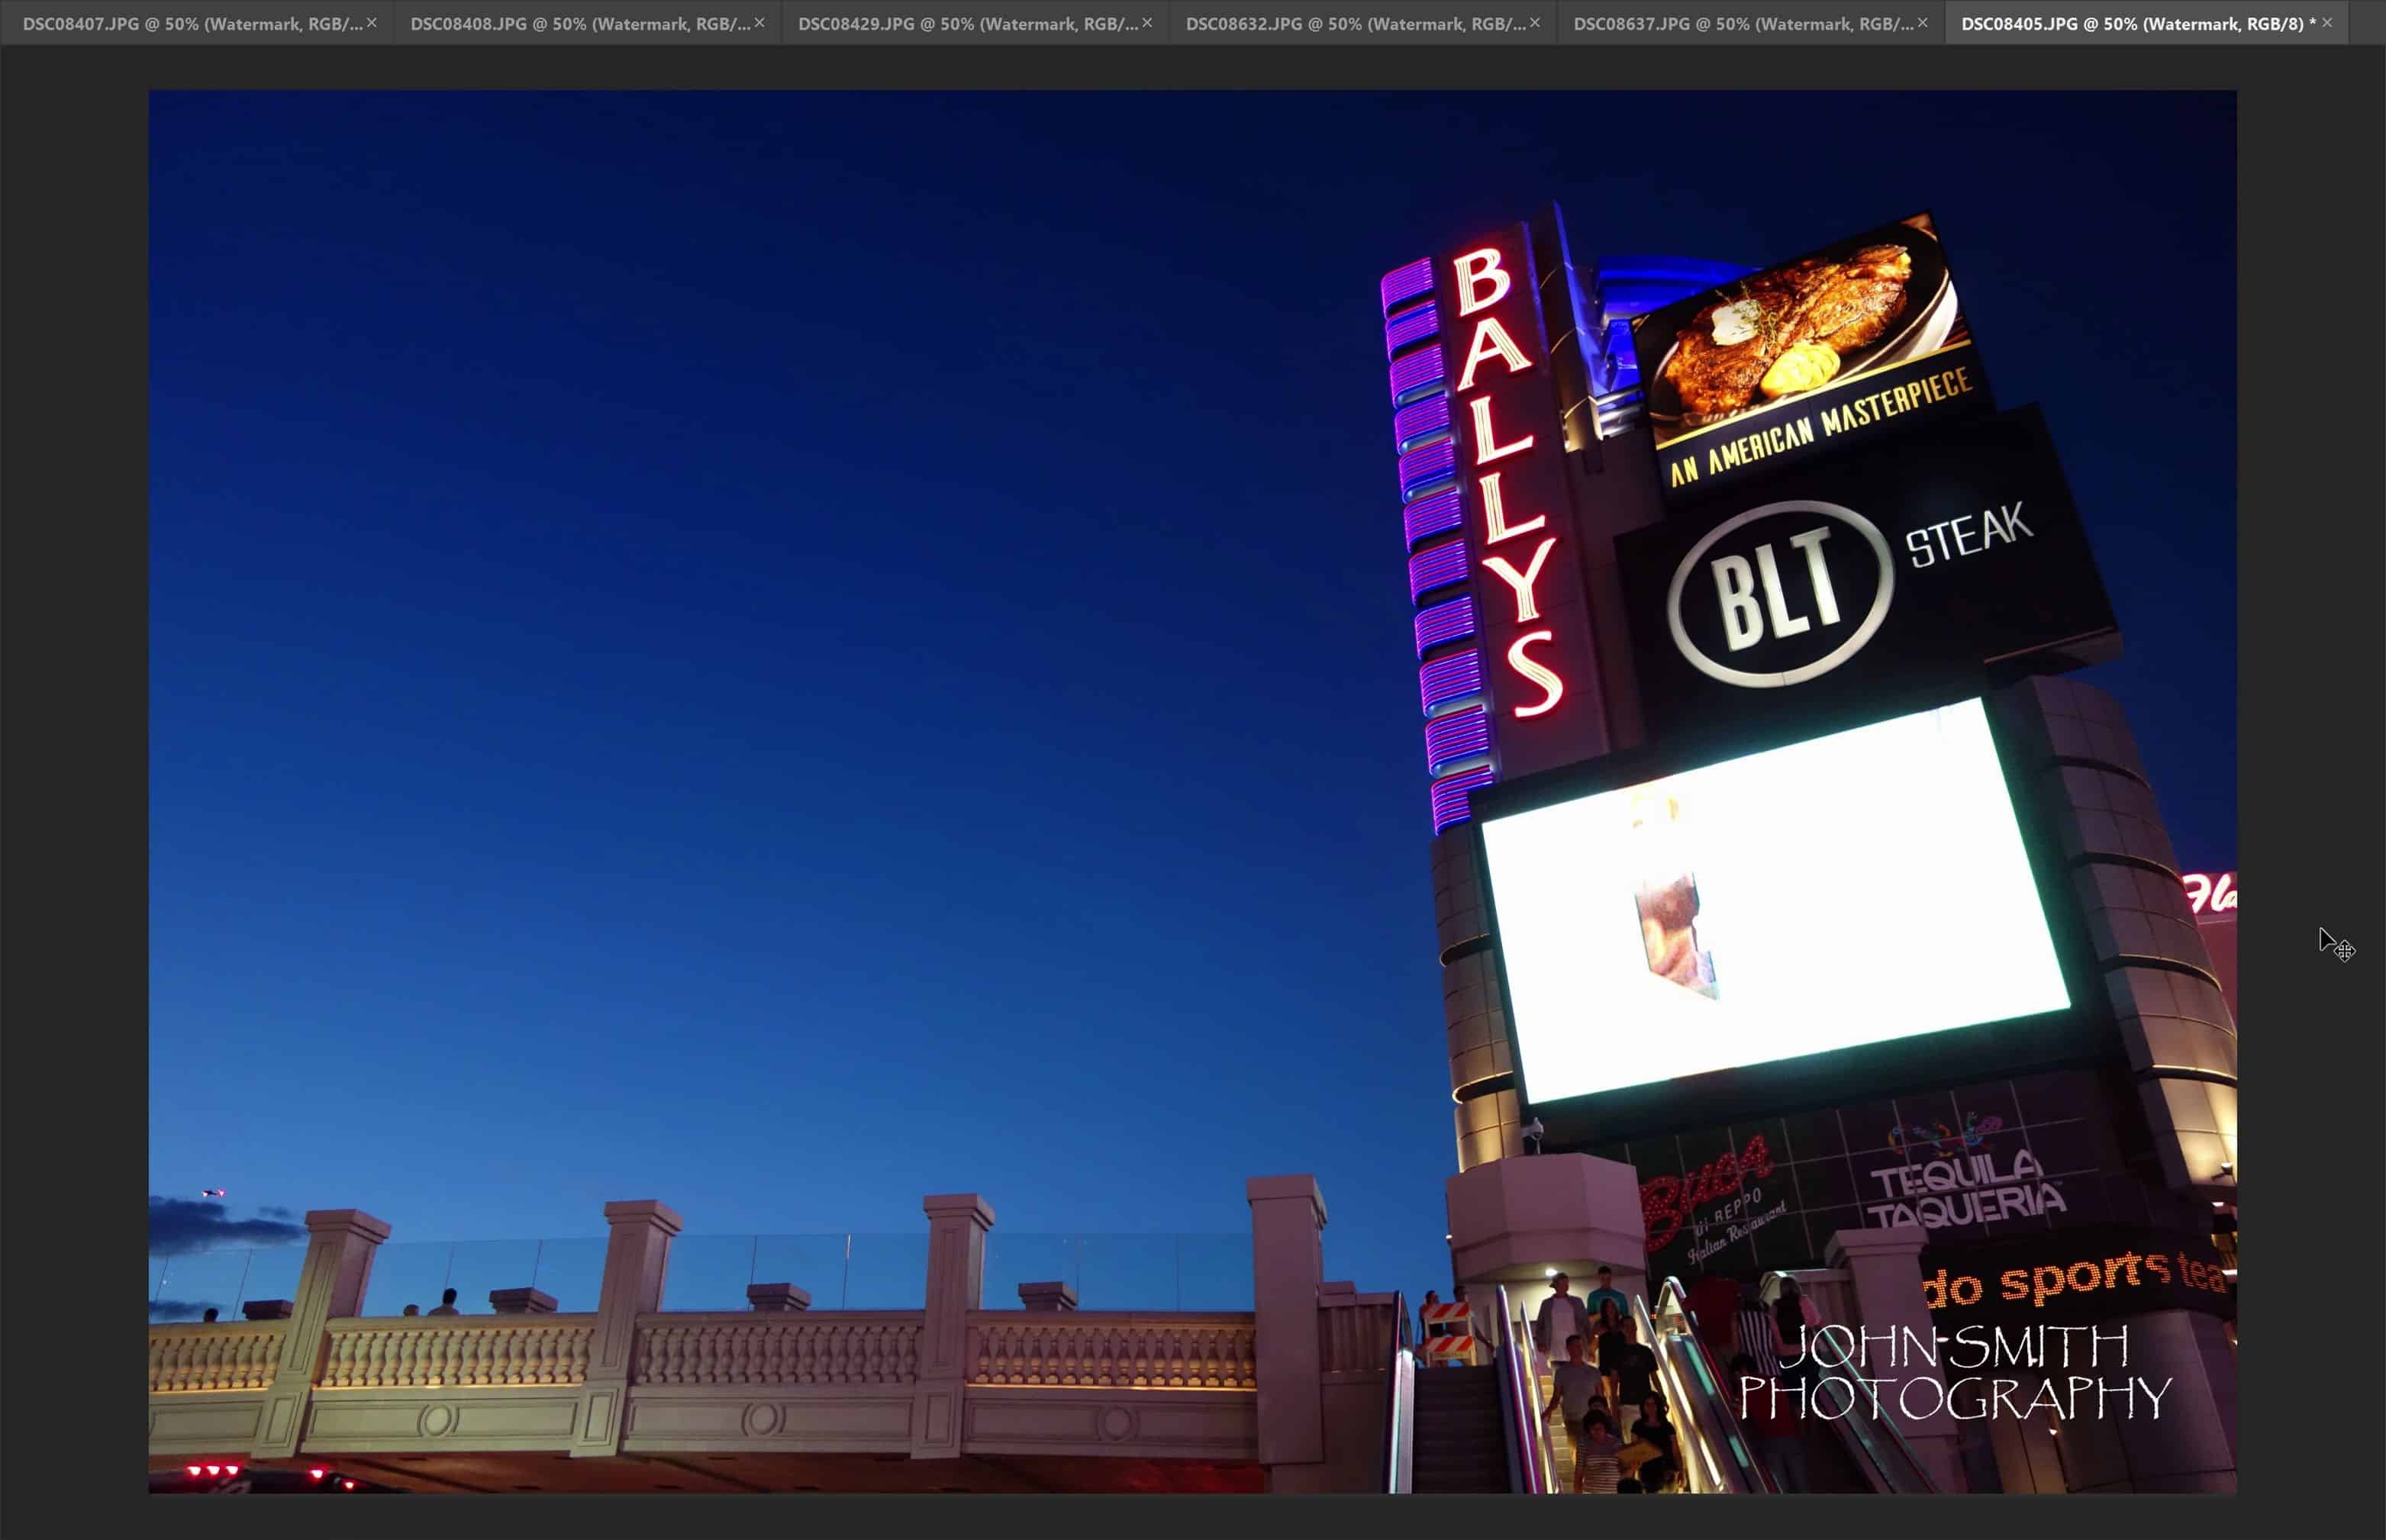
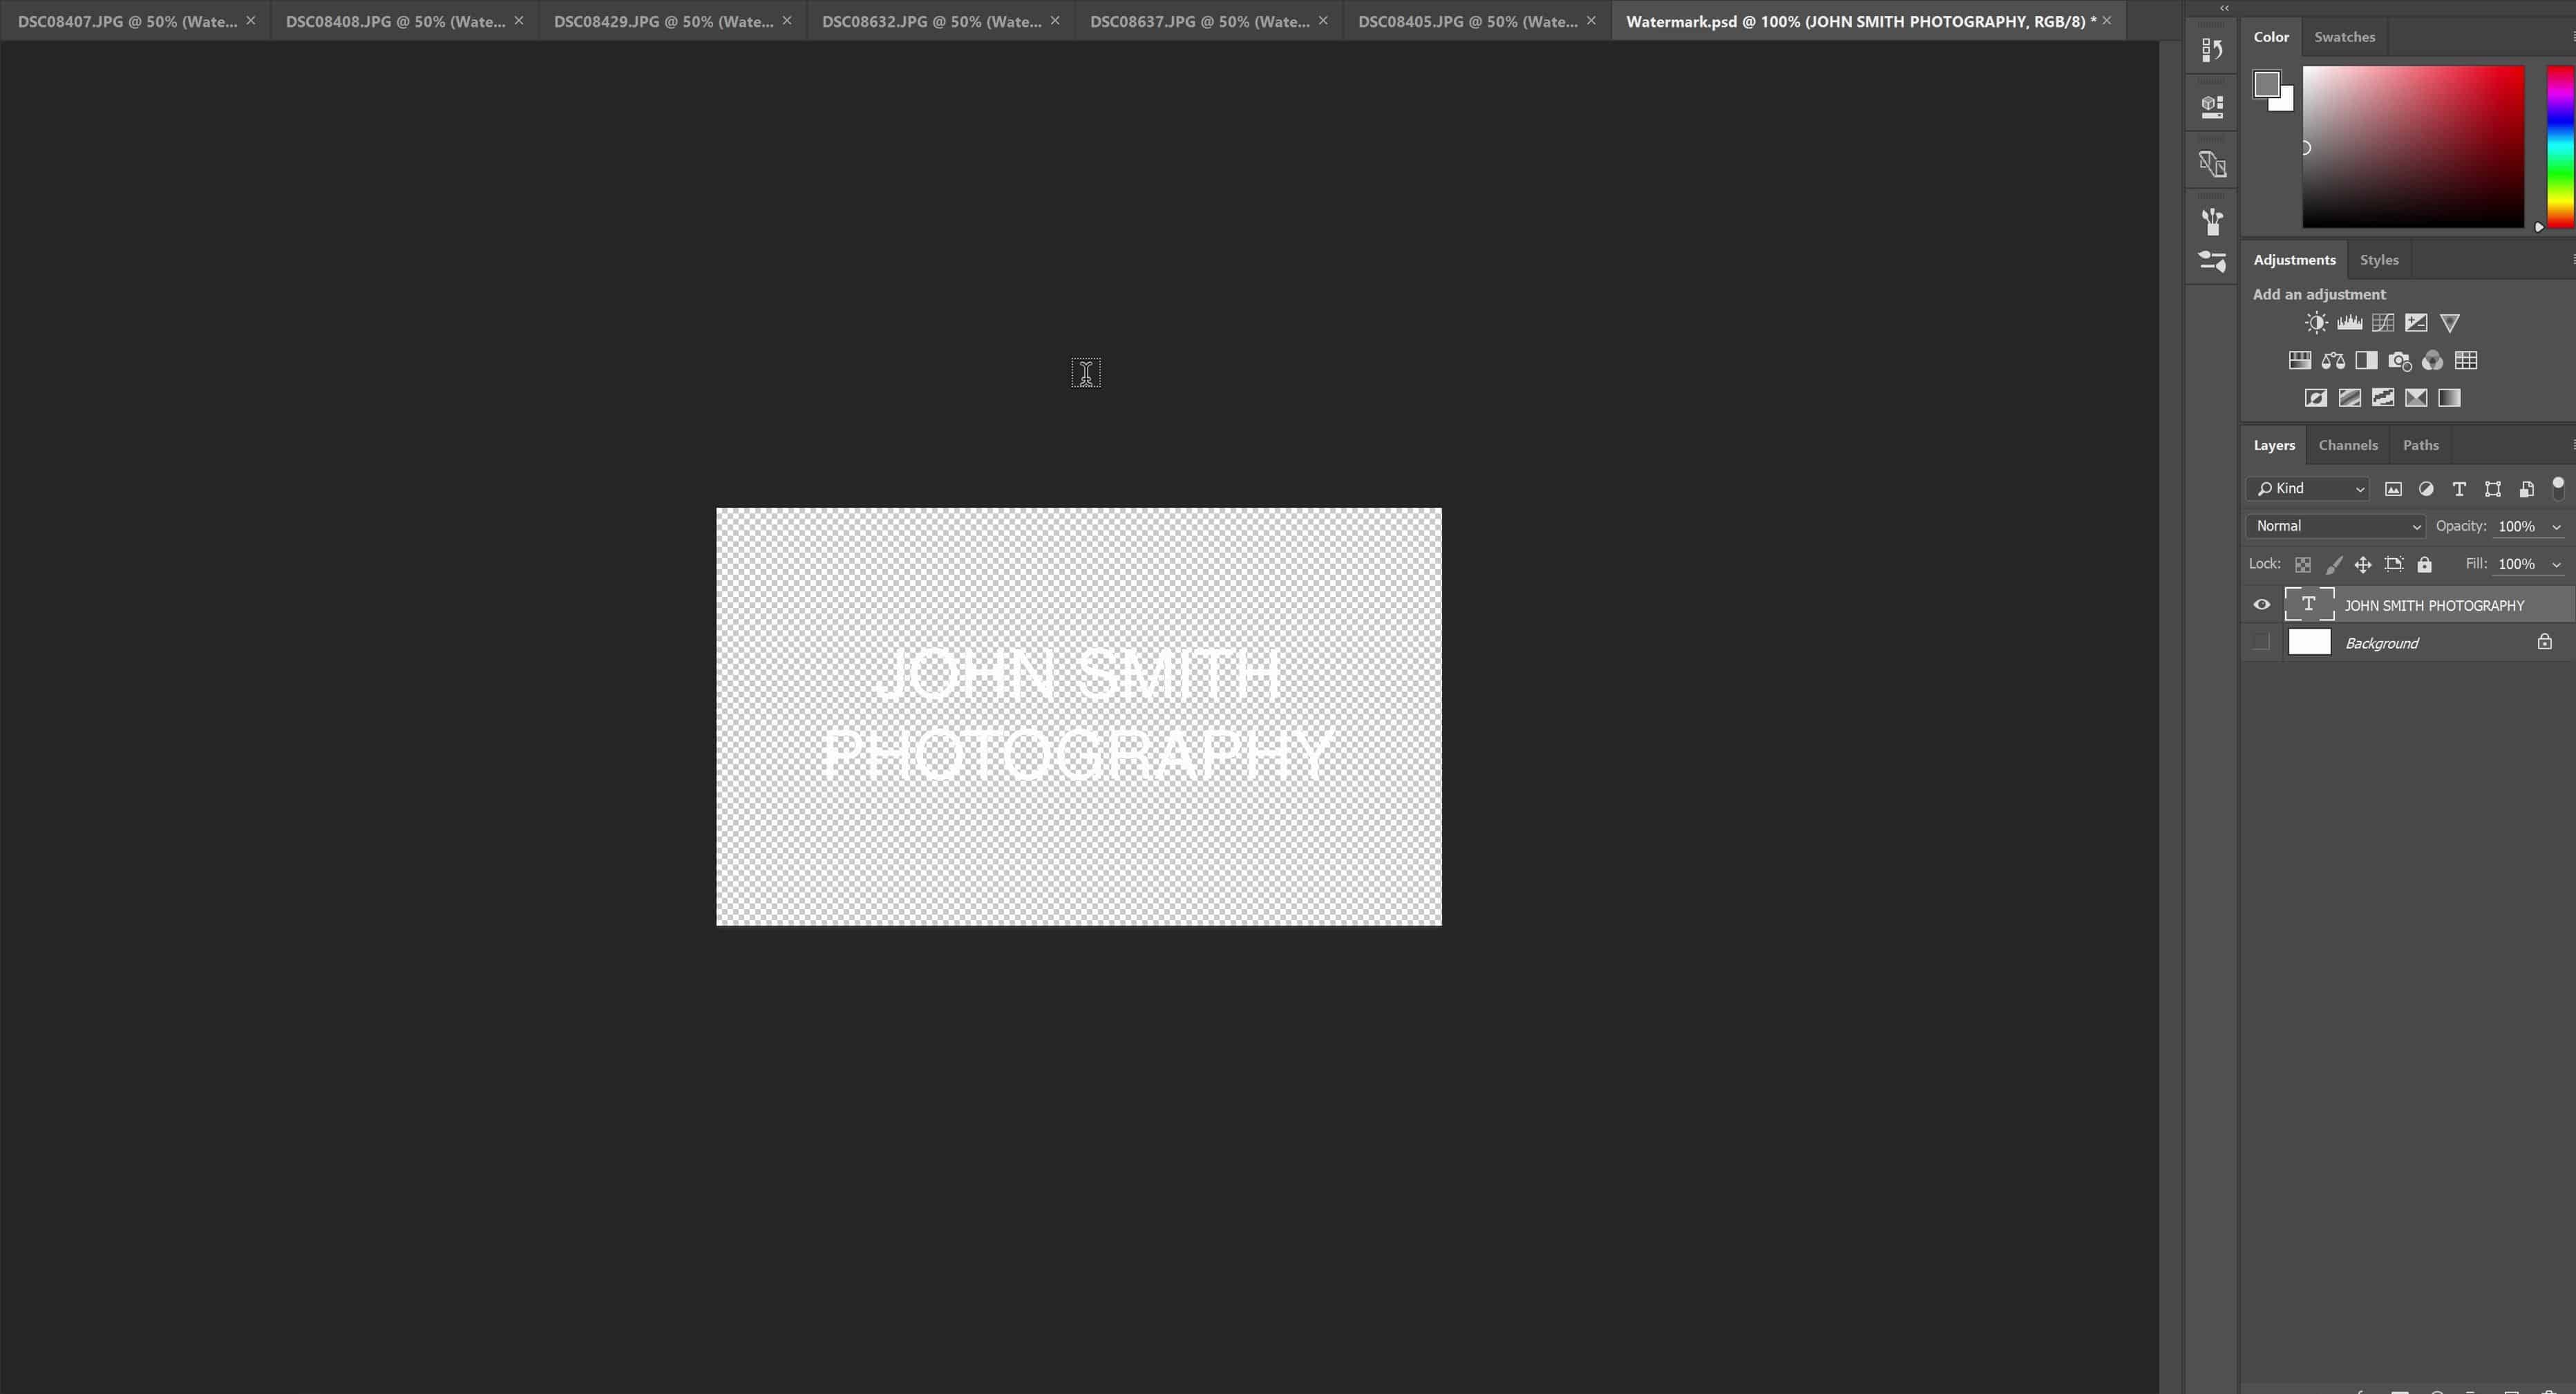
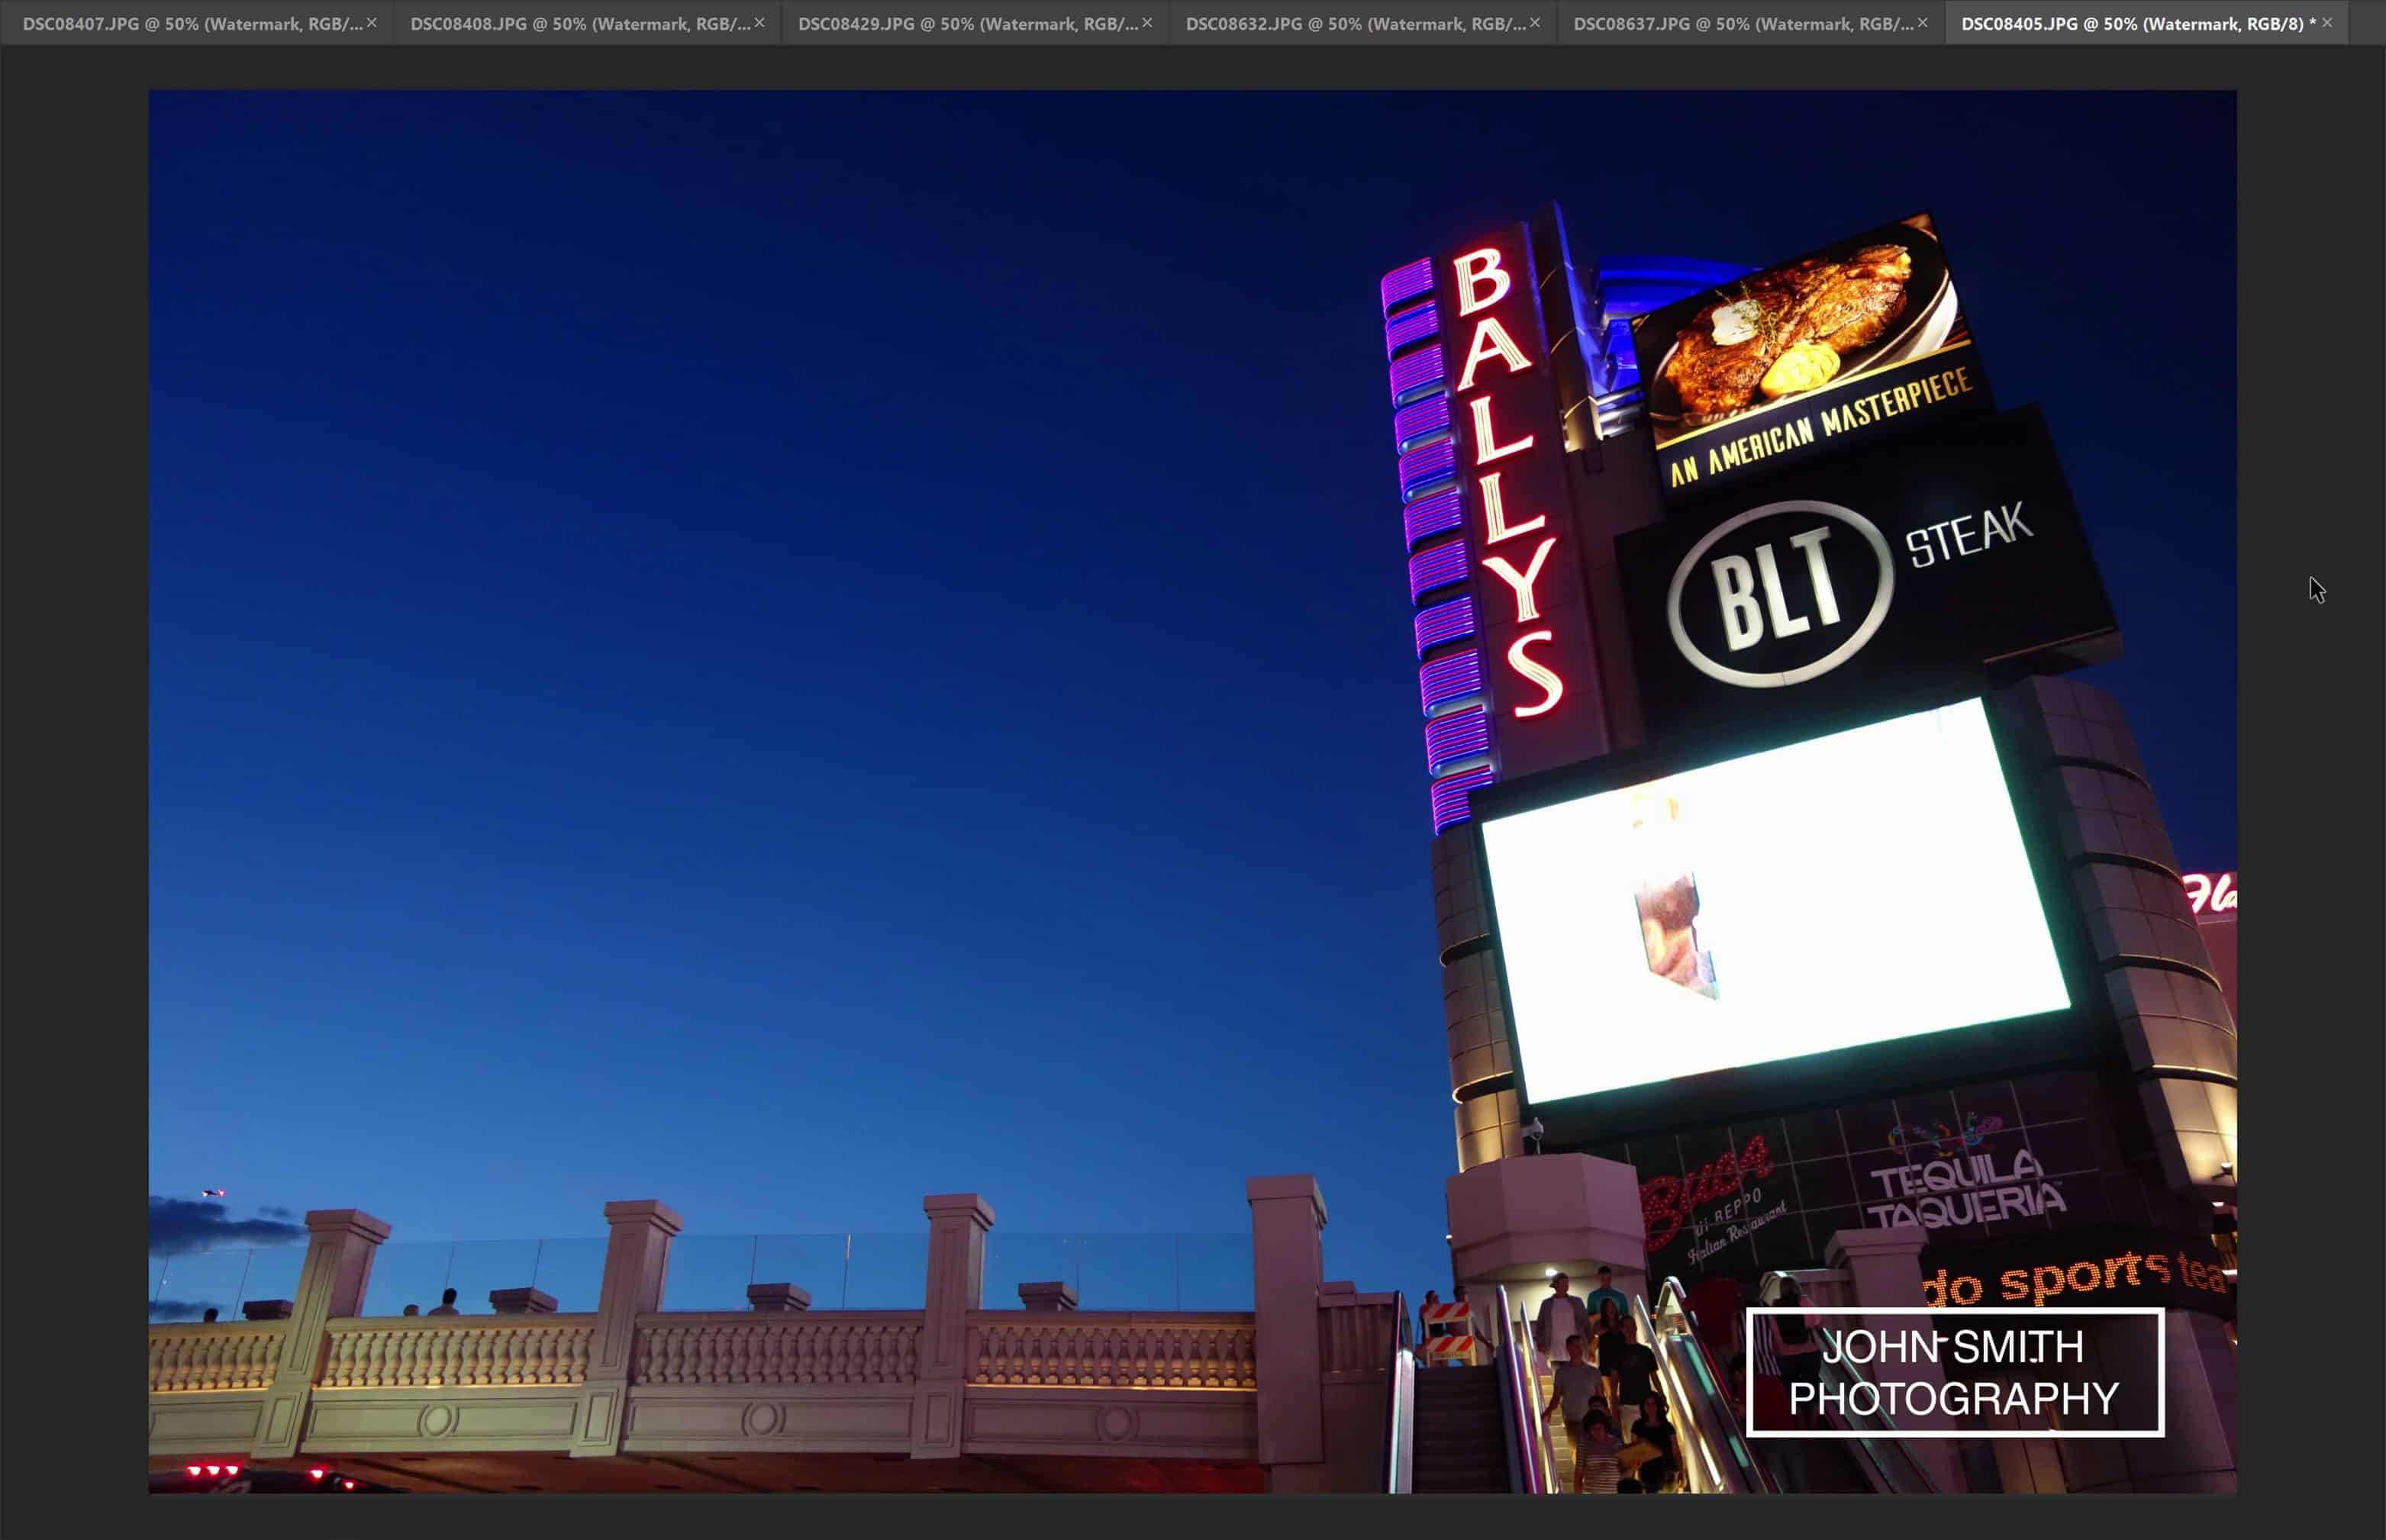
Why would anyone need this? It’s useful when you’re using the same graphic in multiple Photoshop documents. For example, here I have multiple photos opened and I want to place my watermark on them. But my watermark is just a temporary one that I want to change at a later time.
So to place my watermark, go to File > Place Embedded. This will place your image as an Embedded Smart Object. Or we can use the “Placed Linked” command to place the image as a Linked Smart Object. I’m going to choose Linked and when I import the image, it’s not actually going to save the image in the Photoshop document – it’s only going to link to it. And as an example, I’m going to do this for all of the photos that I have opened.
So because we used a Linked Smart Object, all of the documents are referencing the same file. We can edit the watermark in two ways. First you can edit the image in any application you want or you can simply replace it with a different file. Then you can update your Linked Smart Objects and it’ll have the new file in there.
Another way is to go into the Layers panel and doubleclick on the thumbnail. If it can edit the file in Photoshop, it’ll just open it as a new document, and then you can make any changes you want and then save and close. By the way, if your Linked Smart Object is something else like an Adobe Illustrator file, it’ll actually open it up in Adobe Illustrator instead. And the process for that is the same – make your changes then save and close the file.
As you can see here, all of our photos have been updated with the new watermark. And it was as simple as editing the watermark file.
Start Using Smart Objects Today
And there you go – 5 reasons why you should be using Smart Objects. Smart Objects is one of those things that a lot of people don’t bother with because they simply don’t take the time to learn it. But once you start using Smart Objects, you won’t go back.
You can think of this as futureproof editing. Unlike nondestructive editing where simply having a backup of your original photo is good enough, futureproof editing with Smart Objects lets you make changes to your document at a future date, without redoing everything. It’s a smarter way of using Photoshop.